
To add a pressure gauge to your system, start by turning off the system and releasing existing pressure for safety. Choose a suitable fitting or port, clean the area thoroughly, and securely attach the gauge without overtightening. Double-check for leaks and ensure all connections are tight. Perform a test run to verify proper operation and calibration. If you keep exploring, you’ll uncover detailed steps to make sure your installation is precise and safe.
Key Takeaways
- Turn off the system, release pressure, and ensure safety before installation.
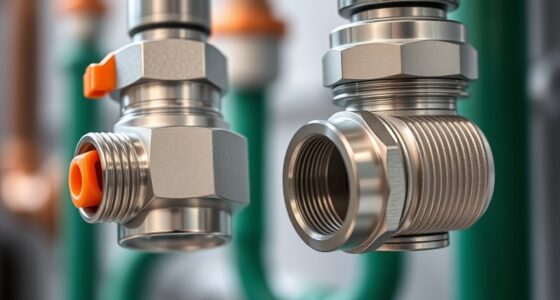
- Locate and clean the connection port or fitting where the gauge will be attached.
- Attach the pressure gauge securely, avoiding overtightening to prevent damage.
- Double-check all fittings for tightness and signs of leaks after installation.
- Test the system to verify the gauge’s accuracy and proper operation.
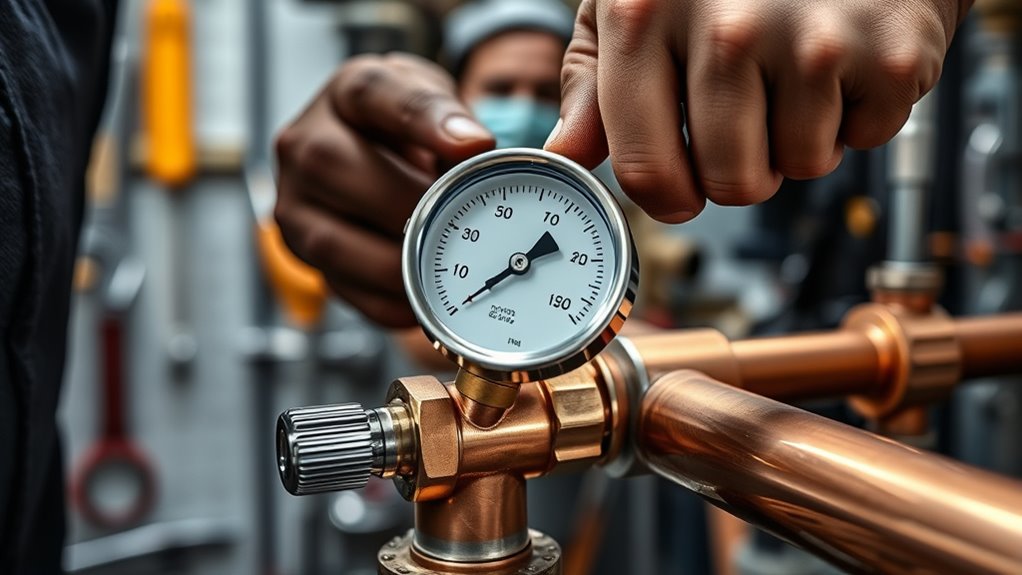
Adding a pressure gauge to your system is a simple yet effective way to monitor performance and guarantee safety. When you install a pressure gauge, you’re taking a proactive step to keep an eye on system conditions, making sure everything runs smoothly and reducing the risk of failures. Before you begin, it’s essential to understand the proper calibration procedures to make sure your gauge provides accurate readings. Calibration involves comparing the gauge’s readings against a known standard and adjusting it if necessary. This process might require specialized equipment or professional assistance, especially if your gauge is critical for safety. Proper calibration guarantees that the measurements you rely on truly reflect the system’s actual pressure, preventing misreadings that could lead to hazardous situations.
Installing a pressure gauge enhances safety and performance through proper calibration and careful setup.
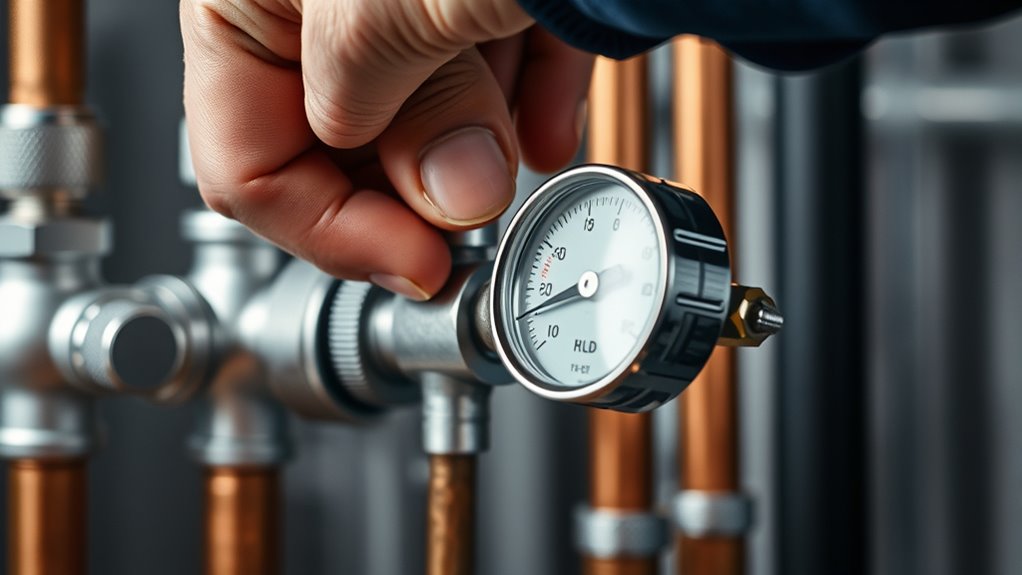
As you prepare to install the gauge, make sure to follow all safety precautions. Turn off the system and release any stored pressure before connecting the gauge. Use appropriate personal protective equipment, such as gloves and eye protection, to guard against unexpected releases of pressure or fluid. Double-check that the connections and fittings are compatible with your system to prevent leaks or damage. If your system involves hazardous or high-pressure fluids, take extra caution to avoid accidents. Making sure all safety measures are in place before installation minimizes risk and keeps you safe throughout the process.
When installing the pressure gauge, locate a suitable port or fitting on your system that can accommodate the device. Clean the connection area thoroughly to prevent debris from entering the system or damaging the gauge. Attach the gauge securely, making sure not to overtighten, which could crack the casing or damage the internal mechanisms. Once installed, double-check all connections for tightness and leaks. After installation, it’s vital to perform a test run to verify the gauge’s operation. During this test, observe the readings carefully and compare them with expectations based on system conditions. Additionally, ensuring that the gauge is properly calibrated helps maintain measurement accuracy over time.
Calibration should be performed regularly to maintain accuracy, especially if you notice inconsistent readings or after any system maintenance. Follow the manufacturer’s instructions for calibration procedures, which typically involve attaching the gauge to a calibration device and adjusting it accordingly. Remember, a calibrated pressure gauge is crucial for reliable monitoring and safety assurance, so don’t skip this step. By adhering to proper calibration procedures and safety precautions, you make sure your pressure gauge provides precise data, helping you manage your system more effectively and avoid potential hazards.

BETOOLL Digital Fuel Injection Pressure Tester Kit – Fuel Pressure Gauge 0-300 PSI for Petrol Engine Fuel Pressure Test Kit Automotive Test Tool Kit
Digital Fuel Pressure Gauge: Accurate and clear data is easier to read on the backlight display. The buttons…
As an affiliate, we earn on qualifying purchases.
As an affiliate, we earn on qualifying purchases.
Frequently Asked Questions
Can I Install a Pressure Gauge on Any System?
You can’t install a pressure gauge on just any system. First, check gauge placement to guarantee accurate readings and avoid damage. Also, verify system compatibility; some systems need specific types of gauges or fittings. If you’re unsure, consult the manufacturer’s guidelines or a professional to prevent potential issues. Proper installation ensures reliable measurements and keeps your system running smoothly.
What Tools Are Needed for Installation?
You’ll need basic tools for installation steps, including a wrench to tighten fittings securely and an adjustable spanner for any size adjustments. A pipe thread sealant or Teflon tape guarantees a leak-proof connection, while a screwdriver might be necessary for securing mounting brackets. Additionally, have a drill on hand if you need to create mounting holes. These tools make the installation steps straightforward and ensure your pressure gauge functions accurately.
How Often Should I Calibrate the Gauge?
You should calibrate your pressure gauge annually or whenever you notice inconsistent readings. Though it’s tempting to overlook calibration frequency, regular accuracy verification ensures reliable system performance. Think of calibration as your gauge’s health check—skipping it risks undetected errors that could lead to system failure. Keep a schedule, and verify accuracy consistently; it’s a small investment that prevents costly mistakes down the line.
What Safety Precautions Are Necessary During Installation?
You should wear safety gear like gloves and goggles to protect against potential leaks or bursts during installation. Make certain proper ventilation in the workspace to avoid inhaling any fumes or dust. Before starting, turn off the system and depressurize it. Handle tools carefully, and double-check connections for leaks after installation. Following these precautions keeps you safe and ensures a smooth, trouble-free process.
Will Installing a Gauge Affect System Performance?
Installing a pressure gauge generally won’t affect your system’s performance if you choose a compatible gauge. It provides accurate pressure readings without disrupting flow or operations. Just make certain the gauge is compatible with your system’s pressure range and type, as incompatible gauges might cause inaccurate readings or minor pressure drops. Proper installation also helps maintain system efficiency, so always follow manufacturer guidelines to avoid any negative impact.

Dorman 7-902 Mechanical Oil Pressure Gauge Installation Kit Universal Fit
Helps restore oil pressure gauge to proper operation
As an affiliate, we earn on qualifying purchases.
As an affiliate, we earn on qualifying purchases.
Conclusion
By adding a pressure gauge, you’re transforming your system into an unstoppable powerhouse. Imagine having the superpower to instantly spot issues before they become disasters—your system’s new best friend! With this simple upgrade, you’ll be in control like a tech wizard, preventing failures and saving time and money. Don’t wait for a catastrophe—equip your system today and become the ultimate control master. Your system’s future success depends on this tiny but mighty addition!
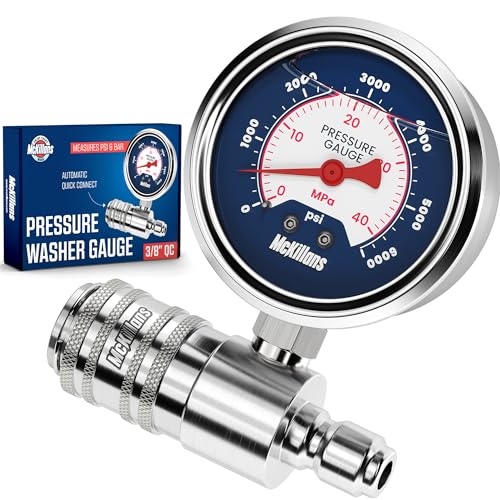
McKillans® High Pressure Washer Gauge – Push-to-Connect 3/8" Automatic Quick Connect – Stainless Steel – up to 6000 PSI – Measure Both PSI and MPa – Power Washer Pressure Gauge
⚠️ READ: This is a high-pressure gauge for pressure washers with 3/8"" quick connect fittings. ❗ Not compatible…
As an affiliate, we earn on qualifying purchases.
As an affiliate, we earn on qualifying purchases.

ETENWOLF T300 Digital Tire Pressure Gauge 3-200 PSI, Industrial Tire Gauge Calibrated to ANSI B40.7 Grade 2A(Plus-Minus 0.5%), Replaceable AAA Batteries (Vivid Orange)
PROCESS LEVEL ACCURACY: Each ETENWOLF’s digital tire pressure gauge is calibrated manually to ANSI B40.7 Grade 2A(plus-minus 1…
As an affiliate, we earn on qualifying purchases.
As an affiliate, we earn on qualifying purchases.