After service, air in lines often comes from improper installation or incomplete flushing, causing air pockets that disrupt flow. You can identify these by checking for irregular flow, pressure drops, or noise, and use tools like pressure gauges or dye tests. To fix it, flush lines thoroughly, secure connections, and install air release valves. Following proper procedures helps prevent future issues; discover more tips to keep your system air-free and running smoothly.
Key Takeaways
- Confirm proper line filling and installation procedures to prevent trapped air from the outset.
- Use visual inspections and pressure gauges to detect and locate residual air pockets after service.
- Perform thorough flushing and purging with compatible agents, opening bleed valves to release trapped air.
- Install air release valves at strategic points to facilitate natural air escape during operation.
- Conduct regular maintenance checks on fittings, seals, and components to prevent re-entry of air into lines.

Fusion5 Built in USA 10.1” Windows 11 Professional Rugged Tablet PC - 12GB RAM, 512GB SSD, Intel 13th Gen, Full HD Windows Tablet Computer, HDMI, USB C - 2 Year Full Warranty with Accidental Damage
Proudly Assembled in Florida, USA: Each Fusion5 FWIN232 PRO N5 is meticulously assembled in Pasco County, Florida, ensuring...
As an affiliate, we earn on qualifying purchases.
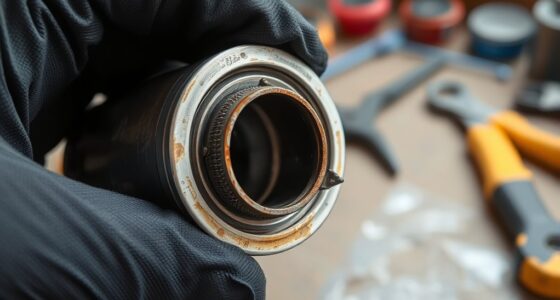
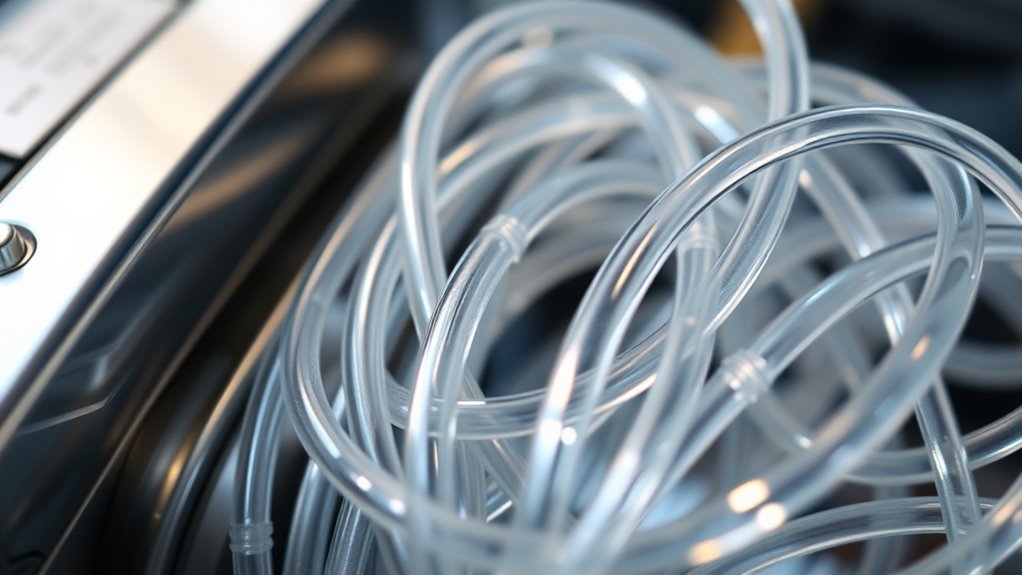
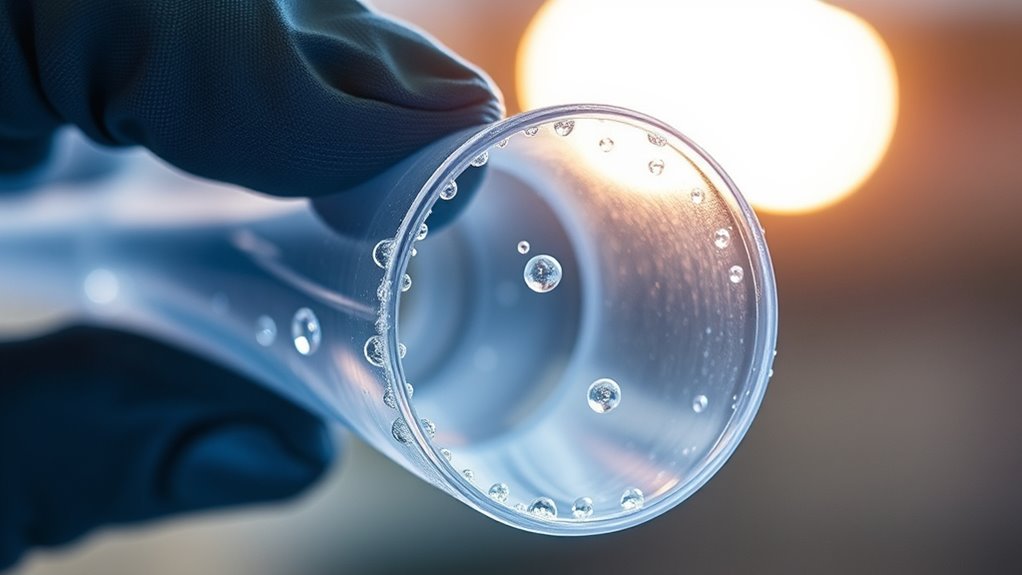
Common Causes of Air Bubbles in Installed Lines
Air bubbles in installed lines often result from improper filling or installation procedures. One common cause is installation challenges, where inexperienced technicians may rush or overlook proper procedures, leaving air pockets behind. Material compatibility also plays a significant role; using incompatible pipes or fittings can create gaps or weaknesses that trap air. For example, mismatched connectors or incompatible pipe materials may not form a secure seal, allowing air to enter during filling. Additionally, inadequate flushing or slow filling techniques can trap air within the lines. These issues highlight the importance of following correct installation protocols and ensuring all materials are compatible. Proper training and careful attention during installation help prevent air bubbles, reducing future operational problems and improving system reliability. Ensuring proper pressure regulation during filling can also help minimize air entrapment and promote a smoother flow through the lines.

Fusion5 2026 Version 12" 2K Display Windows 11 Tablet PC with Stylus Pen - Built in USA - 12GB DDR5 RAM 512GB SSD, 13th Gen CPU, 12 inch Windows Tablet Computer, Built-in Fan, Fast Charging, Metallic
Proudly Assembled in Florida, USA: Each Fusion5 Helios 12 windows tablet is meticulously assembled in Pasco County, Florida,...
As an affiliate, we earn on qualifying purchases.
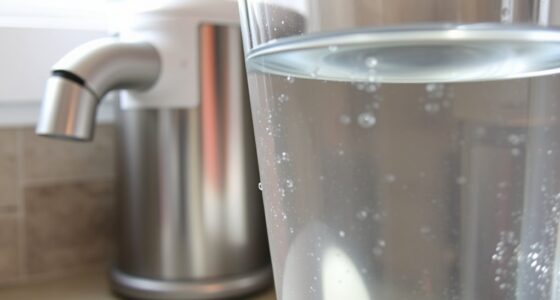
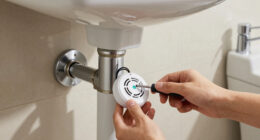
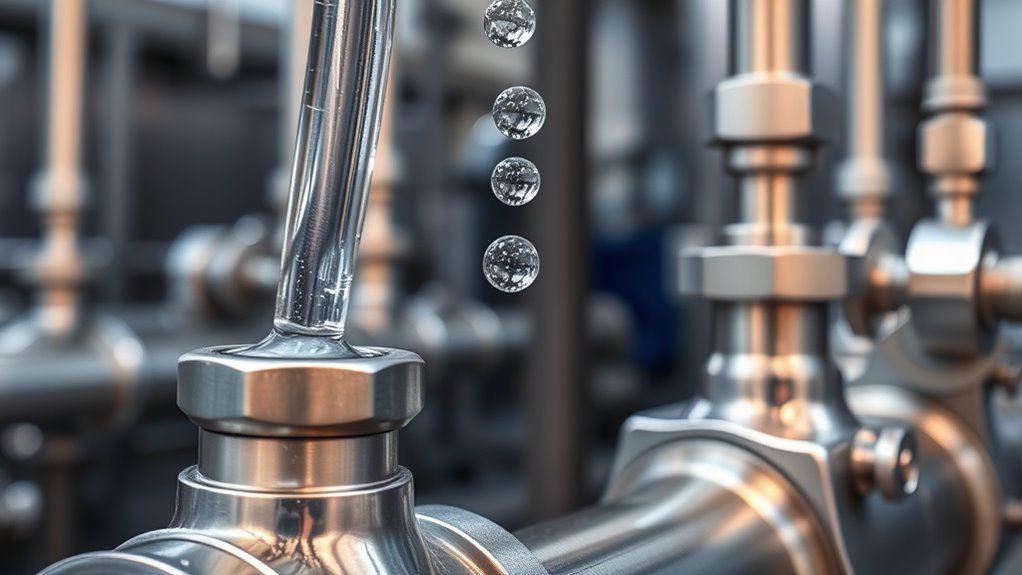
Techniques for Detecting and Locating Air Pockets
Detecting and locating air pockets in lines requires a combination of visual inspections and specialized techniques. Start by observing for irregular flow, pressure fluctuations, or noise, which can signal trapped air. Use sensor troubleshooting methods to identify inconsistent readings that suggest air accumulation near sensors or along the line. Employ pressure gauges to detect sudden drops or spikes, indicating pockets of air disrupting flow. Conduct line maintenance checks, such as running test flows or using ultrasonic detectors, to pinpoint the exact location of air pockets. Clear visualization tools, like dye testing or thermal imaging, can assist in confirming air presence. Combining these techniques ensures you can efficiently detect and accurately locate air pockets, facilitating targeted removal and maintaining ideal line performance.

SZTPS 10.1" Windows Tablet Touchscreen Tablets Computer 6GB RAM 128GB ROM, Intel Processor, USB 3.0, Micro HDMI, 6000MAH Battery, Dual Cameras, Bluetooth 5.0
【Long-Lasting Battery】:6000mAh built-in rechargeable battery, can be mixed for 5-12 hours, and is equipped with charger, data cable,...
As an affiliate, we earn on qualifying purchases.
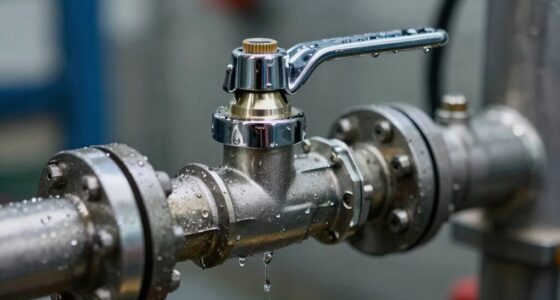
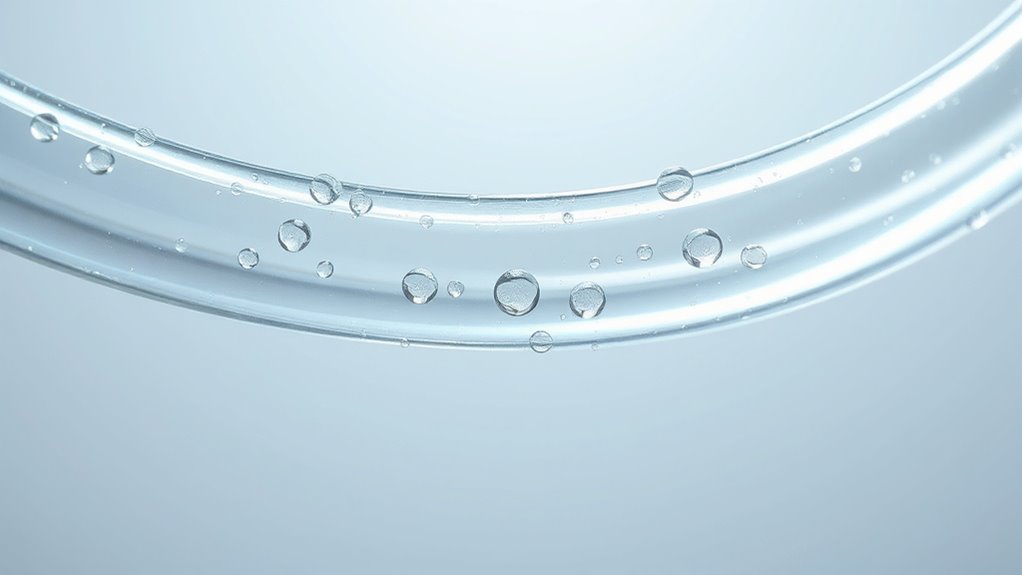
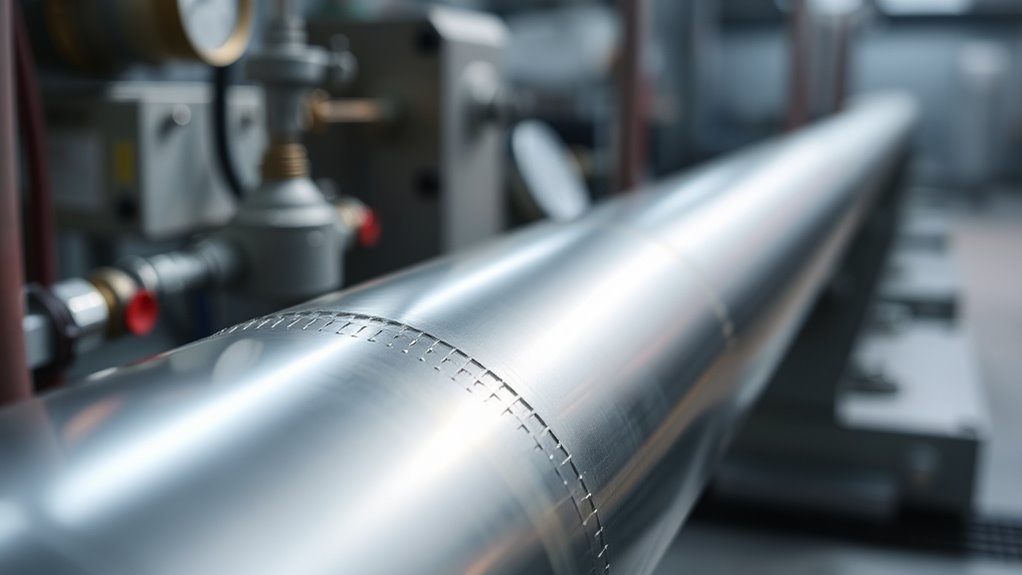
Best Practices for Flushing and Purging Lines
Once you’ve identified and located air pockets in your lines, the next step is to effectively flush and purge the system to eliminate trapped air and restore ideal flow. Proper pipe maintenance and sealing techniques are key here. To do this:
- Shut off the system and isolate the affected line.
- Open bleed valves to release air pockets safely.
- Use a clean, compatible flushing agent to push air out.
- Re-seal connections securely, ensuring no leaks that could reintroduce air.
- Regular inspections can help prevent the formation of air pockets and maintain optimal system performance like proper sealing.

GoveeLife Premium Smart Water Leak Detector 2 with 1968ft Ultra-Long Range, WiFi Water Sensor with SMS/Email/APP Push and Sound Alarm, 5-Year Battery Life, Suitable for Home, Basement, Kitchen, 6 Pack
SMS, APP & Email Real-time Alerts: Connect the gateway to Wi-Fi, and it will instantly send SMS, APP,...
As an affiliate, we earn on qualifying purchases.
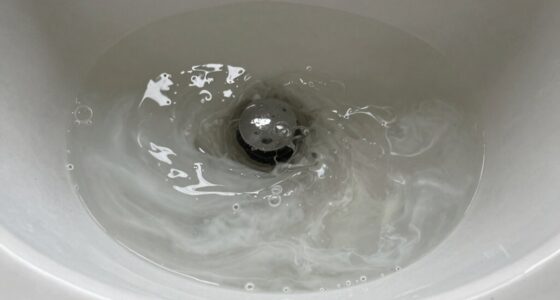
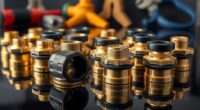
Preventative Measures to Minimize Air Entrapment
To effectively minimize air entrapment in your piping system, implementing preventative measures is essential. Regular system maintenance ensures all components are clean, properly sealed, and functioning correctly, reducing the chances of air pockets forming. Use materials compatible with your system’s fluid to prevent corrosion or degradation that can trap air. Properly designed flow paths and correct installation techniques also help prevent air from entering the lines. Incorporate air release valves at strategic points to allow trapped air to escape naturally during operation. Consistent inspection and timely maintenance keep the system free of leaks and blockages, reducing air entrainment. Understanding aura dynamics can also aid in diagnosing issues related to trapped air and system performance. By prioritizing these preventative measures, you can maintain efficient flow and avoid issues caused by air in your lines.
Troubleshooting Persistent Air Issues in Field Operations
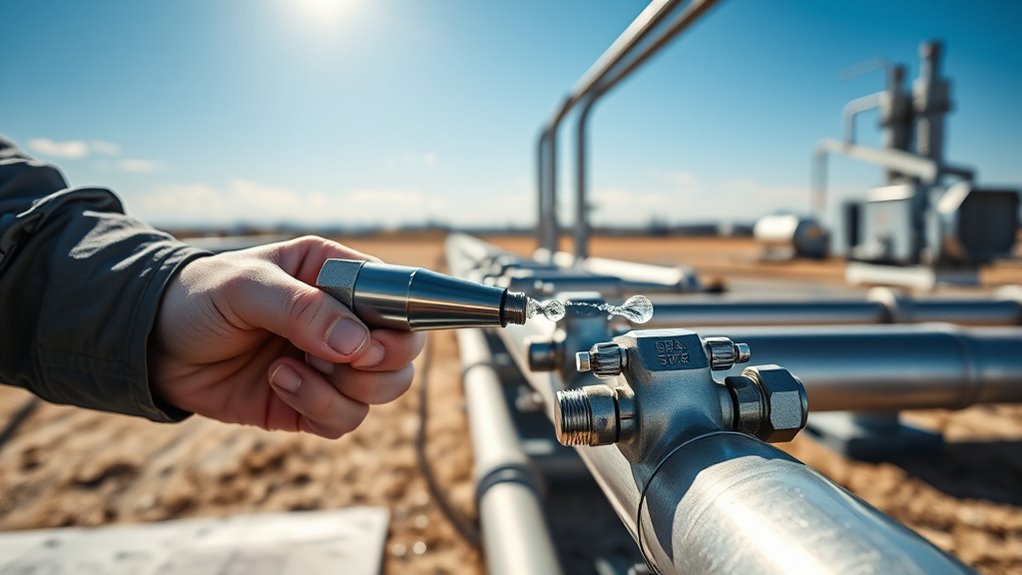
When air issues persist despite preventative measures, troubleshooting requires a systematic approach to identify and resolve the root causes. Start by inspecting the air compressor: ensure it’s operating correctly and not causing inconsistent airflow. Next, check line maintenance: look for leaks, kinks, or blockages that could trap air. Third, verify all connections are tight and secure—loose fittings often introduce air into lines. Finally, test the pressure regulators and valves to confirm they’re functioning properly and not allowing air to escape. Additionally, understanding AI detection methods can help analyze system performance and identify anomalies early. By methodically examining these areas, you’ll pinpoint the source of persistent air problems. Remember, addressing each step guarantees reliable operation and minimizes downtime in field operations.
Frequently Asked Questions
How Does Temperature Affect Air Entrapment in Fluid Lines?
Temperature affects air entrapment in fluid lines by causing temperature expansion, which can increase the volume of trapped air, making it more likely to form bubbles. As temperature rises, viscosity changes occur, reducing fluid resistance and potentially allowing air pockets to move or escape more easily. Conversely, cooler temperatures can make air more trapped due to increased viscosity and decreased expansion, emphasizing the importance of proper venting and temperature control during system operation.
What Are the Safety Considerations When Bleeding Air From Lines?
When bleeding air from lines, you should prioritize safety by wearing appropriate safety gear, like gloves and goggles, to protect against unexpected releases. Always monitor pressure levels closely to avoid over-pressurization, which can cause hazards. Confirm the system is depressurized before starting and proceed gently, keeping a safe distance. Clear communication with your team and proper tools help guarantee a smooth, safe process.
Can Specific Line Materials Influence Air Bubble Formation?
Yes, your line material can influence bubble formation. Smooth, non-porous materials like stainless steel or certain plastics reduce the chances of bubbles forming, while porous or rough surfaces may trap air, increasing bubble likelihood. Choosing the right line material helps guarantee a smoother flow, minimizes air entrapment, and simplifies bleeding procedures. Always verify compatibility of your line material with your system’s fluids to prevent issues related to bubble formation.
Are There Environmental Factors That Exacerbate Air Issues in Lines?
Yes, environmental factors like high humidity impact air issues in lines by increasing moisture that can create bubbles or corrosion. Altitude effects also play a role; at higher elevations, lower atmospheric pressure can cause air to expand and form bubbles more easily. You should monitor these conditions and adjust maintenance routines accordingly, ensuring your lines stay free of air pockets and function properly regardless of changing environmental factors.
How Long Should a Line Be Tested After Purging to Confirm Air Removal?
You should test the line for about 10 to 15 minutes after purging to guarantee complete air removal. The testing duration depends on the line length; longer lines may require additional time to verify no air pockets remain. During this period, observe pressure stability and flow consistency. If you notice fluctuations, extend the testing time until the system maintains steady pressure, confirming the air has been fully expelled.
Conclusion
So, after all your efforts, it’s ironic how air bubbles can still sneak in, even in a system that actually works. You’d think a properly serviced line would stay airtight, but nature loves a surprise. Remember, staying vigilant and applying these best practices keeps your lines clear. Because, in the end, the real trick isn’t just fixing the issue—it’s preventing it before it begins. Irony has a funny way of keeping us on our toes.