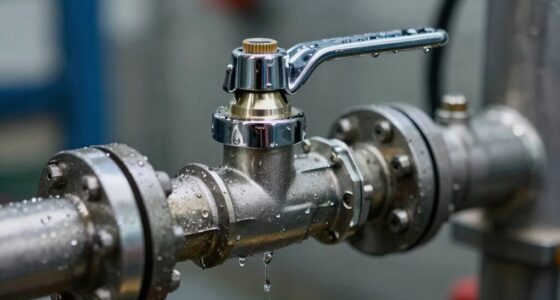

Leaks at unions and threads often happen because of improper installation, corrosion, or damage during assembly. To prevent this, check for thread damage, apply the right sealant, and tighten connections properly without overtightening. Use suitable tools like wrenches and sealants, and make certain threads are clean. When unions crack or threads wear out, replacing or re-threading is necessary. Continuing will help you learn how to fix and prevent these common issues effectively.
Key Takeaways
- Ensure proper installation, including correct thread engagement and alignment, to prevent leaks at unions and threaded fittings.
- Use appropriate sealants like Teflon tape or pipe paste, applying full coverage to improve sealing effectiveness.
- Tighten connections gradually with the recommended torque, avoiding overtightening that can deform threads or fittings.
- Inspect threads regularly for damage, rust, or debris, and replace or re-thread if threads are compromised.
- Use proper tools like wrenches carefully to disassemble and reassemble, preventing damage and ensuring a leak-free seal.

GoveeLife Premium Smart Water Leak Detector 2 with 1968ft Ultra-Long Range, WiFi Water Sensor with SMS/Email/APP Push and Sound Alarm, 5-Year Battery Life, Suitable for Home, Basement, Kitchen, 6 Pack
SMS, APP & Email Real-time Alerts: Connect the gateway to Wi-Fi, and it will instantly send SMS, APP,...
As an affiliate, we earn on qualifying purchases.
What Are Common Causes of Leaks at Unions and Threads?
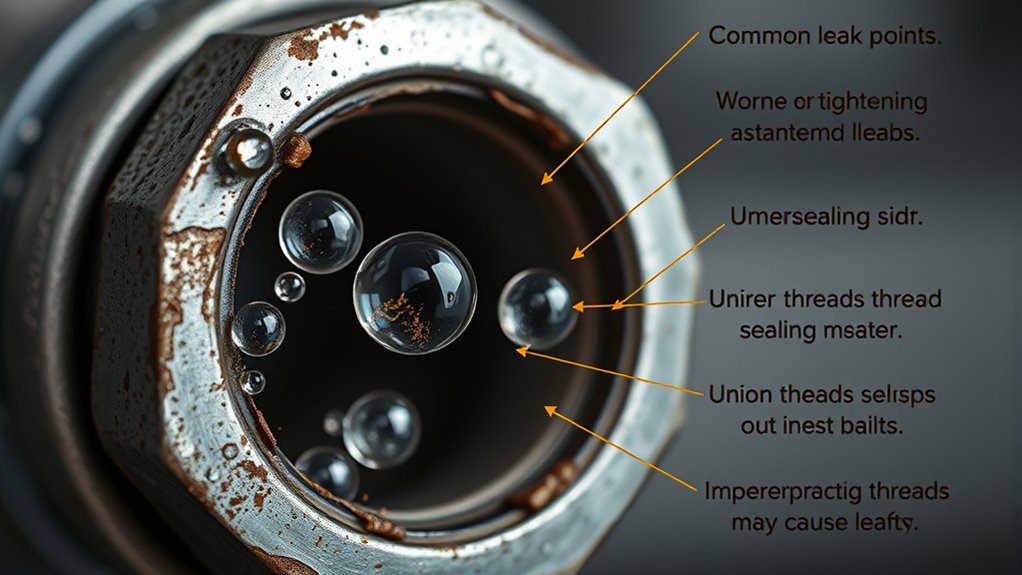
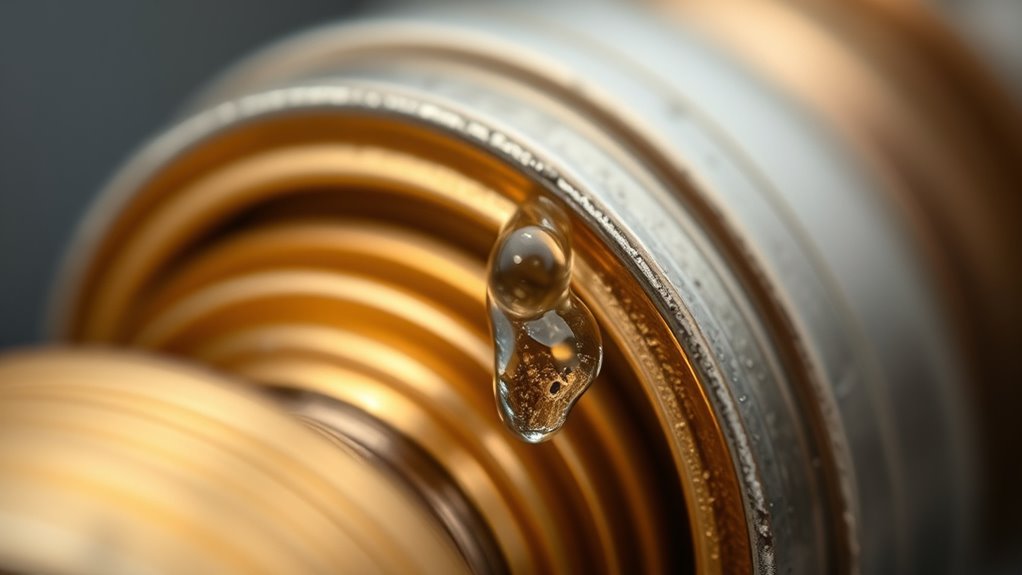
Leaks at unions and threads often happen because of improper installation or damage. Corrosion issues are a common cause, weakening the metal and creating gaps that allow leaks. Over time, moisture or chemicals can corrode threaded connections, especially if protective coatings aren’t used or maintained. Improper alignment is another frequent culprit; when pipes or fittings aren’t properly aligned during assembly, it puts stress on threads and unions, increasing the risk of leaks. Misaligned parts can cause threads to strip or crack, compromising the seal. Additionally, overtightening can damage threads or deform fittings, leading to leaks. To prevent these issues, verify proper installation techniques, avoid cross-threading, and regularly inspect for signs of corrosion or misalignment.

GoveeLife Upgraded Smart Water Leak Detector 1s with 1804 ft Ultra-Long Range, WiFi Water Sensor with SMS/Email/APP Push and Sound Alarm, 5-Year Battery Life, Suit for Home, Basement, Kitchen, 3 Pack
Breakthrough 1804 ft Connectivity: Engineered with advanced Sub-1G long-range wireless tech, our leak detector maintains robust signals over...
As an affiliate, we earn on qualifying purchases.
How Can I Prevent Leaks in Threaded Connections and Unions?

Preventing leaks in threaded connections and unions starts with proper installation practices. First, always perform thread inspection to identify damage, rust, or debris that can compromise sealing. Next, apply the right thread sealant—like tape or paste—ensuring full coverage without over-tightening. Proper thread sealing creates a reliable barrier against leaks. Visualize the process with this imagery:
| Thread Inspection | Sealant Application | Tightening Properly |
|---|---|---|
| Check for cracks | Cover threads evenly | Use recommended torque |
| Remove debris | Avoid excess | Avoid over-tightening |
| Look for corrosion | Ensure full coverage | Prevent cross-threading |
Additionally, always verify that the threading is compatible with the fittings to prevent mismatched connections that can lead to leaks.

GoveeLife Upgraded Smart Water Leak Detector 1s with 1804 ft Ultra-Long Range, WiFi Water Sensor with SMS/Email/APP Push and Sound Alarm,5-Year Battery Life, 5 Pack, Suit for Home, Basement, Kitchen
Breakthrough 1804 ft Connectivity: Engineered with advanced Sub-1G long-range wireless tech, our leak detector maintains robust signals over...
As an affiliate, we earn on qualifying purchases.
What Tools and Materials Are Recommended for Fixing Thread and Union Leaks?

To effectively fix thread and union leaks, you’ll need the right tools and materials. First, gather leak detection tools such as a soapy water solution or electronic leak detectors to identify the exact leak location. Next, use appropriate pipe thread sealants—either pipe joint compound or Teflon tape—to ensure a tight, leak-proof seal. Teflon tape is easy to apply and ideal for small leaks, while pipe joint compound provides extra sealing power for more stubborn leaks. Having adjustable wrenches or pipe wrenches is essential for disassembling and tightening connections properly. Always choose sealants compatible with your pipe material and fluid type. Using these tools and materials correctly will help you fix leaks effectively and prevent future issues. Incorporating powerful persuasive words and clear instructions can also enhance your repair success and confidence.

Kidde WiFi Water Leak Detector & Freeze Alarm, Alexa Device, Smart Leak Detector for Homes with App Alerts,White
Water sensor provides early detection of water leaks or freezing conditions, so you can take steps to avoid...
As an affiliate, we earn on qualifying purchases.
How Do I Properly Tighten or Disassemble Unions to Avoid Leaks?
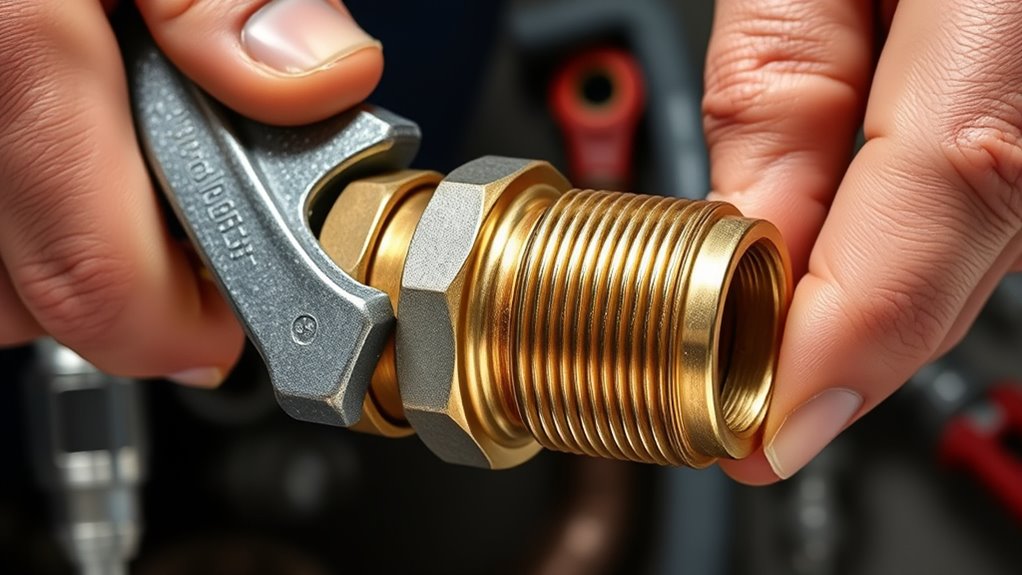
Ensuring a proper seal when tightening or disassembling unions is essential to avoid leaks and maintain system integrity. Start by applying an appropriate thread sealant to the threads before assembly, which helps prevent leaks. When tightening, use a wrench and carefully control the wrench torque—avoid overtightening, as it can damage threads or deform the union. Tighten the union gradually, alternating sides if applicable, until it feels snug. When disassembling, loosen the union slowly to prevent damage; if threads are stuck, applying some thread sealant remover or penetrating oil can help. Always inspect threads for damage before reassembly. Properly tightening and disassembling unions with the right wrench torque and thread sealant ensures a leak-free connection and prolongs the lifespan of your system. Additionally, understanding AI detection methods can aid in maintaining content authenticity and prevent potential issues with system integrity.
When Should I Replace Unions or Re-thread Connections?

Knowing when to replace unions or re-thread connections is essential for maintaining a leak-free and safe system. If you notice thread corrosion or significant union wear, it’s time to replace or re-thread. Corrosion weakens threads, increasing the risk of leaks and failure under pressure. Worn unions may no longer seal properly, even after tightening. Re-threading can restore integrity if threads are damaged but not excessively corroded or deformed. However, if threads are severely corroded or the union shows signs of cracking or deformation, replacement is the best option. Regular inspection helps identify these issues early. Proper maintenance and timely replacement prevent system failures and ensure safety. Don’t ignore signs of deterioration, as continuing to use compromised connections can lead to leaks, system damage, or safety hazards. When in doubt, replacing is often the safest choice.
Frequently Asked Questions
Can Temperature Fluctuations Cause Leaks at Unions and Threads?
Yes, temperature fluctuations can cause leaks at unions and threads. When thermal expansion occurs, the pipes expand and contract, putting stress on the joints. This pipe stress can loosen connections over time, leading to leaks. To prevent this, you should guarantee proper installation with flexible fittings and materials that accommodate thermal movement, reducing the risk of leaks caused by changing temperatures. Regular inspections help catch issues early.
Are There Specific Thread Sealants Best for Certain Pipe Materials?
Yes, certain thread sealant types work better with specific pipe materials. For example, anaerobic sealants are ideal for metal pipes like brass or steel, ensuring a strong, leak-proof bond. Conversely, you should use PTFE tape for plastic pipes, as it provides good compatibility and ease of use. Always check the pipe material compatibility to select the right thread sealant type, preventing leaks and ensuring long-lasting connections.
How Long Does It Typically Take to Repair a Union Leak?
You can usually repair a union leak in a few hours, but it depends on how quickly you detect the leak and have the right repair tools. Don’t delay leak detection, as small leaks can worsen. Using proper tools guarantees a secure fix, and in many cases, tightening or replacing the union takes only minutes. Be patient and methodical, and you’ll restore your plumbing efficiently and effectively.
What Are Signs That Indicate a Union or Thread Leak Is Worsening?
You’ll notice worsening signs such as increased moisture around the union or thread, persistent dripping, or a drop in system pressure. Leak detection becomes more urgent if these signs intensify or you see corrosion and rust around the area. Ignoring these worsening signs can lead to bigger issues, so it’s essential to address leaks promptly. Regular inspection helps catch leak progression early and prevents costly repairs.
Do Different Pipe Sizes Require Different Union and Thread Repair Techniques?
Yes, different pipe sizes do require different union and thread repair techniques. You should consider the pipe diameter to make certain you select the right unions and fittings that fit securely. Also, adhere to the appropriate threading standards for each size, as smaller pipes often need finer threads, while larger ones may use coarser standards. Proper matching prevents leaks and ensures a reliable repair.
Conclusion
By understanding the common causes of leaks and using the right tools and techniques, you can keep your unions and threads leak-free. Properly tightening and disassembling connections is key, and knowing when to replace or re-thread can save you time and hassle. Isn’t it worth taking a few extra steps to guarantee your plumbing stays dry and reliable? With these tips, you’re better equipped to prevent future leaks and maintain your system’s integrity.