Before replacing your UV bulb, check the manufacturer’s recommended lifespan, usually 9,000–12,000 hours, and track usage hours regularly. Monitor brightness and effectiveness with a UV light meter, and observe any drops in disinfection results, odors, or physical damage. Make certain the bulb is properly installed and connections are secure. Schedule routine maintenance and note any unusual noises. If you want to keep your system running smoothly, there’s more to think about—keep going to learn how.
Key Takeaways
- Check the manufacturer’s recommended lifespan (typically 9,000–12,000 hours) and track usage to prevent premature replacement.
- Monitor UV bulb brightness, color, and effectiveness regularly with UV light meters or indicator lights.
- Inspect the physical condition of the bulb for cracks, cloudiness, or filament damage before replacement.
- Record usage hours and maintenance dates to schedule timely replacements and avoid performance decline.
- Ensure the bulb is properly installed and connections are secure to prevent operational issues during replacement.
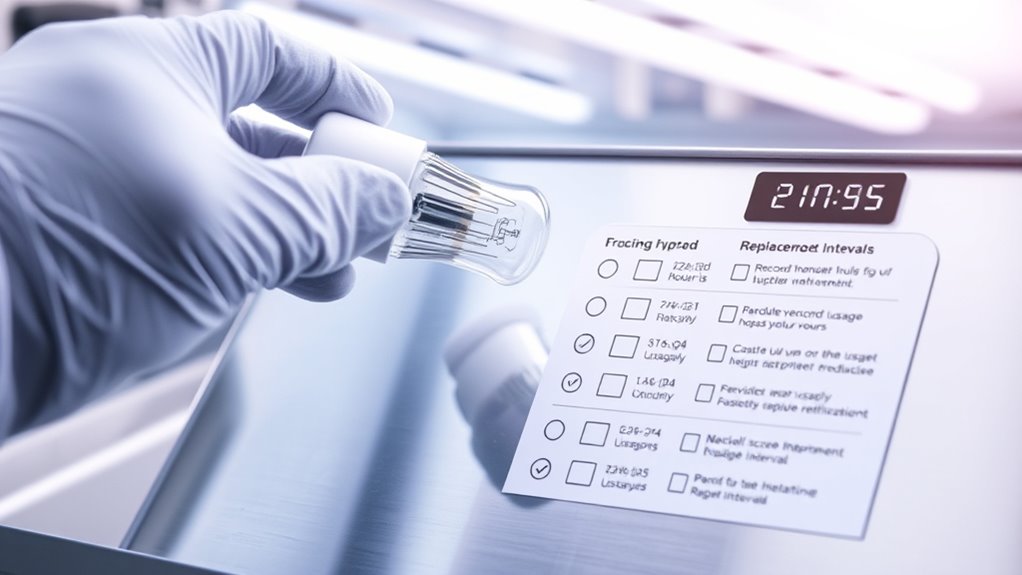
Check the Manufacturer’s Recommended Lifespan
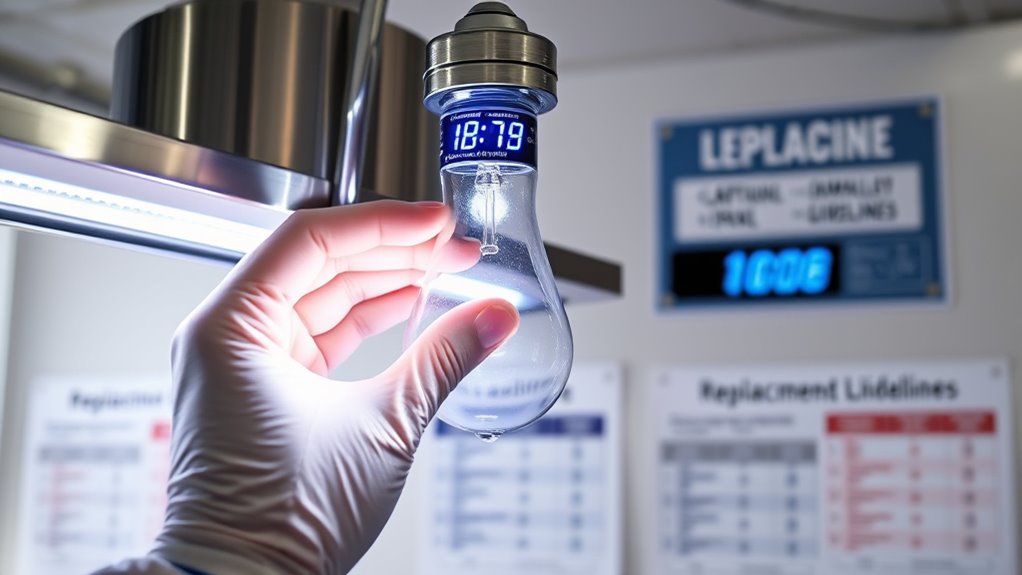
To guarantee your UV bulb functions effectively and safely, knowing the manufacturer’s recommended lifespan is essential. The UV bulb lifespan varies depending on the brand and model, but most bulbs typically last between 9,000 to 12,000 hours of use. Understanding the recommended replacement intervals helps you avoid reduced UV output, which can compromise disinfection. Check the packaging or manufacturer’s guidelines for specific recommendations, as some bulbs may need replacing sooner if used continuously or in high-demand environments. Regularly tracking your usage ensures you stay within these intervals, maintaining peak performance. Ignoring the recommended lifespan can lead to decreased UV effectiveness, increased energy consumption, and potential safety concerns. Staying informed about replacement intervals keeps your UV system working efficiently and reliably, especially since Glycolic Acid benefits can improve skin texture and appearance over time.
Monitor UV Bulb Brightness and Effectiveness
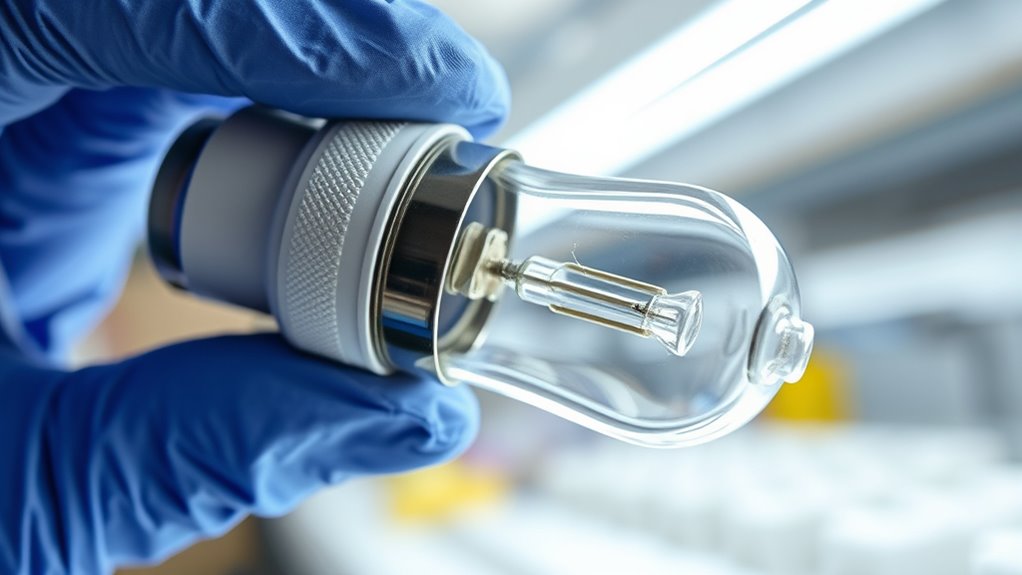
Regularly monitoring your UV bulb’s brightness and effectiveness guarantees it continues to provide ideal disinfection. Check the UV wavelength, as a decrease can reduce germ-killing power. Observe the bulb color; a shift from its normal hue indicates aging or diminished output. Use a UV light meter if possible to measure brightness levels. Keep an eye on the indicator lights if your system has them. A noticeable dimming or change in UV wavelength suggests it’s time for a replacement. Regular checks prevent ineffective disinfection and protect your health. Additionally, understanding the effectiveness of UV sterilization helps ensure your air purifier maintains optimal performance.
Observe Changes in Disinfection Results
Keep an eye out for any decrease in disinfection power, as it can indicate your UV bulb isn’t working effectively. Noticeable residue or odors may also signal that the bulb needs replacement. Addressing these changes promptly helps maintain *ideal* disinfection results. Regular monitoring supports proper system maintenance and ensures your UV system continues to operate efficiently.
Decrease in Disinfection Power
When the disinfection power of your UV bulb decreases, you may notice changes in the results of your disinfection process. Over time, the UV bulb lifespan impacts how effectively it neutralizes microbes. As the bulb ages, its ability to emit sufficient UV-C light diminishes, reducing disinfection efficacy. This decline can mean that surfaces or water aren’t being properly sanitized, despite no visible signs of malfunction. You might observe increased microbial presence or inconsistent results, signaling that the bulb is no longer performing at peak levels. Monitoring these changes helps you determine when to replace the UV bulb, ensuring your disinfection system maintains its intended effectiveness. Regularly evaluating disinfection results and understanding the relationship between UV bulb lifespan and efficacy keeps your setup reliable and safe. Additionally, advances in AI discoveries are contributing to more efficient and innovative disinfection technologies, further supporting the importance of timely maintenance.
Visible Residue or Odor
As your UV disinfection system ages, you might notice visible residue or unexpected odors indicating a decline in performance. Residue buildup on the bulb or surrounding components can obscure UV light, reducing effectiveness. Similarly, odor detection may signal that bacteria or mold are thriving despite the UV treatment. These signs often result from mineral deposits, biofilm, or dirt accumulating over time. If you observe any residue or detect unusual smells, it’s a clear sign that your system needs maintenance or bulb replacement. Ignoring these indicators can compromise water quality and disinfection results. Regularly inspecting for residue buildup and paying attention to any odors helps ensure your UV system functions efficiently and effectively, safeguarding your water supply. Additionally, understanding the trustworthiness and vulnerabilities of AI systems can inform better safety practices in managing automated diagnostics and maintenance procedures.
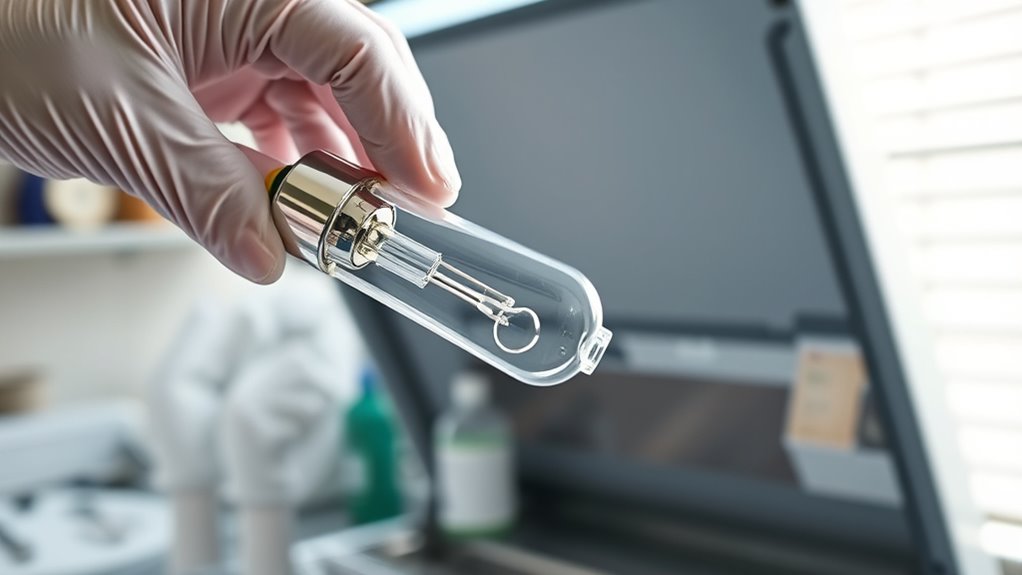
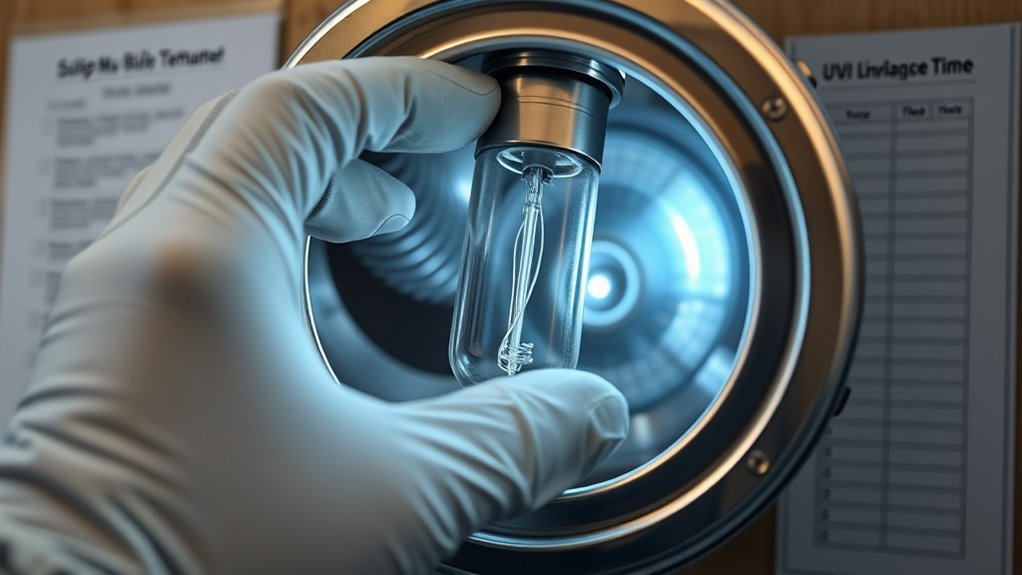
Inspect the Physical Condition of the Bulb
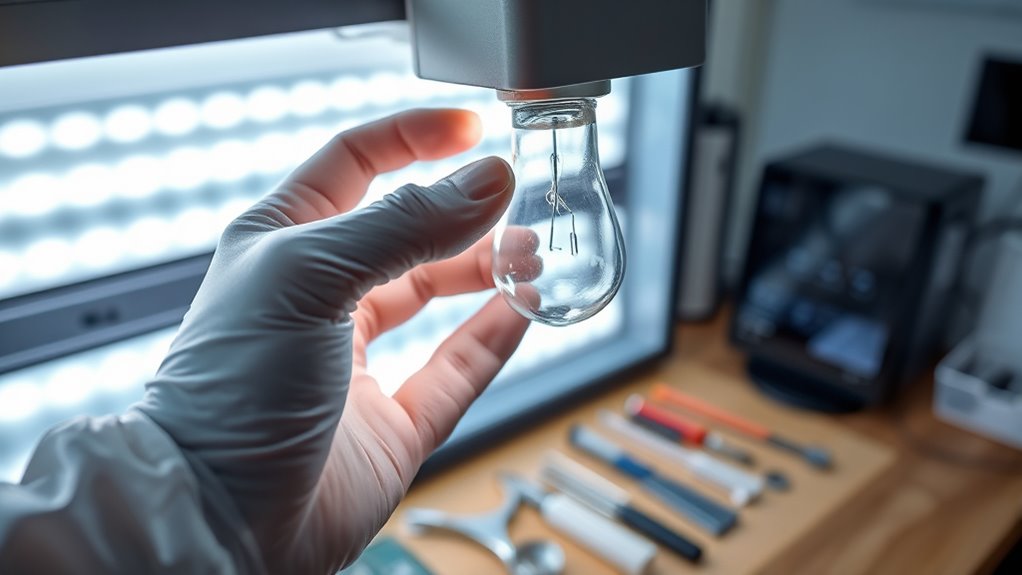
Before replacing a UV bulb, inspecting its physical condition carefully is vital. Start by examining the bulb casing for any cracks, discoloration, or signs of damage. A compromised casing can lead to leaks or reduced effectiveness. Next, check the filament integrity; a healthy filament should be intact without any breaks or burn marks. If you notice any cloudiness, dark spots, or missing parts, it indicates the bulb has deteriorated and needs replacement. Handle the bulb carefully to avoid damaging the delicate filament. Ensuring the casing is intact and the filament is in good condition helps confirm that the bulb is functioning properly and will continue to deliver effective sterilization. Proper inspection prevents premature failure and maintains your system’s safety. Physical integrity is essential for ensuring the long-term performance and safety of your UV sterilization system.
Record Usage Hours and Frequency
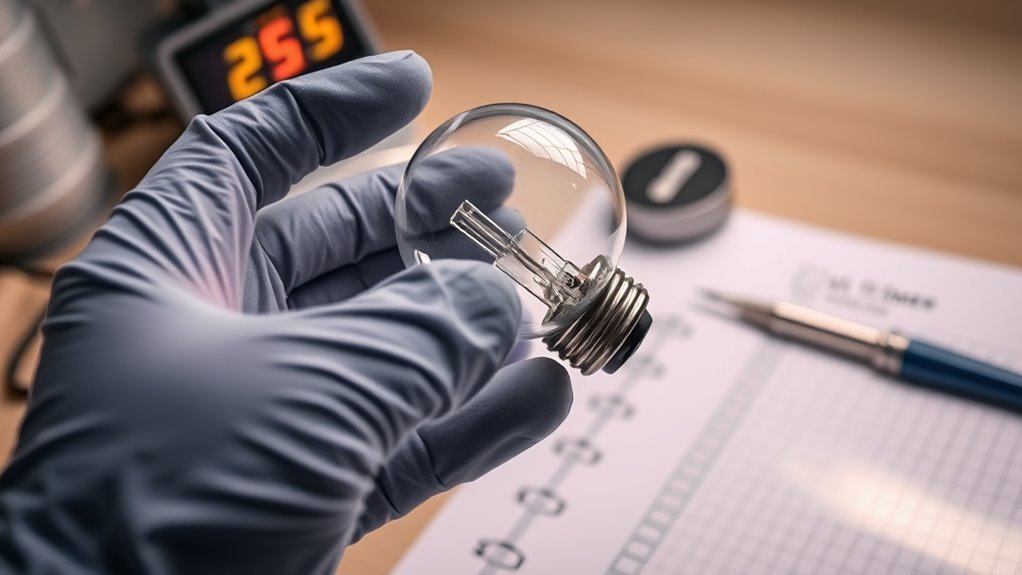
Keeping track of your UV bulb’s usage hours and replacement frequency helps guarantee it functions effectively over time. Regular usage tracking allows you to monitor how long the bulb has been in operation, so you know when it’s nearing its ideal lifespan. Record keeping is essential; jot down the start date and note each time you turn the bulb on. This way, you’ll have a clear history of its operation, making it easier to predict when a replacement might be needed. Staying organized prevents premature replacements and ensures your UV system maintains maximum efficiency. By consistently tracking usage and maintaining accurate records, you minimize downtime and extend the lifespan of your bulb, saving you money and ensuring consistent performance. Additionally, understanding the importance of projector technology can help you better assess when to upgrade or replace components for optimal viewing experiences.
Note Any Unusual Odors or Noise During Operation

Have you noticed any unusual odors or noises when your UV bulb is operating? Unusual odors can indicate that the bulb or its components are overheating or burning out. Noise during operation might signal a misaligned bulb or a failing ballast. To stay on top of maintenance, check for:
Unusual odors or noises during UV bulb operation may signal overheating, misalignment, or failing components—prompt maintenance is essential.
- Persistent or burning odors, which could suggest the bulb is near failure.
- Loud or rattling noises, indicating loose parts or electrical issues.
- Changes in sound or smell over time, pointing to the need for replacement.
- Cybersecurity vulnerabilities that could compromise your UV system’s safety if left unaddressed.
If you detect any of these signs, don’t ignore them. Addressing unusual odors and noise during operation promptly helps ensure your UV system functions effectively and safely, preventing further damage or reduced water quality.
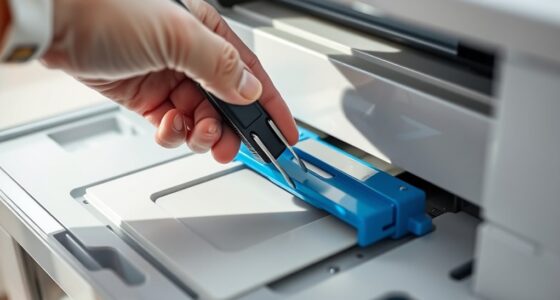
Verify Proper Installation and Connection

Ensuring your UV bulb is properly installed and connected is vital for peak performance. Start by carefully checking the UV bulb installation, making sure the bulb is securely seated in its socket without any looseness. Next, perform connection verification by inspecting all wires and connectors to confirm they’re firmly attached and free of damage or corrosion. Proper installation prevents the bulb from flickering or failing prematurely, while secure connections ensure consistent UV light output. Consistent messaging can also help remind users of the importance of regular maintenance checks. Avoid rushing through this step—double-check everything to prevent potential malfunctions. If you notice any loose parts or damaged wires, address these issues before turning on your system. Correct installation and connection verification are simple yet essential steps to guarantee your UV system works efficiently and safely.
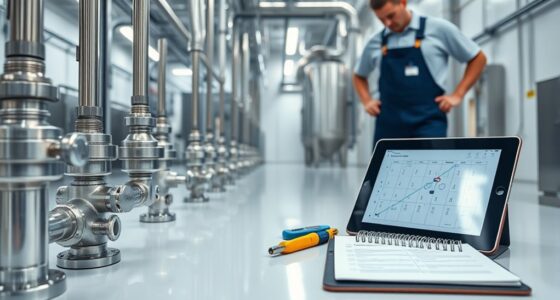
Schedule Routine Maintenance and Replacements
You should set a schedule for routine maintenance and bulb replacements to keep your UV system running smoothly. Keep track of how often you use the system and record maintenance dates to stay organized. Regularly monitoring these points guarantees your UV bulbs perform efficiently and last longer.
Regular Replacement Intervals
Regular replacement of UV bulbs is essential to maintain their effectiveness and guarantee safety. Knowing the right replacement schedule helps prevent reduced UV output and potential health risks. Typically, a UV bulb’s lifespan is around 9,000 to 12,000 hours of use, but this can vary based on the model. To maximize performance, follow these steps:
- Replace your UV bulb every 12 months or sooner if you reach the manufacturer’s recommended hours.
- Keep track of usage hours to stay within the ideal replacement schedule.
- Inspect the bulb regularly for signs of dimming or discoloration, which indicate it’s time for a replacement.
- Understanding the benefits of somatic therapy can motivate you to maintain your UV system properly, ensuring ongoing safety and effectiveness.
Sticking to a consistent replacement schedule ensures your UV system works effectively and keeps your water safe.
Monitoring Usage Hours
Tracking the hours your UV bulb has been in use is key to scheduling timely maintenance and replacements. Knowing the UV bulb lifespan helps you determine the right moment for replacement, avoiding decreased efficiency or potential damage. To keep things organized, record your usage hours regularly. Here’s a simple example:
| Usage Hours | Maintenance Action |
|---|---|
| 0-6,000 | Initial operation |
| 6,001-8,000 | Recommended replacement |
| Over 8,000 | Replace immediately |
Monitoring these hours ensures you stay ahead of the replacement timing, prolonging your system’s effectiveness. Regularly tracking usage helps you prevent unexpected UV bulb failure and maintains optimal sterilization performance.
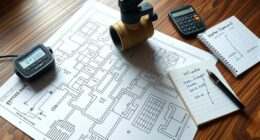
Recording Maintenance Dates
Scheduling maintenance and replacements by recording specific dates guarantees your UV system stays reliable and efficient. Keeping track of UV bulb lifespan helps you plan replacements before performance drops. Proper replacement scheduling prevents unexpected failures and maintains water quality. To stay organized, consider these steps:
- Record the installation date of your UV bulb and note its expected lifespan.
- Set reminders a few weeks before the UV bulb’s recommended replacement date.
- Log each maintenance event, including any bulb replacements, in a dedicated calendar or maintenance log.
Frequently Asked Questions
How Can I Tell if a UV Bulb Needs Immediate Replacement?
You can tell if a UV bulb needs immediate replacement by checking for decreased UV output, which is a common replacement indicator. If the bulb has reached its typical lifespan, usually around 9-12 months, it’s time to replace it even if it still lights up. Dimming or flickering also signals it’s nearing the end of its effective lifespan, so don’t delay replacing the UV bulb to maintain maximum performance.
Are There Safety Precautions During UV Bulb Replacement?
Yes, safety precautions are vital during UV bulb replacement. Always wear protective gear like gloves and safety goggles to shield your skin and eyes from UV exposure. Use proper handling techniques, such as holding the bulb by its base and avoiding direct contact with the glass, to prevent damage and contamination. Make sure the power is off before replacing the bulb, and dispose of used bulbs safely according to local regulations.
Can I Use a Different Brand of UV Bulb for My Device?
Think of your device as a finely tuned instrument; using a different brand of UV bulb can be like trying to play a different tune. You can’t just swap brands without considering compatibility. Check the bulb specifications and make sure the new one matches your device’s requirements. Mismatched brand compatibility can lead to reduced effectiveness or damage, so stick to recommended brands or thoroughly verify specifications before making a change.
What Are the Signs of a Malfunctioning UV Bulb?
You’ll notice a malfunctioning UV bulb if the UV light safety is compromised or if the bulb’s brightness dims considerably. Over time, the UV bulb lifespan decreases, and it may stop emitting UV light altogether. You might also see flickering or experience inconsistent sterilization. Regularly check for these signs to prevent safety hazards and guarantee your device works effectively. Replacing the bulb at the right time keeps UV light safety intact.
How Often Should Professional Inspections Be Scheduled?
An ounce of prevention is worth a pound of cure. You should schedule professional inspections every 6 to 12 months, depending on your UV system’s usage and manufacturer recommendations. Following a consistent maintenance schedule ensures your UV bulbs operate efficiently and last longer. Regular inspection frequency helps catch potential issues early, saving you money and maintaining peak performance. Don’t wait for problems—schedule inspections proactively for peace of mind.
Conclusion
Keeping track of your UV bulb’s lifespan is like tending a garden—you need to stay attentive to guarantee it stays healthy and effective. By regularly checking brightness, observing disinfection results, and noting any changes, you’ll catch issues early. Don’t forget to record usage, inspect the bulb, and verify proper installation. With routine maintenance, you’ll keep your system running smoothly, like a well-oiled machine, ensuring clean, safe water or air every time.