To winterize your water system correctly, start by inspecting for early signs of issues like leaks, discolored water, or low pressure. Drain and flush your pipes to remove debris, then insulate exposed lines with foam or heat tape. Make certain external components are sealed and well-ventilated. Don’t forget to test your backflow devices. Following these steps can prevent costly damage—if you want to get it right, there’s more to consider below.
Key Takeaways
- Conduct thorough system inspections, including pipes, fittings, and external components, to identify and address issues early.
- Use precise measurements and proper procedures for draining, flushing, and sealing to prevent freezing damage.
- Implement appropriate insulation and sealing strategies to maintain consistent indoor temperatures and protect vulnerable pipes.
- Utilize reliable heating devices like heat tapes, ensuring they are properly installed, tested, and maintained before cold spells.
- Create and regularly update a comprehensive winterization checklist to ensure all steps are systematically followed and issues are promptly resolved.
Identifying Common Signs of Water System Issues Before Winter
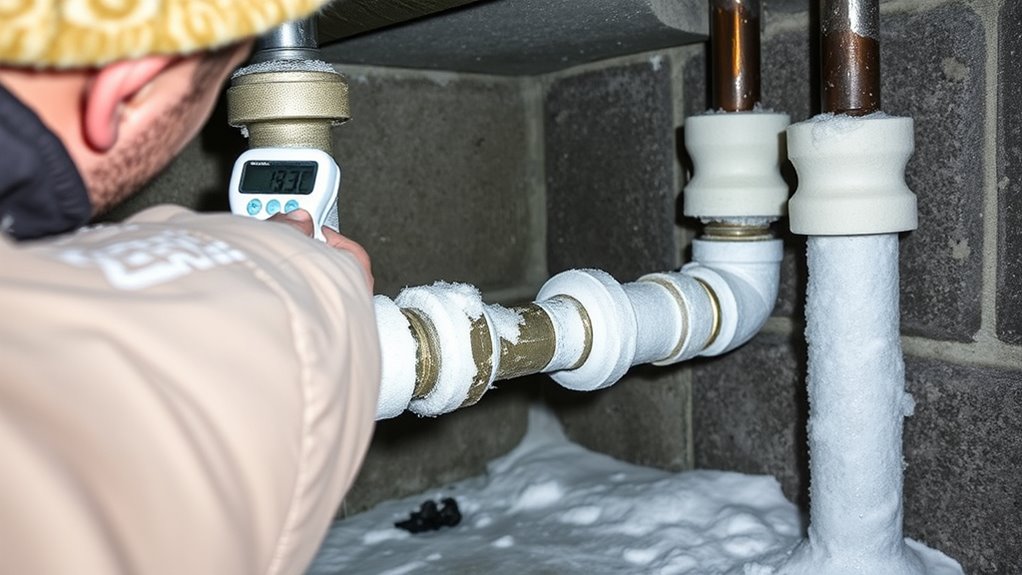
As winter approaches, it’s crucial to recognize early signs that your water system might be at risk of freezing or damage. One key indicator is a sudden change in water quality, such as discoloration, sediment, or foul odors, which can signal buildup or contamination issues that need addressing before cold weather hits. Additionally, neglecting regular system maintenance can lead to hidden problems, like weak spots or minor leaks, that become serious when temperatures drop. Keep an eye on inconsistent water pressure or slow drainage, as these may point to underlying issues needing attention. Addressing these signs early ensures your water system remains reliable during winter, preventing costly repairs and safeguarding your water quality throughout the cold months. Staying informed about water system maintenance and potential issues can help you take proactive steps to protect your property.
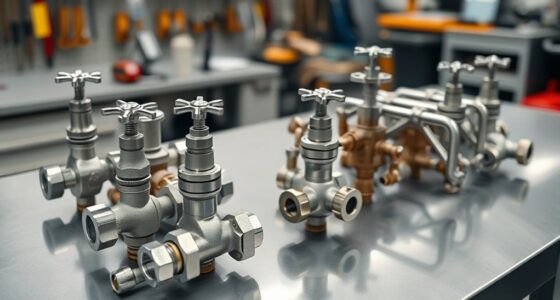
Checking for Leaks and Weak Points in Your Plumbing
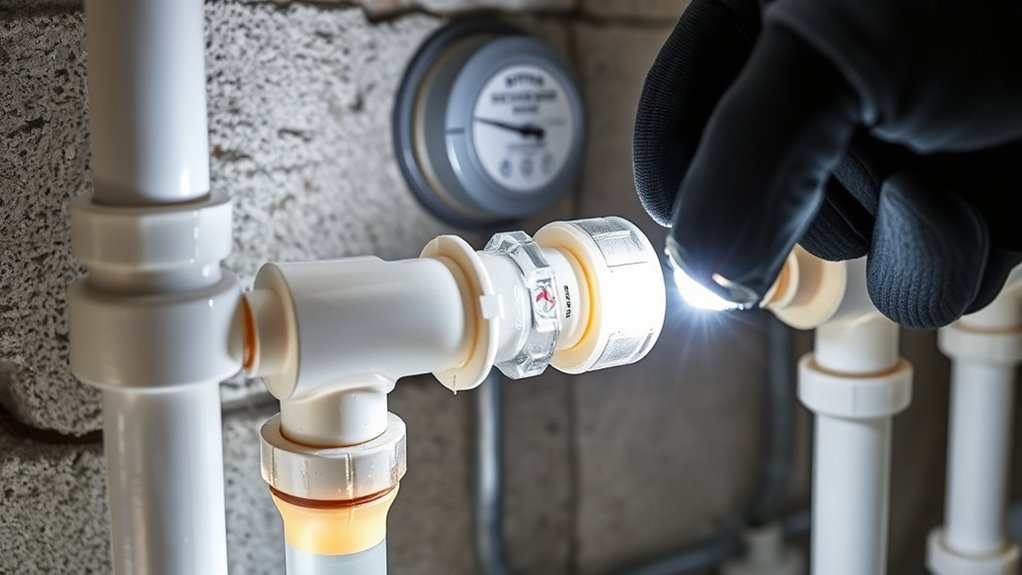
Start by inspecting your visible pipes carefully for any signs of damage or leaks. Then, test your water pressure levels to spot potential weak points, and listen for dripping sounds that could indicate hidden leaks. Taking these steps now helps prevent costly repairs before winter hits. Additionally, ensuring your water system is free from leakage can improve overall efficiency and prevent further damage during colder months.
Inspect Visible Pipes Carefully
Inspecting your visible pipes carefully is a crucial step in winterizing your water system. Look for signs of pipe corrosion, such as discoloration or rust, which can weaken pipes and lead to leaks during freezing temperatures. Check each valve for accessibility, ensuring they turn smoothly and are easy to shut off if needed. Tighten any loose fittings and look for cracks or corrosion around joints. Pay attention to areas where pipes bend or are exposed to the elements, as these spots are more vulnerable. Clearing debris or insulation around pipes helps prevent damage. Addressing minor issues now can save you from costly repairs and water damage later. Being thorough during this inspection keeps your system prepared for winter’s challenges. Additionally, understanding sound vibrations can help you identify early signs of pipe issues, as unusual noises may indicate underlying problems that need attention before they worsen.
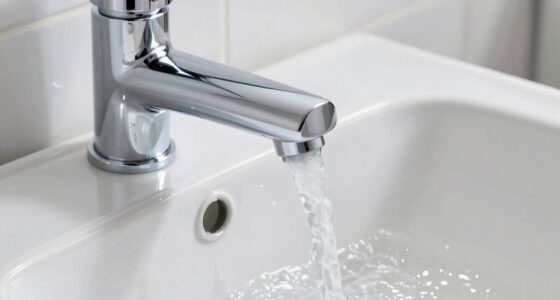
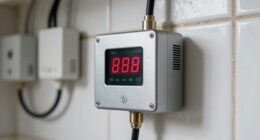
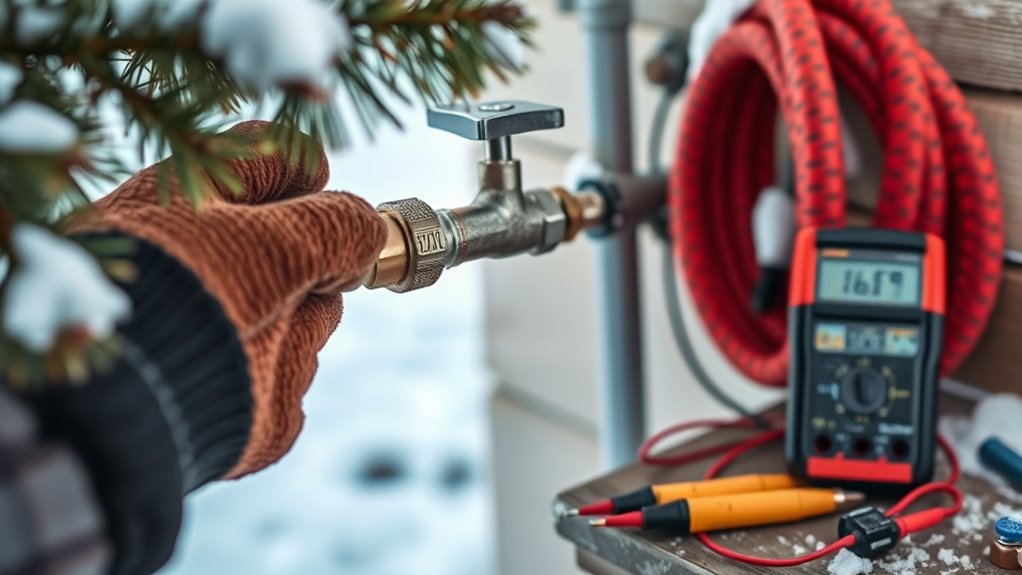
Test Water Pressure Levels
Have you tested your water pressure lately to identify potential leaks or weak spots? Water pressure testing helps reveal issues before they worsen, especially during winter. Use a reliable pressure gauge and verify it’s properly calibrated for accurate readings. Attach the gauge to a hose bib or faucet and turn on the water fully. Observe the pressure reading—generally, a healthy home pressure is between 40 and 60 psi. If the pressure is too low, it could indicate leaks or blockages; if too high, it might stress your plumbing lines. Regular pressure gauge calibration ensures precise measurements. Identifying weak points early allows you to address leaks, reinforce vulnerable areas, and prevent costly repairs when temperatures drop. Additionally, understanding digital literacy programs can help you better utilize water testing tools and interpret readings accurately. Don’t skip this step—accurate pressure testing is essential for winterizing your water system effectively.
Check for Dripping Sounds
Listening for dripping sounds in your plumbing can help you catch leaks early before they cause significant damage. Dripping sounds indicate water flow where it shouldn’t be, signaling a leak or weak point. Pay attention to faucets, pipes, under sinks, and behind appliances. Even small drips can waste water and lead to frozen pipe issues during winter. If you hear consistent dripping, inspect the area closely for visible leaks or dampness. Sometimes, the sound may be faint, so use your ear and check for unusual water flow patterns. Addressing these sounds promptly prevents further damage and helps you winterize your system more effectively. Staying alert to dripping sounds ensures your plumbing remains sound, saving you time and costly repairs later. Additionally, using automated monitoring systems can help detect leaks that are too subtle for you to notice manually.
Properly Draining and Flushing Your Water Lines
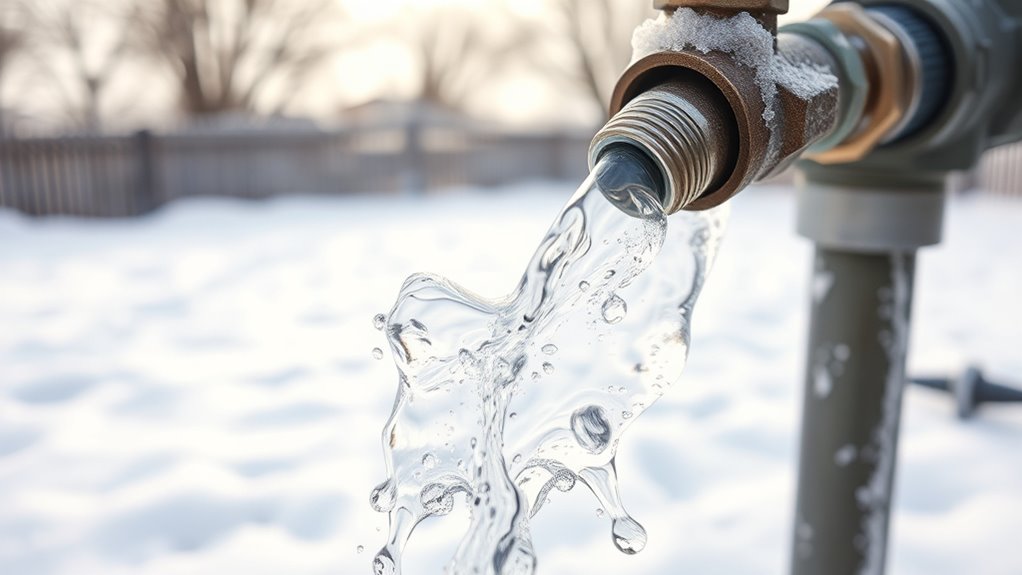
To prevent pipes from freezing and bursting during the winter, it’s essential to properly drain and flush your water lines before the cold weather arrives. Start by opening drainage valves to release remaining water from your system. These valves are strategically placed at low points in your pipes to ensure complete drainage. Next, use effective flushing techniques—such as running the water at a slow, steady pace—to clear out any debris or residual water. This process helps prevent ice formation inside the pipes, reducing the risk of cracks or bursts. Be thorough and patient during this step, ensuring all water is drained and lines are clean. Properly flushing and draining your water lines now saves you from costly repairs later.
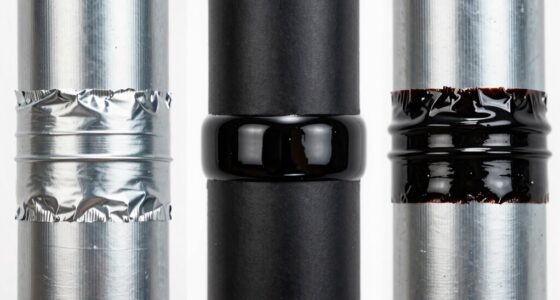
Insulating Pipes to Prevent Freezing Damage
To protect your pipes from freezing, start by choosing the right insulation materials that suit your climate. Make sure to seal any gaps or openings around pipes to keep cold air out. Additionally, maintaining a consistent indoor temperature helps prevent temperature fluctuations that could cause damage. Using insulation materials designed specifically for plumbing can further enhance protection against cold weather.
Choose Proper Insulation Materials
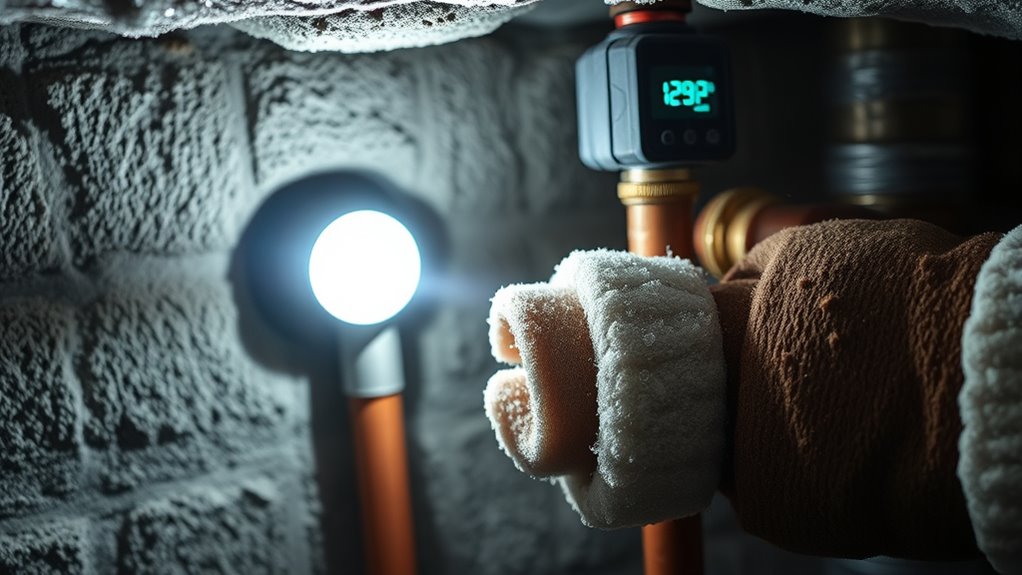
Choosing the right insulation materials is essential to protect your pipes from freezing during winter. You need thermal barriers that effectively prevent heat loss and guard against cold air. Select insulation types designed specifically for pipes, such as foam pipe sleeves, fiberglass wrap, or rubberized coatings. These materials are easy to install and provide reliable thermal barriers. Consider the pipe location and exposure; unheated spaces like basements or garages require thicker or more durable insulation. Ensure the insulation fits snugly without gaps to maximize efficiency. Proper selection of insulation types guarantees your pipes stay warm, reducing the risk of burst pipes and water damage. Investing in quality materials now can save you from costly repairs and inconvenience later.
Seal Gaps and Openings
Sealing gaps and openings around your pipes is a crucial step in preventing winter freeze damage. By caulking gaps and sealing openings, you stop cold air from reaching vulnerable areas. This reduces the risk of pipes freezing and bursting. Focus on sealing all visible gaps around plumbing fixtures, vents, and exterior walls. Use waterproof caulk for larger cracks, and foam sealant for broader openings. Proper sealing also helps maintain consistent temperatures, reducing energy costs and improving overall home comfort. Fill cracks in exterior walls or around windows to further protect your water system during harsh winter conditions.
Maintain Consistent Temperature
Since cold temperatures can quickly cause pipes to freeze and burst, maintaining a consistent temperature is essential. Proper temperature regulation helps prevent frost protection issues that lead to costly repairs. Insulating your pipes creates a barrier against the cold, keeping the water inside from dropping to freezing levels. Use foam pipe insulation, heat tape, or wrapping materials to cover vulnerable areas, especially in unheated spaces. Regularly check these insulations throughout winter to ensure they remain intact and effective. By maintaining a steady temperature, you reduce the risk of pipe damage caused by freezing and thawing cycles. Ensuring your water system is properly tuned and maintained can also help prevent unexpected failures during cold weather. Prioritize frost protection strategies to keep your water system running smoothly and avoid unexpected plumbing emergencies during the cold months.
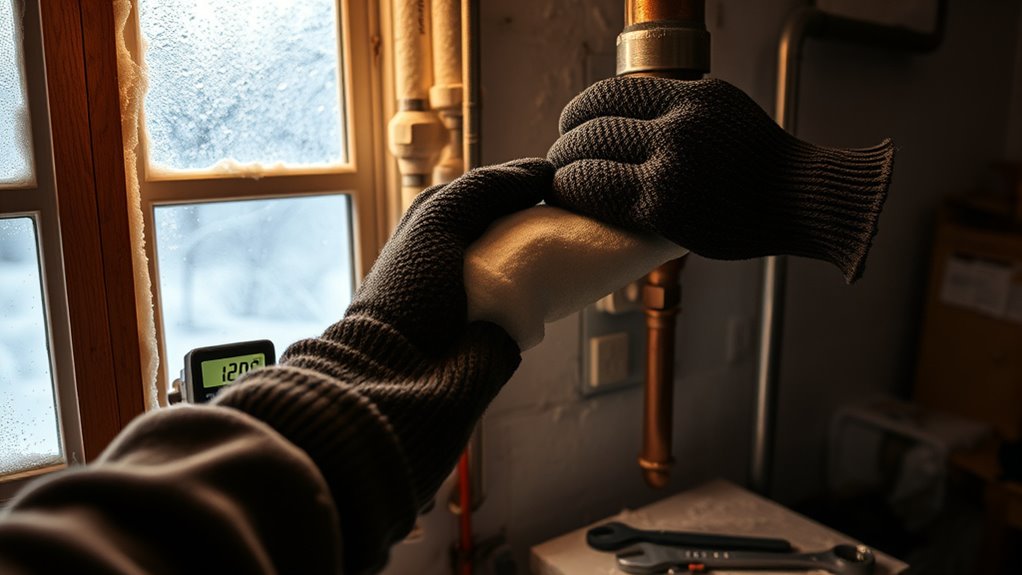
Using Heating Cables and Insulation Wraps Effectively
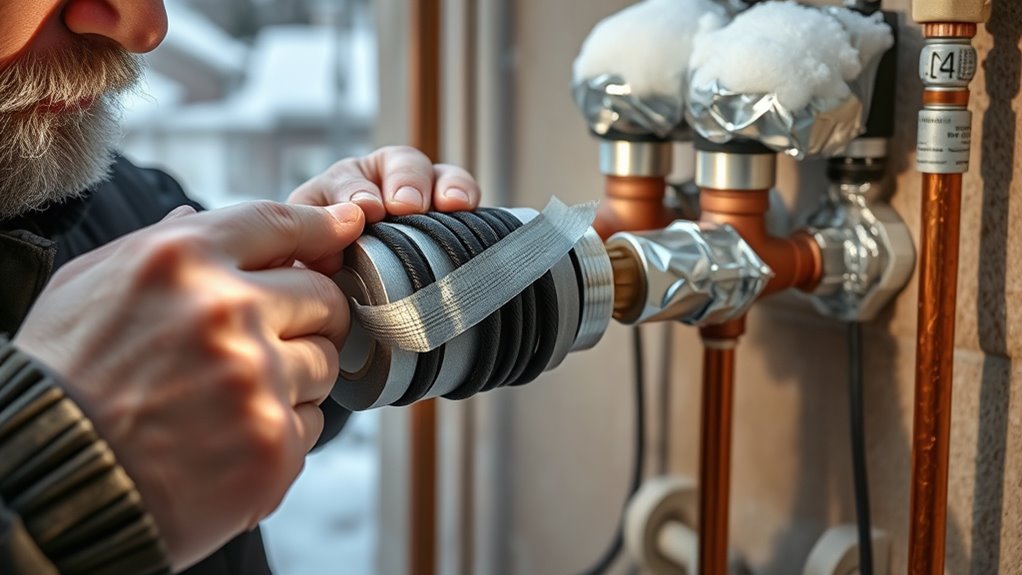
To keep your water systems from freezing during harsh winter conditions, you need to use heating cables and insulation wraps correctly. Start by applying thermal cables along pipes, ensuring they cover all vulnerable areas. Secure insulation wraps tightly around the pipes to provide a barrier against the cold. Proper installation is key to prevent heat loss and keep water flowing smoothly. Remember these tips:
- Use high-quality thermal cables rated for outdoor winter temperatures
- Wrap insulation tightly, avoiding gaps or loose spots
- Maintain a consistent heat source by plugging in cables before temperatures drop
- Be aware of Gold IRA regulations, as adhering to legal guidelines ensures your investments remain compliant and protected.
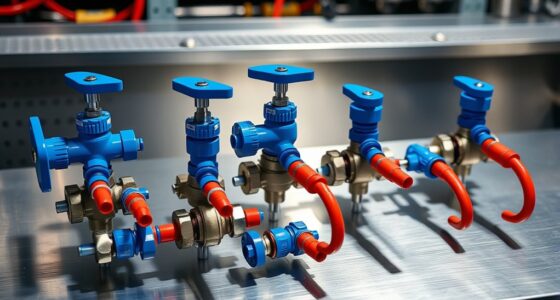
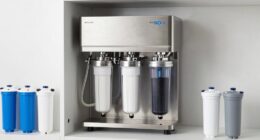
Testing and Maintaining Your Backflow Prevention Devices
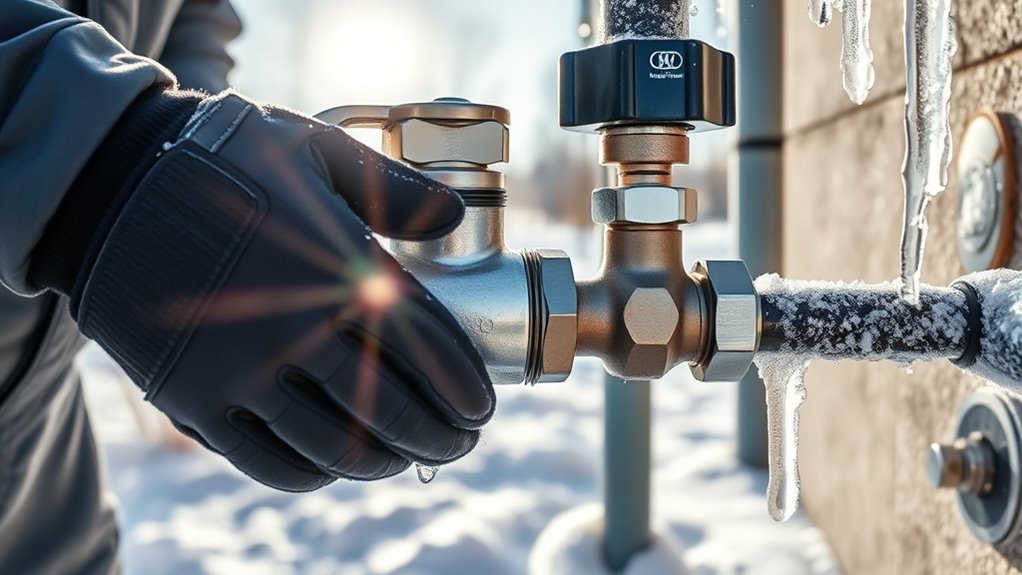
Regularly testing and maintaining your backflow prevention devices helps keep your water systems safe and functioning properly throughout the winter. Backflow testing ensures these devices are working correctly, preventing contaminated water from flowing back into your main supply. Schedule inspections before cold weather hits, and hire professionals if you’re unsure how to perform tests yourself. Device maintenance involves checking for leaks, corrosion, or damage, and replacing parts as needed. Keeping your backflow preventers in top condition minimizes the risk of freezing and bursting during winter. Make it a point to document all tests and maintenance activities. Properly functioning backflow prevention devices are essential for maintaining water quality and avoiding costly repairs, especially when freezing temperatures threaten your system. Regular inspection and filter replacement can help ensure the devices operate effectively and prevent malfunctions.
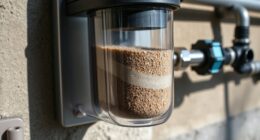
Ensuring Proper Drainage and Ventilation for External Components

Proper drainage and ventilation for external water system components are essential to prevent water accumulation and freezing during winter. Ensuring these systems work correctly helps avoid costly damage and system failure. Start by inspecting and maintaining external covers to keep debris out, which can block drainage pathways. Regularly check your ventilation system for obstructions or damage, as proper airflow prevents moisture buildup that could freeze. To optimize functionality, focus on:
- Cleaning and maintaining external covers for free drainage
- Verifying ventilation system checks for proper airflow
- Clearing debris around external components to promote drainage
Creating a Winterization Checklist for Ongoing Care
Maintaining external covers and ventilation systems helps prevent winter damage, but creating a detailed winterization checklist keeps your water system protected throughout the season. Your checklist should include seasonal maintenance tasks like inspecting pipes, draining exposed lines, and sealing leaks. Regularly check your heating systems and insulation to ensure they’re functioning properly. Being prepared for emergencies means having backup supplies, such as extra fittings or a portable heater. Schedule routine inspections to identify potential issues early, and update your checklist as needed. Staying proactive with ongoing care minimizes risks like pipe bursts or system failures. A thorough winterization checklist not only simplifies your winter prep but also ensures your water system remains functional and safe, no matter how cold it gets.
Frequently Asked Questions
How Do I Choose the Best Winterization Products for My Water System?
To choose the best winterization products for your water system, focus on selection criteria like compatibility with your system’s materials and climate. Look for reliable winter products that prevent freezing and corrosion. Read reviews and consult manufacturer recommendations. Consider your specific needs, such as outdoor or indoor use, and verify the products are easy to use. Properly selected winter products will shield your water system from winter damage effectively.
What Are Common Mistakes to Avoid During Winterization?
You should avoid neglecting pipe insulation, as it prevents freezing damage. Also, don’t forget to properly drain water from all drain valves; leaving water in pipes can cause cracks. Rushing through these steps or skipping inspections can lead to costly repairs later. Always double-check that all valves are fully open and insulated pipes are secure. Taking your time and following these tips helps ensure a safe, effective winterization process.
How Often Should I Inspect My Water System in Winter?
Think of your water system like a garden that needs regular watering. You should inspect it at least once every 4 to 6 weeks during winter. This inspection frequency helps catch issues early, preventing costly repairs. Stick to a maintenance schedule, especially if temperatures fluctuate, to guarantee your system stays protected all season. Regular checks keep everything flowing smoothly and avoid surprises when spring arrives.
Can I Winterize My Water System Myself or Should I Hire a Professional?
You can winterize your water system yourself if you follow DIY tips carefully, but hiring professional assistance guarantees everything’s done correctly and safely. If you’re comfortable with basic plumbing tasks, tackle the process with step-by-step guides and proper tools. However, for complex systems or if you’re unsure, it’s best to call in a professional to prevent potential damage and avoid costly mistakes. Safety and thoroughness matter most.
What Emergency Steps Should I Take if My System Freezes Unexpectedly?
It’s a coincidence that you’re facing a frozen pipe emergency now, but quick action is crucial. First, shut off the main water supply to prevent further damage. Then, use a hairdryer or heat gun on low to thaw the pipe carefully, avoiding open flames. Keep emergency preparedness tools nearby, and if the pipe bursts, call a professional for frozen pipe repair. Act swiftly to minimize costly damage.
Conclusion
Think of winterizing your water system as tending a delicate garden. With careful attention and proactive steps, you shield your pipes from icy damage like a gardener protecting blooms from frost. Regular checks and proper insulation act as your tools, ensuring everything stays healthy and functional through the cold months. By staying vigilant and prepared, you keep your water system resilient, ready to bloom again when spring arrives—no guesswork needed.