To master leaks at unions and threads over a weekend, start by understanding common causes like improper installation, corrosion, or damaged threads. Gather essential tools such as wrenches, Teflon tape, and sealants. Carefully inspect, clean, and reassemble connections, applying sealant properly for a tight fit. After tightening, test the system for leaks. Following these steps boosts your confidence; further tips will help you fine-tune your repair skills efficiently.
Key Takeaways
- Identify leak signs such as moisture, corrosion, or drips through thorough visual inspections.
- Turn off water supply, drain pipes, and clean fittings before disassembly to prevent further leaks.
- Use proper tools and sealants like Teflon tape or pipe joint compound to ensure a tight, leak-proof connection.
- Reassemble fittings with gradual tightening, avoiding over-tightening that can damage threads or cause cracks.
- Test the system with water or air, monitor for leaks, and perform regular maintenance to prevent future issues.

HORUSDY 4 Pack Heavy Duty Pipe Wrench Set, Adjustable 8" 10" 12" 14" Soft Grip Plumbing Wrench Set with Storage Bag
The handle is made of high strength malleable cast iron, and the head is made of heavy forged…
As an affiliate, we earn on qualifying purchases.
As an affiliate, we earn on qualifying purchases.
Understanding the Common Causes of Leaks at Unions and Threads
Leaks at unions and threads often occur because of improper installation or maintenance. The most common causes include incorrect tightening, which can strip threads or cause cracks, and poor alignment, leading to gaps and leaks. Material deterioration also plays a significant role; over time, pipes and fittings can corrode, weaken, or crack due to exposure to moisture, chemicals, or temperature fluctuations. These issues compromise the integrity of the connection, making leaks more likely. Additionally, using incompatible or substandard materials can accelerate deterioration and cause joint failure. Regular inspection and proper handling during installation help prevent these common causes. Understanding how material deterioration affects your fittings alerts you to early warning signs, allowing you to address leaks before they escalate.

VOTMELL 4 Rolls 1/2 Inch(W) X 520 Inches(L) Teflon Plumbers Tape,Pipe Sealing & Plumbing Thread Tape,PTFE Water Sealant Seal for Shower Head,White
Teflon tape has a sealing function to prevent the leakage of water or gas.
As an affiliate, we earn on qualifying purchases.
As an affiliate, we earn on qualifying purchases.
Gathering the Essential Tools and Materials for Leak Repairs
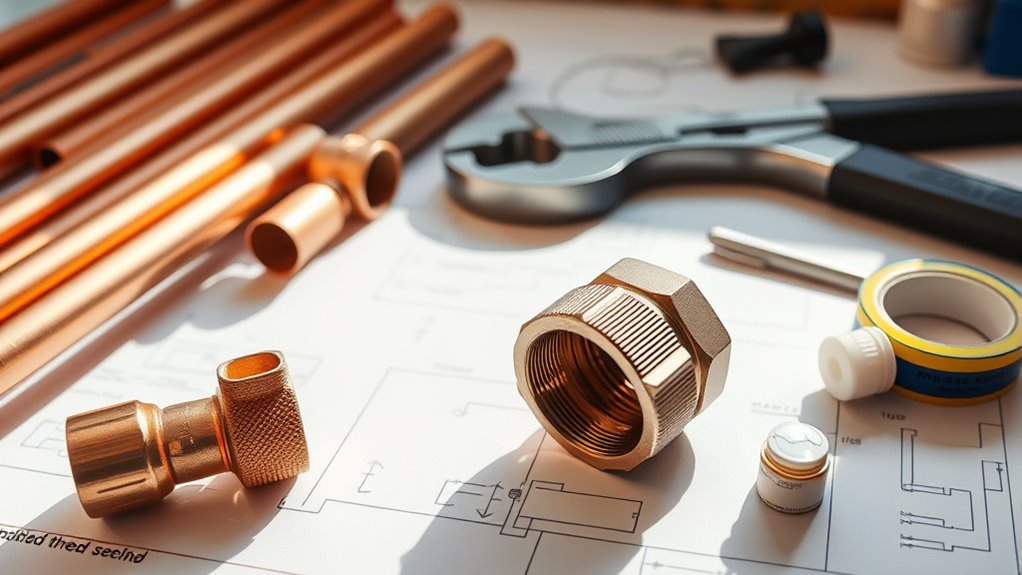
Before you start repairing leaks at unions and threads, make sure you have the right tools and materials on hand. You’ll need essential items like wrenches, screwdrivers, and sealants to get the job done effectively. Having everything prepared ensures a smooth and efficient repair process. For stubborn leaks, using the right sealing technology can make a significant difference in the repair’s success.
Tools Needed for Repair
To effectively repair leaks at unions and threads, you need to gather the right tools and materials. Having the proper equipment guarantees a quick, reliable fix. Essential tools include leak detection tools, which help locate hidden leaks accurately, and pipe welding tools if you need to join or reinforce sections. You’ll also want a wrench set for loosening and tightening fittings, and pipe thread sealants to secure connections. Using leak detection tools allows you to identify leaks efficiently before starting repairs, saving time and effort. Additionally, understanding sound healing science can offer insights into how vibrations might influence material integrity and repair processes. Make sure you have these tools on hand to handle different leak scenarios confidently and effectively.
Materials for Sealant
Choosing the right sealant materials is essential for guaranteeing a durable and effective leak repair. You need sealants that withstand pipe corrosion and prevent leaks at threaded connections. Thread threading requires sealants like pipe dope or Teflon tape, which prevent leaks and make future disassembly easier. For pipes prone to corrosion, consider corrosion-resistant compounds that protect the metal surfaces. Make sure the sealant is compatible with the pipe material and suitable for the fluid type. Using the proper materials assures a tight seal and prolongs the lifespan of your repair. Gather high-quality thread sealants, corrosion inhibitors, and any additional compounds recommended for your specific piping system. Proper materials are the foundation for a leak-free, long-lasting fix. Selecting appropriate materials is crucial for ensuring the longevity and effectiveness of your leak repairs.

Pipe Thread Sealant 4 fl oz, Brush-Top Can, Great White Pipe Joint Compound, White, Liquid – 1 Each
Made in United States
As an affiliate, we earn on qualifying purchases.
As an affiliate, we earn on qualifying purchases.
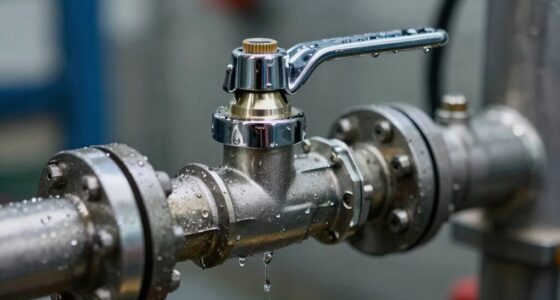
Identifying the Signs of a Leak at Connection Points
You should start by visually inspecting connection points for any signs of moisture or corrosion. Keep an eye out for sudden pressure drops, which often indicate a leak. Additionally, look for drips or damp spots that can reveal ongoing leaks at the unions or threads. Remember, understanding dog behavior can also help identify if a leak has caused any unusual activity or distress nearby.
Visual Inspection Tips
Visual inspection is a crucial first step in detecting leaks at unions and threads. By carefully examining connection points, you can spot early signs of issues that might otherwise go unnoticed. Look for:
- Moisture or water streaks around the connection, indicating ongoing leak detection.
- Corrosion, rust, or mineral deposits that suggest slow leaks over time.
- Discoloration or staining on pipes or fittings, which often point to fluid escape.
- Additionally, understanding the importance of proper calibration and maintenance can help prevent leaks and maintain system integrity.
Pay close attention to these visual cues, as they often reveal leaks before they become serious problems. Conduct your visual inspection in good lighting and with a keen eye. Detecting leaks early helps you address issues promptly, preventing costly repairs and ensuring system integrity.
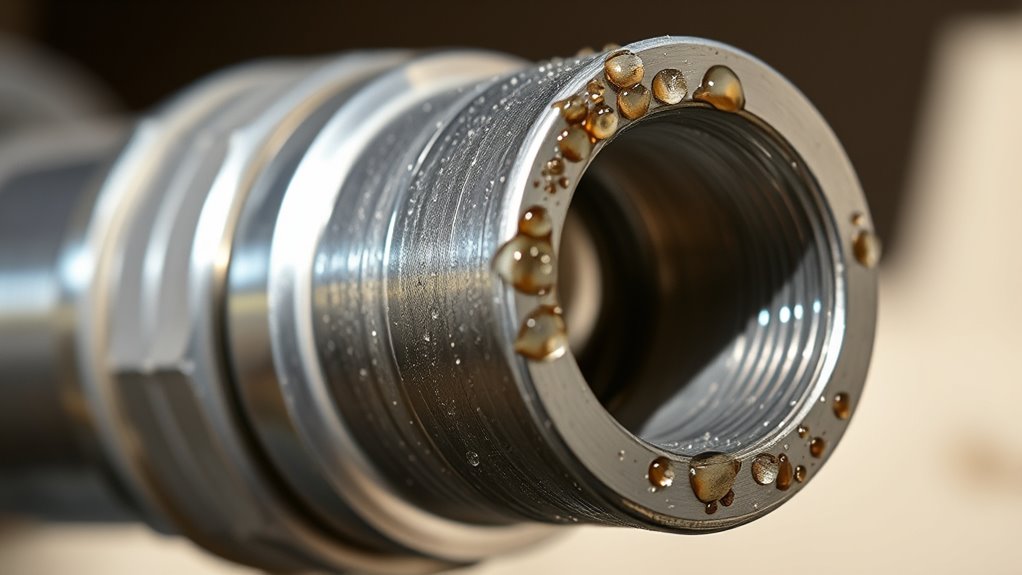
Sudden Pressure Drop
A sudden pressure drop at connection points is a clear sign that a leak may be present. You might notice the system losing pressure unexpectedly, and it’s often caused by issues like pipe corrosion or temperature fluctuations. Corrosion weakens pipe walls, creating tiny holes where leaks can develop, especially at joints and threads. Rapid changes in temperature can cause expansion and contraction, loosening connections and creating gaps for leaks. If you observe a quick drop in pressure without obvious visual signs, it’s essential to investigate connection points immediately. Regularly inspecting for corrosion buildup and monitoring for temperature changes can help you catch leaks early. Addressing these issues promptly prevents further damage and keeps your system running smoothly. Being aware of corrosion signs and preventive measures can significantly extend the lifespan of your piping system.
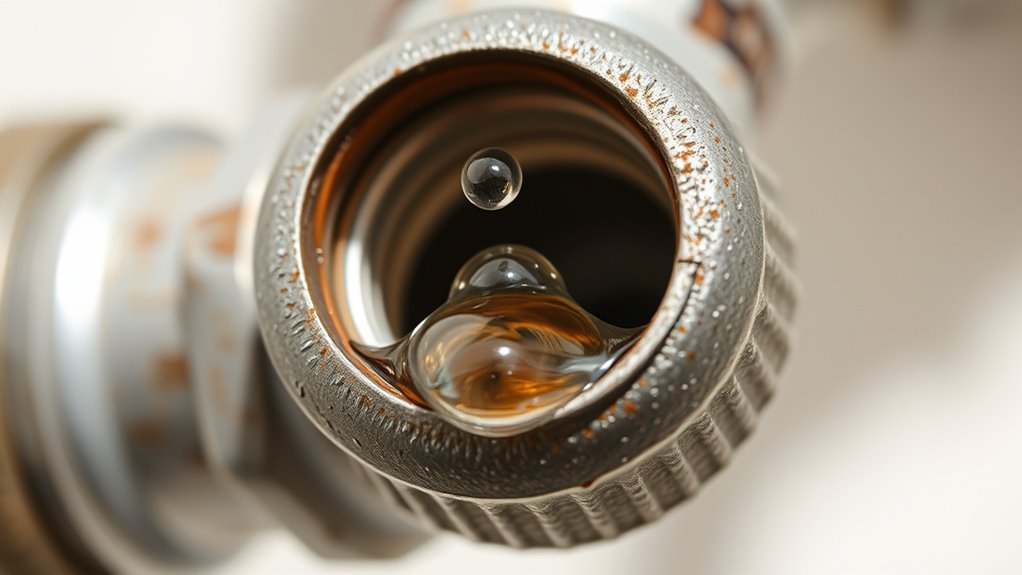
Dripping or Moisture
Dripping or moisture around connection points is a clear and immediate sign of a leak. You might notice water droplets forming or damp patches indicating moisture accumulation. Condensation issues often cause this, especially in high-humidity environments. To spot leaks early, check for:
- Visible drips or wet spots near unions and threads
- Persistent moisture buildup on fittings or pipes
- Unexplained rust or corrosion around connection points
- Crochet styles for locs can sometimes be used creatively to cover or reinforce fittings temporarily during repairs.
These signs suggest water is escaping or seeping through imperfect seals. Moisture accumulation can also lead to condensation issues, making it harder to identify leaks. Regularly inspecting these areas helps catch leaks before they worsen, saving you time and potential damage. Always address dripping or moisture promptly to maintain a secure, leak-free connection.

Enhanced Ultra-Sensitive Wall-Penetrating Contact/High-Intensity Acoustic Amplified Water Pipe Leak Monitoring Device/Probe Microphone Amplification System
Wide Application: The underground water pipe leak detector is suitable for construction sites, car repairs, and various building…
As an affiliate, we earn on qualifying purchases.
As an affiliate, we earn on qualifying purchases.
Preparing the Area for Effective Leak Fixing

Before you attempt to fix a leak, it’s vital to prepare the area properly to guarantee a successful repair. Start by inspecting the pipe for signs of corrosion, which can weaken the material and cause leaks. If you notice pipe corrosion, clean the affected area thoroughly or consider replacing the damaged section. Check for thread deformation, as bent or damaged threads can prevent a proper seal and worsen leaks. Clear the workspace of any debris, dirt, or old sealant that might interfere with the fix. Make sure the surrounding area is dry and accessible. Taking these steps ensures you’ll get a cleaner, tighter seal, reducing the risk of future leaks and making your repair more effective. Additionally, applying the principles of mindset from Abraham’s success strategies can help maintain focus and patience during the repair process.
Turning Off Water Supply and Draining the System

To guarantee a safe and effective leak repair, you need to turn off the water supply first. This prevents water from flowing and causing further damage, especially if pipe corrosion has weakened your pipes. Before draining the system, locate the main shutoff valve, usually near your water meter, and close it completely. Proper general ledger coding ensures that your financial records remain accurate during repairs or inspections.
Here are key steps to follow:
- Open faucets at the lowest point to drain residual water
- Relieve pressure by opening a valve or fixture
- Inspect for signs of pipe corrosion or the need for valve replacement
Draining the system helps identify leaks and prepares you for repairs. Always check that the water has stopped before proceeding to disassemble unions or threaded fittings.
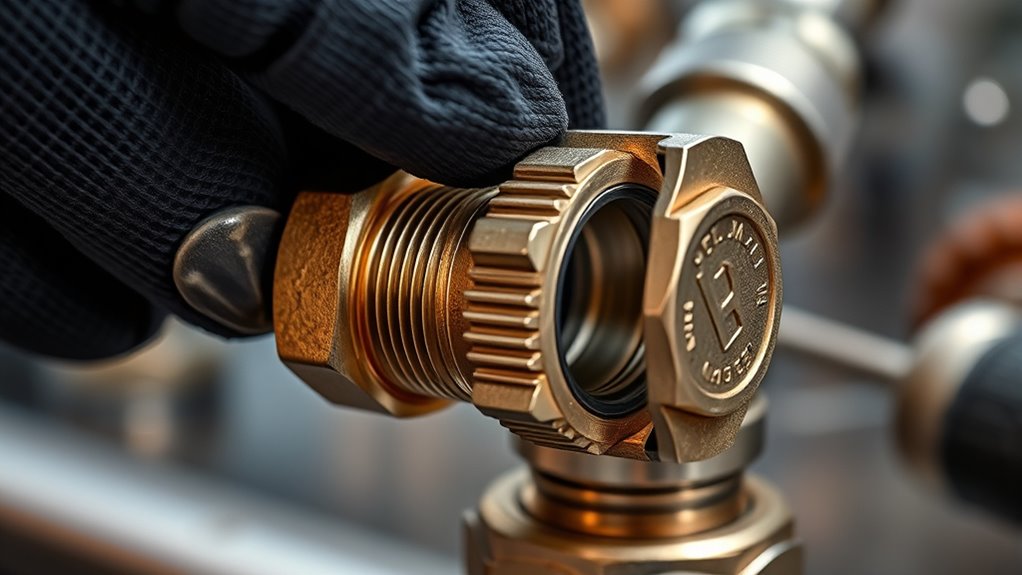
Disassembling and Inspecting the Union or Threaded Fitting
Disassembling and inspecting the union or threaded fitting requires careful attention to detail. Start by loosening the fittings with a wrench, ensuring you don’t damage the threads. Once apart, perform a thorough union inspection for cracks, corrosion, or damage. Check the threads for debris or corrosion that could cause leaks. Proper thread cleaning is essential; use a wire brush or thread cleaner to remove old sealant, dirt, and buildup. Here’s a quick guide:
| Inspection Step | Purpose |
|---|---|
| Visual inspection | Detect cracks, corrosion, or damage |
| Thread cleaning | Remove debris and old sealant |
| Check for leaks | Ensure tight fit and no leaks |
| Examine fittings | Look for deformities or corrosion |
| Reassemble carefully | Prevent future leaks through proper fitting |
Additionally, inspecting for proper alignment can help prevent leaks and ensure a secure connection. This process ensures your union is ready for a secure, leak-free connection.
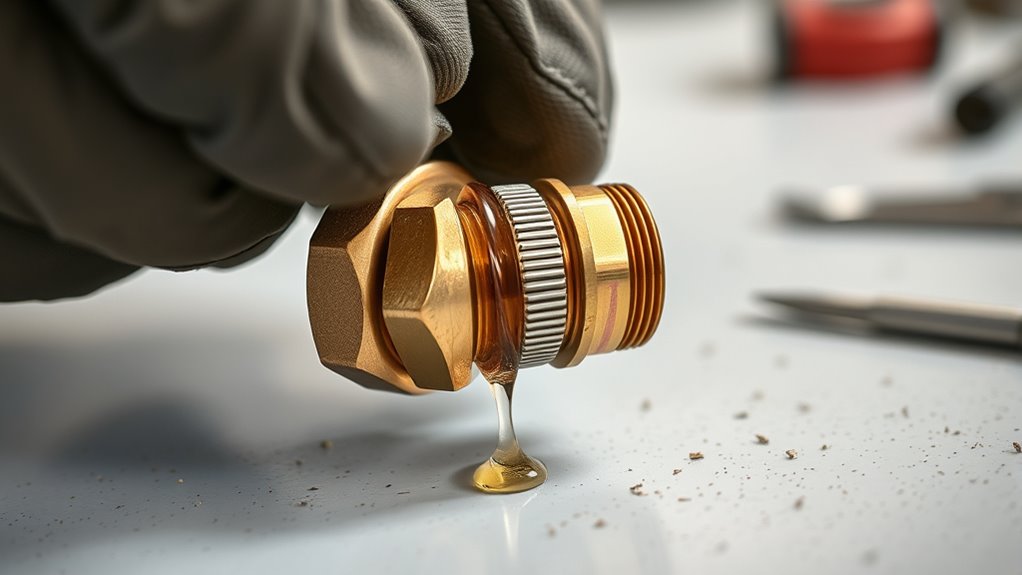
Applying Proper Sealants and Tapes to Prevent Future Leaks
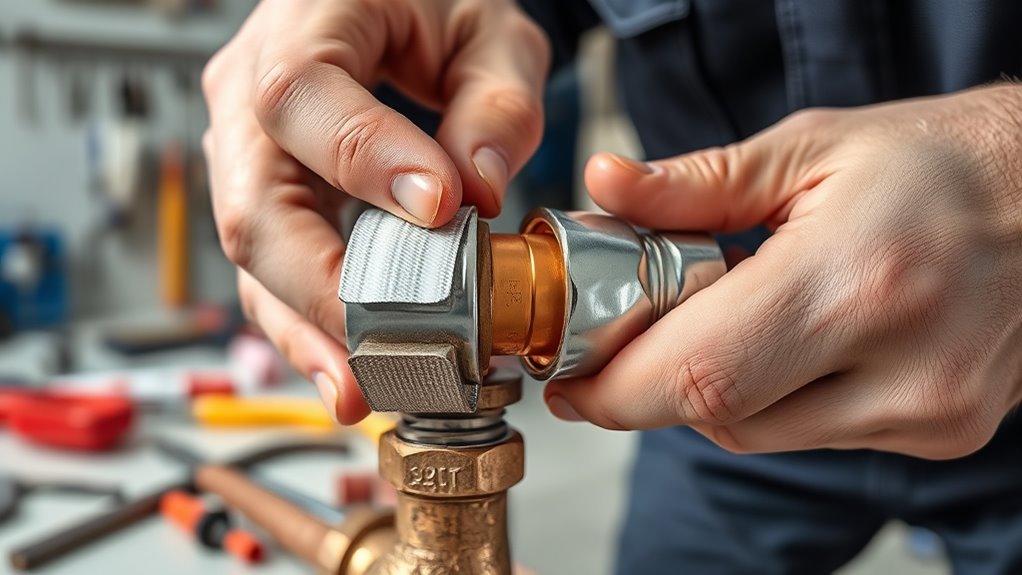
Applying proper sealants and tapes is the key to guaranteeing your threaded connections stay leak-free over time. Using the right thread sealing techniques helps prevent future leaks and simplifies pipe joint maintenance. First, clean the threads thoroughly to remove debris or old sealant. Next, apply Teflon tape in the direction of the threads, wrapping clockwise to create a tight seal. For extra security, consider using a pipe joint compound or approved sealant for stubborn leaks. Ensure the tape covers all threads without overlapping excessively. Proper application reduces the risk of leaks, saves time, and prolongs the life of your fittings. Remember, consistent use of these sealants and tapes is essential for maintaining a reliable, leak-free connection in your plumbing system.
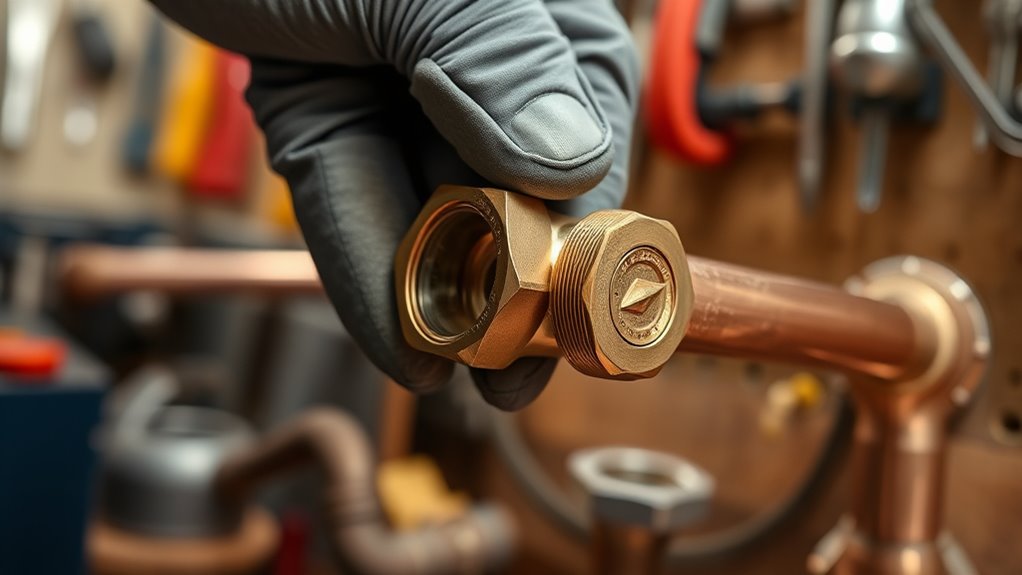
Reassembling Connections and Ensuring Tightness
When reassembling your connections, make certain to align the threads properly to prevent cross-threading. Use the right sealant and tighten the fittings gradually to ensure a secure, leak-free fit. Remember to tighten evenly to avoid damaging the threads or causing leaks later on.
Properly Align Threads
Properly aligning threads is essential to guarantee a secure and leak-free connection. When threading pipes or fittings, ensure your thread alignment is correct to prevent cross-threading or damage. Start by inspecting the threads for any debris or deformities. Use pipe calibration tools if necessary to match the fitting size precisely. Carefully hand-tighten the connection, making sure the threads engage smoothly without resistance. Avoid forcing the connection, as misalignment can cause leaks or strip the threads. Remember, proper pipe calibration helps achieve a perfect fit, reducing the risk of leaks.
- Check for debris and damage before threading
- Use pipe calibration for precise fitting
- Hand-tighten and verify smooth engagement
Use Appropriate Sealant
To guarantee a leak-proof connection, selecting and using the right sealant is crucial during reassembly. The correct sealant prevents leaks caused by pipe corrosion or incompatible materials. Always choose a sealant compatible with your pipe material to avoid deterioration over time. For example, use pipe thread tape for metal threads and pipe joint compound for plastic fittings. Consider this table:
| Pipe Material | Sealant Type | Application Tip |
|---|---|---|
| Metal | Thread tape or pipe dope | Ensure even coverage to prevent leaks |
| Plastic | Plastic-safe sealant | Avoid over-tightening to prevent cracking |
| Copper | Pipe dope | Check for corrosion compatibility |
| PVC | PVC cement or thread tape | Allow proper curing time |
Using the right sealant minimizes risks from pipe corrosion and incompatible materials, ensuring a tight, durable connection.
Tighten Gradually and Evenly
Ensuring a secure connection requires tightening the fittings gradually and evenly. If you tighten too quickly, you risk thread corrosion or damaging the threads, which can cause leaks later. Also, remember that pipe expansion can change how tight the connection needs to be—over-tightening might crack the pipe. To avoid these issues:
- Tighten in small increments, checking for leaks after each turn
- Use a consistent pattern, like a cross or star, to distribute pressure evenly
- Stop tightening once you feel firm resistance, avoiding over-tightening that could damage threads or cause pipe expansion issues
Taking your time and following these steps helps prevent leaks and guarantees a long-lasting, secure fit.
Testing Your Repairs to Confirm Leak-Free Performance

Before considering a repair complete, you need to verify that it’s leak-free. Start by pressurizing the system with water or air and inspecting for drips or moisture around the union or threaded joint. Check for signs of pipe corrosion, which can weaken connections and cause leaks over time. Ensure thread compatibility; mismatched threads often create gaps that lead to leaks despite tight fittings. Use soapy water on threaded areas to spot bubbles indicating leaks. Keep an eye on pressure gauges if available, noting any drops that suggest a slow leak. Confirm that all connections hold firm under pressure before restoring normal operation. This testing step helps you catch issues early, saving time and preventing future water damage.
Tips for Maintaining Connections to Avoid Future Problems
Regularly inspecting and maintaining your connections can prevent leaks before they start. Addressing issues early helps avoid pipe corrosion and costly repairs. Keep an eye on union and thread joints for signs of wear or corrosion. When needed, perform timely valve replacements to ensure a tight seal. Proper maintenance extends the lifespan of your fittings and reduces future leak risks.
- Check for corrosion or rust around joints regularly
- Tighten fittings carefully to avoid over-tightening, which can damage threads
- Replace valves proactively before they become faulty or cause leaks
Frequently Asked Questions
How Can I Identify Hidden Leaks Behind Walls or Under Floors?
You can identify hidden leaks behind walls or under floors by using sensor detection and thermal imaging. Sensor detection tools, like moisture meters, help locate damp areas, while thermal imaging cameras reveal temperature differences caused by water leaks. Move the sensors along walls and floors, looking for cold spots or moisture signs. Thermal imaging provides a clear visual of hidden leaks, making it easier to pinpoint their exact location quickly.
What Are the Best Practices for Preventing Corrosion at Union and Thread Connections?
To prevent corrosion at union and thread connections, you should apply corrosion inhibitors before assembly to protect metal surfaces. Additionally, use protective coatings like paint or specialized sealants to shield connections from moisture and environmental elements. Regularly inspect and maintain these areas, reapplying inhibitors and coatings as needed. Proper installation techniques and choosing corrosion-resistant materials also markedly reduce the risk of future corrosion issues.
How Do Temperature Changes Affect Leak Prevention at Threaded Fittings?
A stitch in time saves nine, so watch how temperature changes impact leak prevention. When thermal expansion occurs, fittings may loosen or tighten, affecting seal integrity. Pressure fluctuations caused by temperature shifts can lead to leaks if connections aren’t properly tightened or accommodated. To prevent leaks, use fittings designed for thermal movement, and regularly inspect connections, especially during temperature swings, ensuring they remain secure and leak-free.
Are There Specific Sealants Recommended for Different Pipe Materials?
Yes, choosing the right pipe sealants depends on material compatibility. For metal pipes, use anaerobic sealants that resist corrosion, while for plastic pipes, opt for flexible, compatibility-tested sealants to prevent cracking. Always check manufacturer recommendations to verify the sealant matches your pipe material. Proper selection guarantees a leak-proof connection and extends the lifespan of your fittings, saving you time and money on repairs.
How Often Should I Inspect Unions and Threads for Potential Leaks?
Think of your pipes as vigilant guardians; you should inspect unions and threads monthly to catch leaks early. An effective inspection schedule keeps your system’s health in check, while leak detection methods like visual checks, pressure tests, or sensing devices help you spot trouble before it worsens. By staying proactive, you prevent small drips from becoming costly floods, ensuring your plumbing remains a fortress of reliability.
Conclusion
With a bit of patience and attention, you’ll find that even the most elusive drips can be gently guided into silence. Remember, small adjustments often lead to lasting peace in your plumbing system. By understanding the nuances of leaks and applying the right touch, you’ll keep your connections harmonious and trouble-free. Soon enough, what once whispered trouble will become a quiet memory, allowing your home’s flow to remain seamless and serene.