After installing your system, you should thoroughly flush it to remove debris, dust, and trapped air that can affect performance. Use specialized equipment and follow manufacturer instructions to clean all sections, including ducts, coils, and filters. Proper flushing guarantees your system runs efficiently, lasts longer, and reduces the risk of blockages or damage. For detailed steps and tips on achieving the best results, keep going—you’ll find valuable insights ahead.
Key Takeaways
- Turn off the system and isolate power before beginning the flushing process.
- Use specialized pumps and cleaning solutions to thoroughly remove debris and contaminants from ductwork and components.
- Run the flushing procedure through all system sections, paying close attention to bends and corners.
- Rinse with clean water or solvents to eliminate residual cleaning agents and debris.
- Allow the system to dry completely or air out before reassembling to prevent corrosion and ensure optimal operation.

After installing a new heating or cooling system, it’s vital to flush the system to guarantee peak performance and longevity. During the installation process, debris, dirt, and other system contaminants can find their way into the ductwork and components. If these are not properly removed, they can cause blockages, reduce efficiency, and accelerate wear on your system. Flushing helps eliminate these impurities and ensures your system operates smoothly from the start.
After installation, flushing removes debris to ensure optimal system performance and durability.
The first step involves understanding the importance of thorough cleaning procedures. Skipping or rushing through this process might seem convenient, but it can lead to long-term issues. Cleaning procedures should be extensive, targeting all parts of the HVAC system, including the ductwork, coils, and filters. This reduces the risk of contaminants settling and causing problems down the line. Effective flushing not only removes dust and debris but also helps clear out any residual manufacturing oils or lubricants that might be present from the installation.
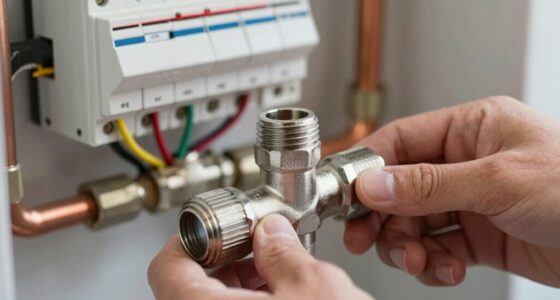
To begin, turn off your system and isolate the unit from power sources. Use specialized equipment designed for flushing HVAC systems—these typically involve pumps that push cleaning solutions or water through the ductwork and components. You’ll want to start with a high-quality cleaning solution formulated to break down and remove system contaminants. When applied correctly, these solutions loosen dirt and debris, making them easier to flush out. Be sure to follow the manufacturer’s instructions carefully to avoid damaging sensitive parts or leaving harmful residues.
Next, run the flushing process for a sufficient period, ensuring that all sections of the system are thoroughly cleaned. Pay special attention to bends and corners in ductwork, as these areas tend to trap debris more easily. After flushing, rinse with clean water or an appropriate solvent to remove any remaining cleaning agents. This step is essential because leftover residues can interfere with system operation or cause corrosion over time.
Once the system is free of contaminants, dry it thoroughly or allow it to air out before reassembling. Properly executed cleaning procedures lead to better airflow, improved energy efficiency, and a longer lifespan for your HVAC system. Regular maintenance and flushing after installation help ensure your system continues to operate efficiently and reliably. Remember, regular maintenance and flushing after installation set the foundation for reliable and efficient performance. By investing time in removing system contaminants early, you help guarantee your new system provides ideal comfort and saves you money on future repairs or replacements.
Frequently Asked Questions
How Often Should I Flush My System After Installation?
You should flush your system after installation and then follow a regular maintenance schedule, typically every 6 to 12 months. Regular flushing helps remove debris and air, ensuring peak performance. By sticking to this schedule, you’ll maintain system efficiency and extend its longevity. Keep an eye on any signs of reduced performance or unusual noises, and flush sooner if needed to prevent potential issues.
Can I Flush the System Myself or Hire a Professional?
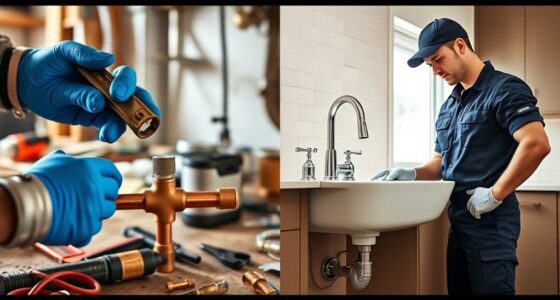
Is it better to tackle flushing the system yourself or call in professional help? You can certainly try DIY tips if you’re comfortable with plumbing; however, think of it as steering through a complex maze. For peace of mind and to guarantee a thorough job, hiring a professional is often wise. They have the expertise and tools to remove debris and air efficiently, saving you time and potential future issues.
What Tools Are Necessary for Effective Flushing?
To flush the system effectively, you’ll need cleaning agents suited for your system type, a garden hose or compressed air for flow, and safety gear like gloves and goggles to protect yourself. Make certain you have proper connectors and tools for easy access and control. Using these tools and safety precautions, you can safely and thoroughly remove debris and air, maintaining your system’s efficiency and longevity.
Are There Signs Indicating a Need for Flushing Sooner?
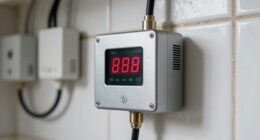
You should consider flushing your system sooner if you notice signs of system contamination, such as unusual noises, reduced efficiency, or sediment buildup. Installation delays can also introduce debris or air pockets, making early flushing necessary to prevent damage. Stay attentive to these indicators, as prompt flushing keeps your system running smoothly and extends its lifespan, ensuring contaminants and air don’t cause long-term issues.
What Precautions Should I Take During the Flushing Process?
Did you know that improper flushing can introduce system contaminants, reducing efficiency? To prevent this, you should carefully follow recommended flushing techniques, wearing protective gear like gloves and goggles to avoid injury. Confirm the system is depressurized before starting, and avoid using excessive pressure that could damage components. Keep an eye out for leaks or unusual noises, and always work in a clean environment to maintain system integrity during the process.
Conclusion
Now, imagine the water flowing smoothly through every pipe, clear and pure, washing away every trace of debris and air. As you finish flushing, feel the gentle rush of freshness, like a breath of clean air filling your home. You’ve created a safe, efficient system, ready to serve you reliably. Take pride in this moment—your careful effort guarantees peace of mind, knowing your installation is now a well-oiled, worry-free flow of life-giving water.