
To keep your home safe while fixing noisy pipes after changes, always turn off the water supply first, wear protective gear, and use proper tools. Check for hidden damage or leaks before making adjustments, avoid over-tightening fittings, and monitor water pressure to prevent damage. Secure loose pipes and support them properly, and know how to safely release water hammer and air locks. If you follow these steps, you’ll guarantee a safer, quieter system—and there’s more to learn if you continue exploring.
Key Takeaways
- Always shut off water supply and wear protective gear before repairing pipes to ensure safety.
- Use proper tools, organize equipment, and inspect pipes thoroughly to prevent damage and leaks.
- Manage water pressure carefully, avoid over-tightening fittings, and test system for leaks after repairs.
- Secure pipes with proper supports, insulate to dampen noise, and address water hammer issues promptly.
- Seek professional help if noise persists or if complex issues like leaks or pressure fluctuations occur.
Turn Off the Water Supply Before Starting Repairs

Before you begin any repairs, it’s essential to turn off the water supply. This step prevents water from flooding your space and avoids further damage. Once the water is off, check the water temperature in the pipes. If it’s hot, wait for it to cool down before handling anything, as hot water can cause burns. Installing pipe insulation can help maintain a consistent water temperature and reduce noise caused by temperature fluctuations. Turning off the water also makes it safer to work on the pipes, preventing sudden bursts or leaks. Additionally, understanding air quality concerns can help in planning proper ventilation during repairs to avoid inhaling dust or fumes. Remember, working on pressurized pipes without shutting off the supply increases the risk of injury and complicates repairs. Always prioritize shutting off the water supply before starting any plumbing work to ensure safety and efficiency.
Use Proper Tools and Equipment for Plumbing Work

Using the right tools and equipment makes plumbing repairs safer and more effective. Make certain you have quality pipe insulation to reduce noise and prevent temperature fluctuations. Proper pipe labeling helps you identify pipes quickly, avoiding mistakes that could lead to leaks or damage. Use a pipe wrench for secure fittings and a hacksaw for clean cuts. Having a pipe bender can help shape pipes precisely, reducing stress points. Always wear gloves and eye protection, even if not covered in this section, to avoid injuries. Organizing your tools beforehand saves time and prevents accidental damage. Remember, using the correct equipment minimizes errors, enhances safety, and results in a durable, quiet plumbing system. Proper tools are essential for efficient, safe repairs that last.
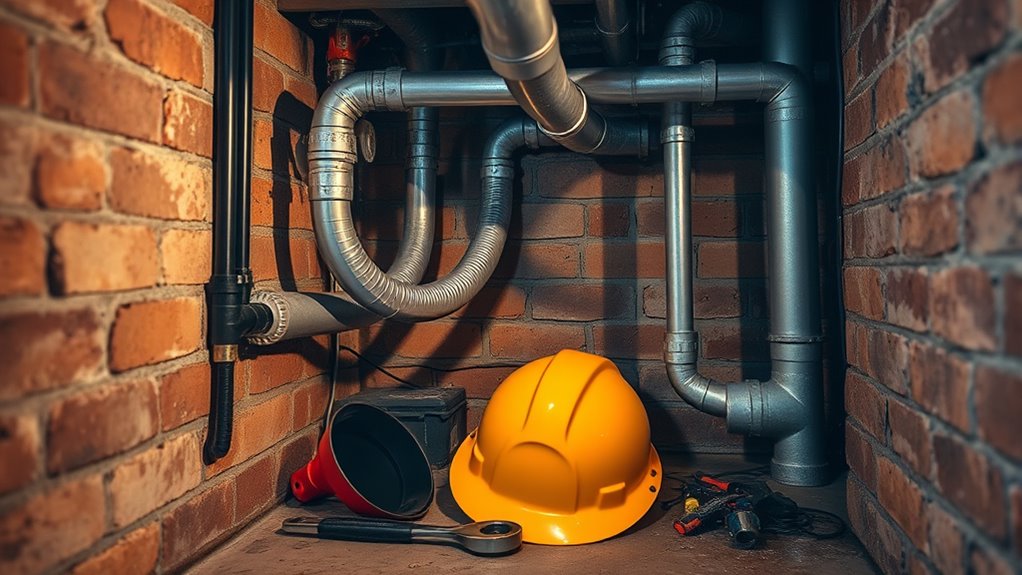
Wear Protective Gear to Avoid Injuries

Wearing protective gear is essential when working on plumbing to prevent injuries and guarantee safety. Safety equipment shields you from sharp tools, hot water, and debris, reducing the risk of accidents. Always don the right protective gear before starting your work to stay safe. Proper equipment setup and understanding of your tools can also enhance safety and efficiency during repairs. Remember to include: – Safety goggles to protect your eyes from splashes – Gloves to guard your hands against sharp edges and chemicals – Ear protection if working with noisy pipes – Respirators if dealing with fumes or dust – Steel-toe boots to prevent foot injuries Using proper safety equipment not only keeps you safe but also ensures you work efficiently. Never skip on protective gear, as it’s your first line of defense against potential injuries during plumbing repairs.
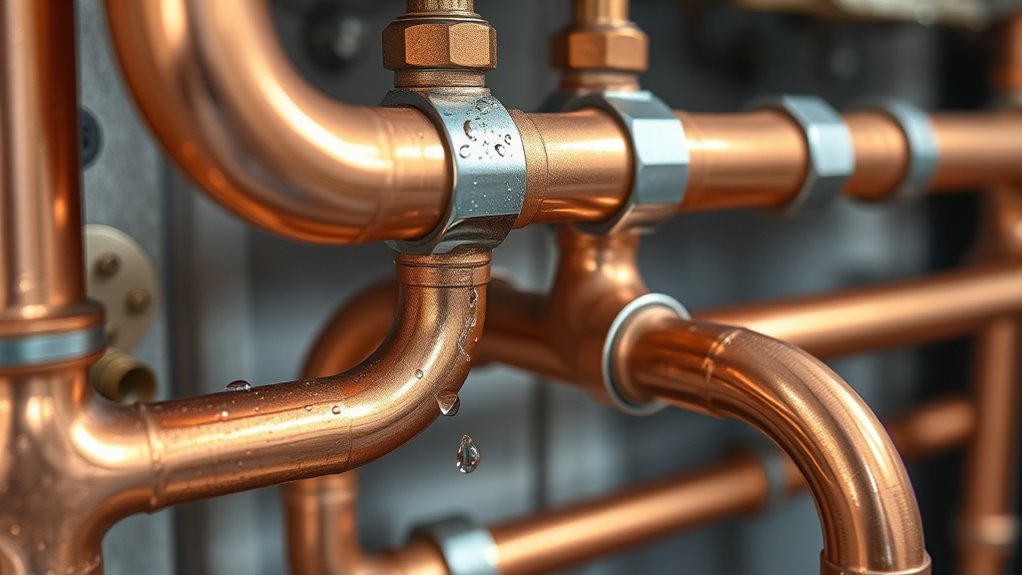
Check for Hidden Leaks and Damage Before Making Changes
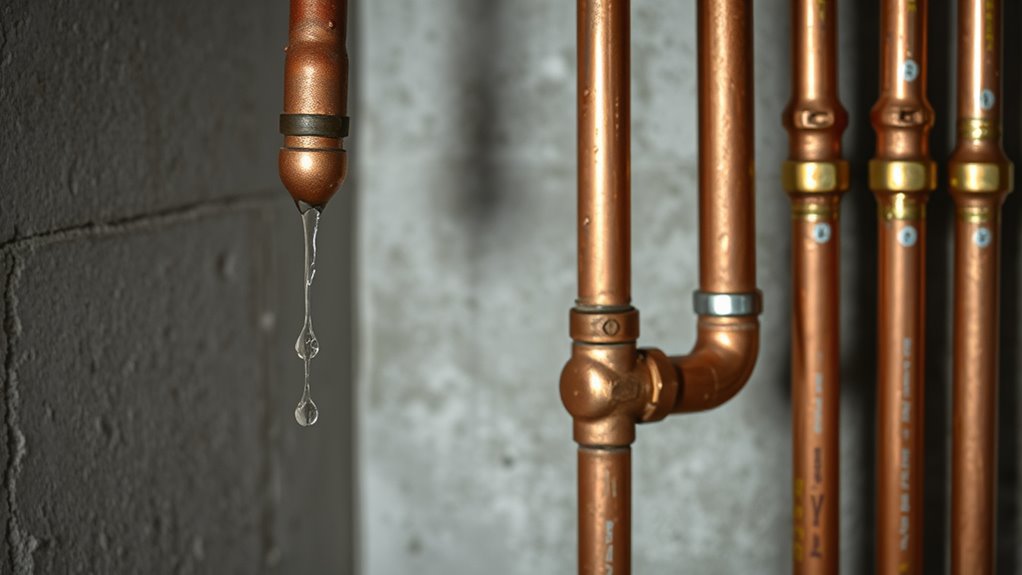
Inspect the plumbing system carefully to uncover any hidden leaks or damage that could worsen during modifications. Hidden leaks often hide behind walls or beneath floors, making them easy to overlook. Look for signs such as damp spots, mold, or a sudden increase in your water bill. Check pipes for visible damage like cracks, corrosion, or bulges that indicate pipe damage. Addressing these issues before making changes helps prevent further deterioration or leaks that could cause noise problems later. Use a flashlight to closely examine joints and fittings, ensuring no leaks are concealed. Additionally, understanding cost‑of‑ownership implications can help prioritize repairs and prevent unexpected expenses. Detecting and repairing hidden leaks and pipe damage now saves you headaches and costly repairs down the line, ensuring your plumbing stays reliable during and after your modifications.
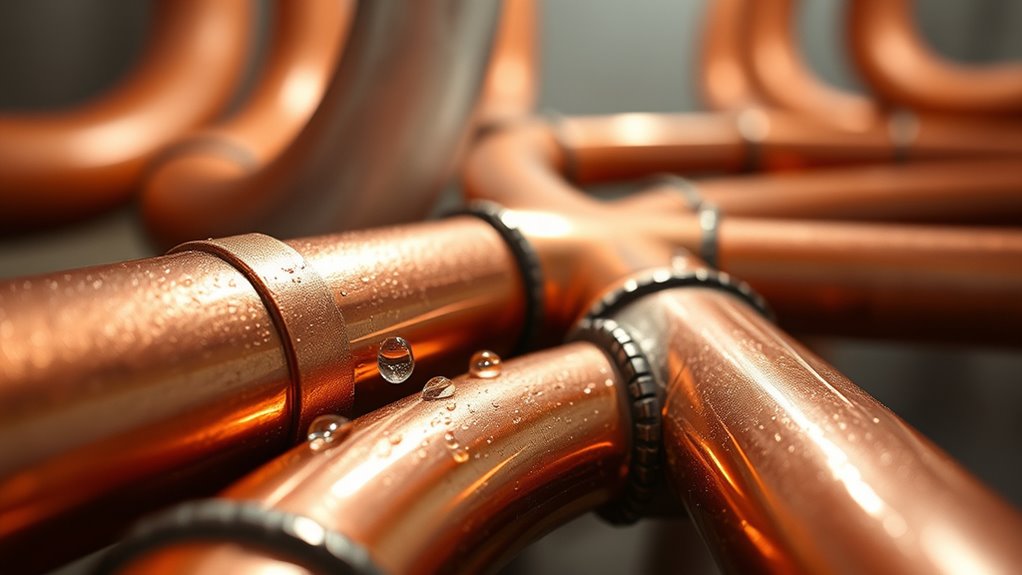
Avoid Over-tightening Fittings and Connections

When tightening fittings, keep a firm grip on proper torque to prevent leaks and damage. Over-tightening can cause cracks or deform connections, leading to noise and future issues. Use the correct fittings and tools to guarantee a secure, but not excessive, fit. Always consider the rustic decor when selecting fixtures to ensure they complement your farmhouse style.
Proper Torque Application
Applying the correct torque to pipe fittings and connections is essential to prevent leaks and damage. Over-tightening can crush pipe insulation, reducing its effectiveness, and may lead to corrosion over time. Proper torque guarantees a secure fit without stressing the materials. Use a torque wrench for accuracy, and always follow manufacturer specifications. Remember, too loose is just as risky as too tight.
- Check the recommended torque settings for your fittings
- Use appropriate tools to measure torque accurately
- Avoid applying excessive force that can damage pipe insulation
- Regularly inspect fittings for signs of corrosion or leaks
- Ensure connections are snug but not overtightened to prevent damage and maintain corrosion prevention
Recognizing Over-tightening Signs
Over-tightening fittings can seem like a minor mistake, but it often causes significant issues. One clear sign is pipe corrosion around the fitting area, which occurs when excess pressure damages protective coatings, leading to leaks or pipe failure. You might also notice valves sticking or becoming difficult to operate, as over-tightening can warp or damage internal components. If you hear unusual noises or see visible cracks or deformations, these are signs you’ve gone too far. Over-tightening can also cause stress on connections, increasing the risk of leaks or pipe damage over time. Recognizing these signs early prevents costly repairs and safety hazards. Always aim for snug, secure fittings without applying excessive force to maintain proper function and avoid damage. Using the correct tools, such as adjustable wrenches, can help prevent over-tightening and ensure proper installation.
Using Correct Fittings
Using the correct fittings and ensuring proper installation helps prevent problems caused by over-tightening. Over-tightening can damage pipes, cause leaks, and lead to noisy pipes, especially after drain cleaning or when installing pipe insulation. To avoid this, select fittings suited for your pipe size and material. Always tighten fittings just enough to secure a leak-free connection without forcing them. Using tools like a adjustable wrench carefully prevents over-tightening. Be mindful of the material, as metal fittings require less torque than plastic ones. Proper fittings reduce stress on joints, making future drain cleaning easier and maintaining quieter pipes. Additionally, consulting installation best practices can ensure optimal fitting security and longevity.
Test the System Carefully Before Fully Restoring Water Flow
Before restoring full water flow, it’s crucial to thoroughly test the system to catch any issues early. Start by slowly turning on the water and listening for unusual noises or leaks. Check that all pipe insulation is secure, especially around joints, to prevent vibrations or noise caused by water movement. Pay attention to water temperature changes, as sudden shifts can indicate blockages or improper fittings. Observe the system for any signs of pressure fluctuations or irregular sounds, which could signal a problem. If you notice anything unusual, shut off the water immediately and inspect the affected areas. Additionally, understanding the contrast ratio of your plumbing system can help identify issues with water flow and pressure stability. Taking these steps ensures you catch potential issues before they escalate, helping to maintain a quieter, safer plumbing system.
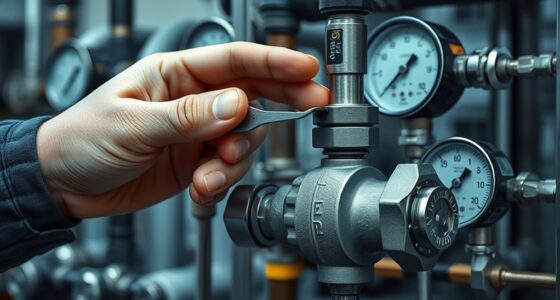
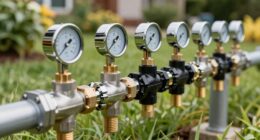
Be Mindful of Water Pressure Levels to Prevent Damage
You should keep an eye on your water pressure regularly to prevent damage. Sudden changes or high pressure can strain your pipes and cause noise or leaks. By maintaining steady pressure, you’ll protect your plumbing system and reduce noise issues. Additionally, ensuring your water pressure levels are within recommended ranges can optimize the longevity of your piping and prevent unnecessary repairs.
Monitor Pressure Regularly
Regularly monitoring your water pressure helps prevent damage to pipes and fixtures. Keeping an eye on pressure levels alerts you to pressure fluctuations that could cause pipe stress or leaks. Consistent pressure checks are essential for effective pipe maintenance and avoiding costly repairs. Additionally, understanding sound vibrations and their impact on pipe integrity can aid in early detection of issues before they become severe.
Avoid Sudden Fluctuations
Monitoring water pressure regularly helps catch fluctuations early, preventing stress on your pipes. Sudden pressure fluctuations can cause pipe damage or leaks. To avoid this, keep an eye on your pressure levels and make precise valve adjustments when needed. Consistent pressure helps maintain system stability and reduces noise. Use a pressure gauge to track changes and adjust your main valve gradually to prevent abrupt shifts. Here’s a quick guide:
| Pressure Level | Action Needed | Potential Risk |
|---|---|---|
| Too High | Reduce pressure slowly | Burst pipes or leaks |
| Too Low | Increase pressure gradually | Insufficient flow |
| Fluctuations | Adjust valves carefully | Pipe stress and noise |
| Stable | Maintain current settings | Safe operation |
Maintaining system stability is essential for avoiding damage and noise in your plumbing system.
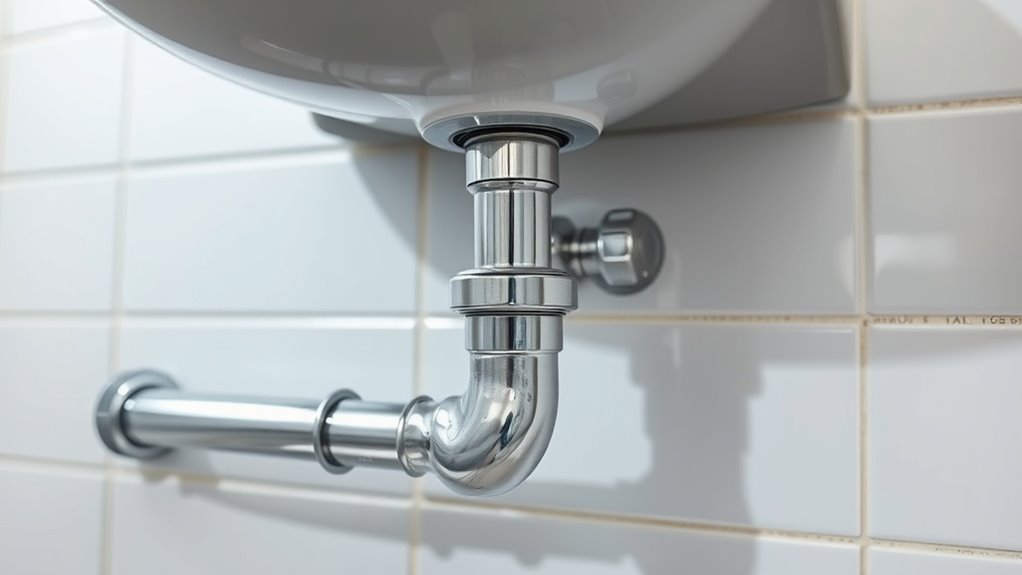
Secure Loose Pipes and Supports Properly
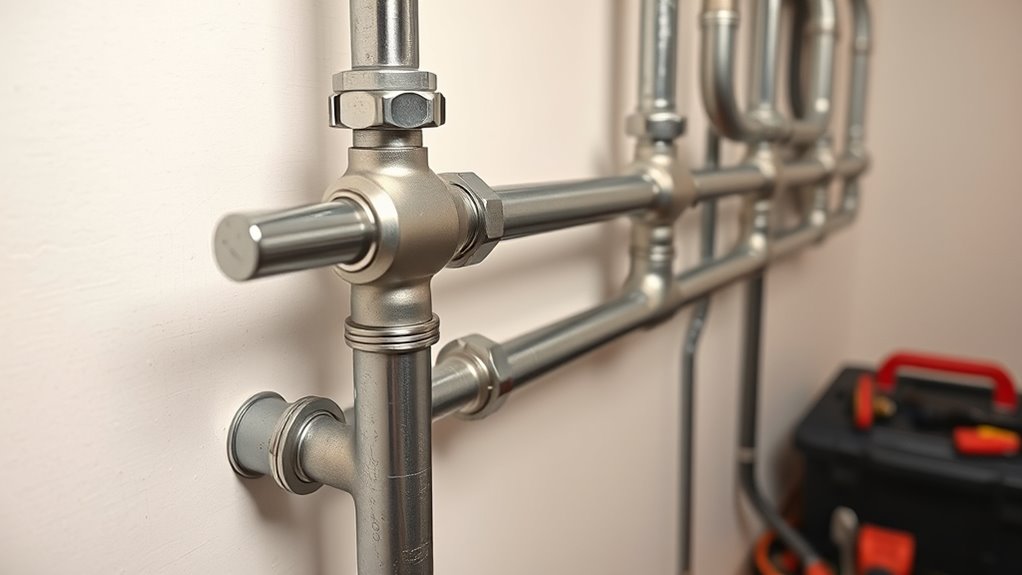
Loose pipes and supports can cause significant noise and damage over time, especially after changes to your plumbing system. To prevent this, make certain all pipes are securely fastened using proper support brackets. Check for any looseness and tighten or replace brackets as needed. Use pipe insulation to reduce vibrations and noise, especially in areas prone to rattling. Properly secured pipes prevent movement that can wear out joints or cause leaks. Regularly inspect your supports after any plumbing adjustments. Here are some tips:
- Tighten or replace support brackets
- Use pipe insulation around noisy sections
- Avoid over-tightening, which can damage pipes
- Anchor loose pipes to framing
- Check supports periodically for stability
Secure pipes properly to minimize noise and avoid costly repairs later.
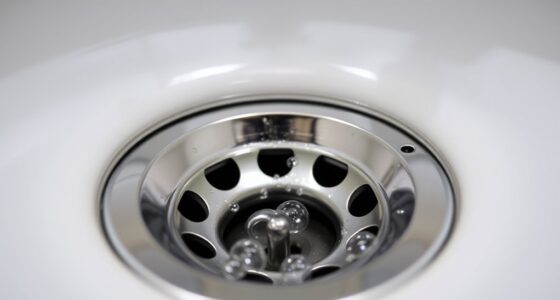
Know How to Safely Relieve Water Hammer and Air Locks
Water hammer and air locks can cause loud banging noises and damage your plumbing if not addressed promptly. To relieve water hammer, start by shutting off the main water supply, then open a faucet at the highest point to drain excess pressure. Installing pipe insulation helps dampen the shockwaves, reducing noise and preventing future issues. For air locks, locate the affected pipe section and carefully open a nearby valve or drain to release trapped air. Conducting a water flow analysis can identify pressure irregularities that cause these problems. Always ensure you’re working safely, turning off water before making adjustments. Regular maintenance, like checking pipe insulation and monitoring water pressure, can keep your plumbing quiet and functioning smoothly, preventing costly repairs later.
Consult a Professional When Unsure or if Problems Persist

If you’re unsure about what’s causing the noise or the problem keeps happening, it’s best to call in a professional. Pipes can be complex, and attempting repairs without expertise might cause more damage or safety risks. Prioritizing expert help guarantees the issue gets fixed correctly and safely.
Recognize Complexity Risks
When dealing with complex pipe issues after recent changes, recognizing the risks involved is essential. Ignoring signs of trouble can lead to bigger problems, like water damage or inefficient noise reduction. You should be alert to:
- Unusual or persistent noises that don’t respond to simple fixes
- Sudden increases in pipe vibrations or rattling
- Visible leaks or water stains around pipe insulation
- Unexplained pressure fluctuations
- Changes in pipe temperature or sound patterns after modifications
Understanding these risks helps you avoid worsening the situation. Complex pipe systems may require professional assessment to prevent safety hazards. Rushing into repairs without expertise can cause more noise and damage. Always consider consulting a specialist to ensure your pipes are properly insulated and functioning quietly.
Prioritize Expert Assistance
Addressing persistent or unclear pipe noises can be tricky, and attempting repairs without proper knowledge may worsen the problem. When in doubt, it’s best to seek expert advice or a safety consultation. Professional plumbers understand the intricacies of noisy pipes and can diagnose issues accurately, preventing potential damage or safety hazards.
| When to Seek Help | Why It Matters | How Professionals Help |
|---|---|---|
| Noisy pipes persist | Avoid damage | Proper diagnosis and repair |
| Unusual smells | Ensures safety | Minimizes risk of leaks |
| Uncertain about problem | Prevent costly mistakes | Expert advice guarantees safety |
Prioritizing expert assistance ensures your plumbing stays safe and functional, especially when problems don’t resolve easily. Don’t risk worsening the issue—call in professionals when needed.
Frequently Asked Questions
How Do I Identify the Source of Noisy Pipes After Repairs?
You can identify the source of noisy pipes after repairs by carefully listening for sounds like banging or hissing. Check for pipe insulation gaps that might cause vibrations, and inspect valves for vibrations or loose fittings. Turn off nearby fixtures to see if noise stops, helping you pinpoint whether vibrations from valves or vibrations due to poor insulation are causing the noise. This method helps you target the exact problem area efficiently.
What Are the Signs of Water Hammer or Air Lock Issues?
Think of your pipes as a tense string ready to snap. If you hear banging or knocking sounds, it’s a sign of water hammer or air lock issues. You might notice sudden bursts of noise when turning taps on or off. To fix this, check pipe insulation and consider valve adjustment to relieve pressure. These steps can help calm your pipes and prevent damage, ensuring quiet, steady flow.
Can Noise Indicate Hidden Pipe Damage or Deterioration?
Yes, noise can indicate hidden pipe damage or deterioration. If you hear banging or rattling, it could signal pipe corrosion or loose fittings. Valve malfunctions may also cause unusual sounds, suggesting they aren’t operating properly. Ignoring these noises might lead to leaks or pipe failure, so it’s essential to inspect your plumbing system promptly to identify and address potential issues before they worsen.
How Often Should I Inspect Pipes for Safety After Modifications?
Don’t put off inspection; it’s better to be safe than sorry. You should check your pipes at least once a month after modifications, focusing on pipe insulation and valve maintenance. Look for any unusual noises, leaks, or signs of wear. Regular visual inspections help catch issues early, preventing costly damage later. Keep your eye on your pipes — it’s a small effort for peace of mind.
What Steps Should I Take if Noise Persists Despite Precautions?
If noise persists despite precautions, you should perform an inspection checklist to identify the source of the sound. Check for loose fittings or vibrations and consider soundproofing methods like pipe insulation or mounting brackets. If the noise continues, consult a professional plumber for a thorough assessment. Regularly monitoring and applying these steps will help guarantee your pipes stay quiet and safe after modifications.
Conclusion
Now that you know the 10 rules, you’re ready to tackle noisy pipes safely. But beware—ignoring these guidelines might lead to unexpected surprises or costly damage. Will one overlooked step cause a bigger problem down the line? Stay alert, follow each rule carefully, and don’t hesitate to call a professional if something feels off. Because when it comes to plumbing, a small mistake can quickly turn into a big headache.