
If your pipes start making noise after recent work, first check for loose fittings or supports as they can cause banging or rattling. Adjust your water pressure or bleed trapped air by turning off the water, opening taps, and then closing them gently. Insulate noisy pipes to dampen vibrations. If sounds persist, verify pipes are secure and properly vented. Continuing on, you’ll discover more simple ways to silence those annoying noises quickly.
Key Takeaways
- Identify if water pressure changes, loose fittings, or air trapped in pipes are causing the noise.
- Locate the loudest area by listening carefully and observing pipe behavior during activity.
- Tighten fittings, secure loose pipes, or add insulation to quickly reduce noise.
- Bleed the system to release trapped air causing rattling or gurgling sounds.
- Maintain proper pipe support and water pressure to prevent future noisy pipe issues.
Why Are My Pipes Making Noise After Recent Work?
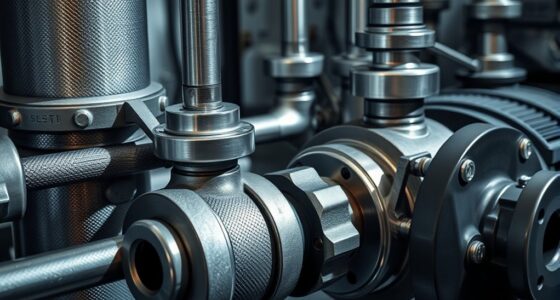
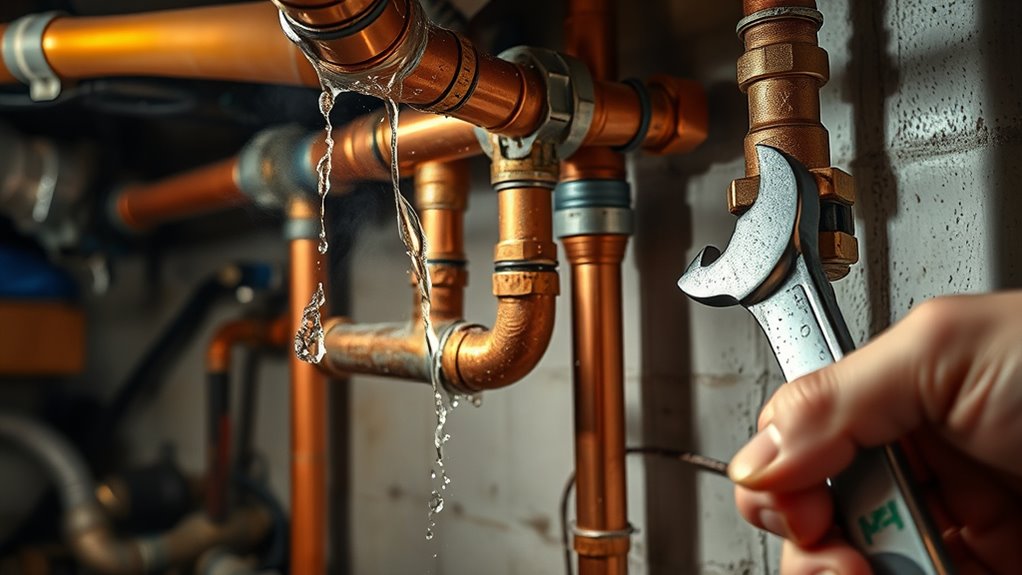
If your pipes have started making noise after recent work, it’s likely due to changes in water pressure or loose fittings. Water hammer, a common culprit, occurs when quick valve closures cause a shockwave through the pipes, creating banging sounds. Installing pipe insulation can sometimes help dampen these noises by reducing vibrations, but it’s not always enough if fittings have loosened during repairs. When fittings aren’t secure, water movement becomes turbulent, leading to knocking or rattling sounds. Check for loose connections or fittings and tighten them carefully. Additionally, if water pressure is too high, it can increase the likelihood of noise. Adjusting the pressure or installing a pressure-reducing valve can prevent future issues and minimize water hammer effects. Understanding pressure management and how it affects your plumbing system is crucial for long-term noise reduction.
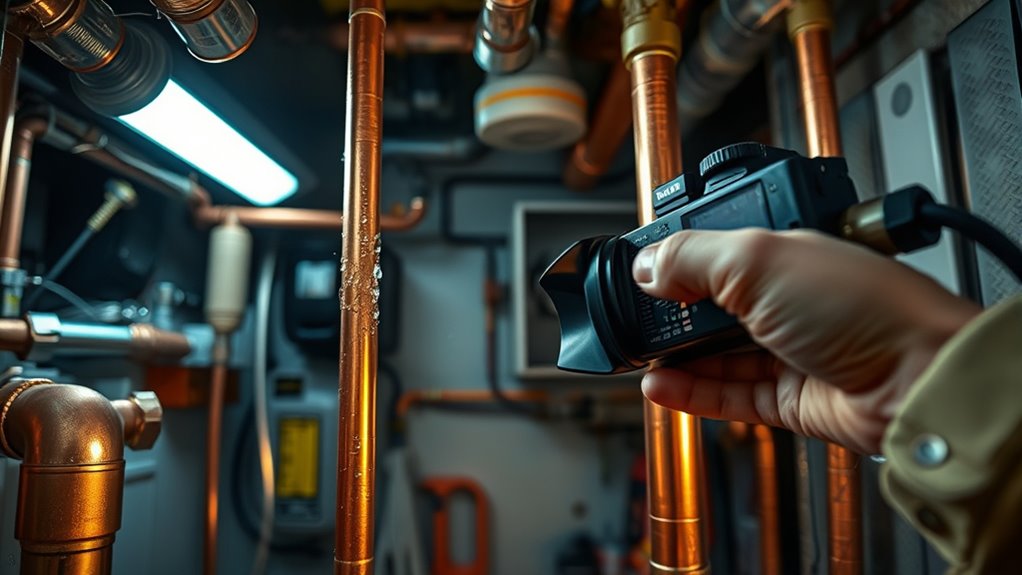
How Can I Identify the Source of the Noise Quickly?

To find the source of the noise fast, start by listening carefully to pinpoint where it’s loudest. Pay attention to the sounds—rattling, banging, or hissing—that can give you clues about what’s causing the issue. Once you identify the general area, you can narrow down the problem more effectively. Additionally, consider airflow patterns that may be disrupted by obstructions or damage to pipes, which can contribute to unusual noises.
Detecting Noise Origins
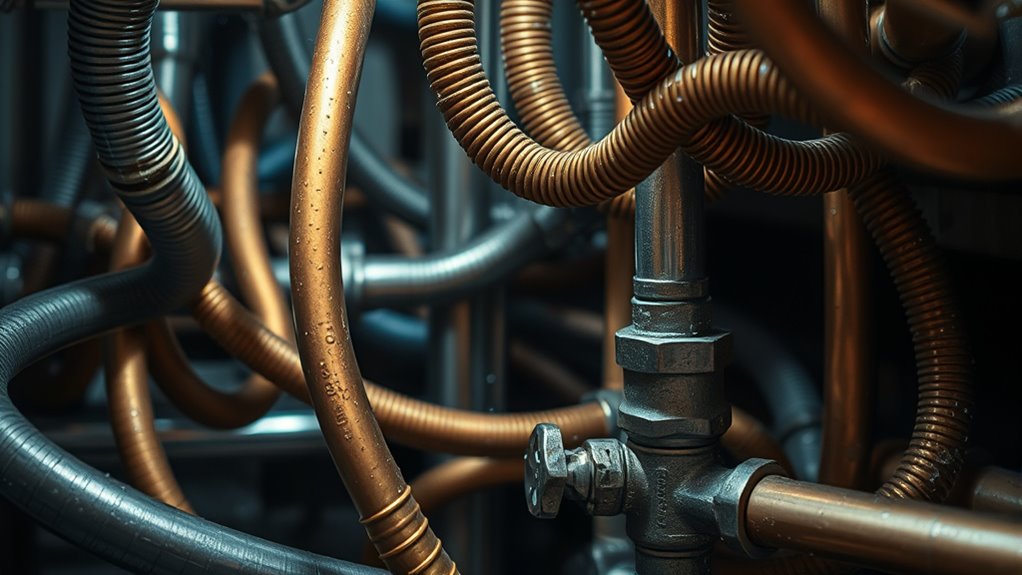
When you hear strange noises in your pipes after recent changes, pinpointing the source quickly is essential to resolving the issue. Start by checking your water pressure—high pressure can cause banging or rattling sounds, especially if your pipes are old or made of metal. Next, identify where the noise is loudest: near fixtures, valves, or along the pipe runs. Pipe material matters too; metal pipes tend to amplify knocking sounds, while plastic pipes may produce gurgles or whines. Finally, observe if the noise occurs during specific activities like running water or flushing—this can help isolate whether the issue stems from pressure fluctuations or loose fittings. Keeping these clues in mind helps you locate the noise source faster and address it effectively. Additionally, understanding the sound origins can guide you in selecting the appropriate fix to prevent future issues.
Listening for Clues
Listening carefully to the sounds your pipes make is the fastest way to identify the noise source. Pay attention to whether the noise occurs when water pressure is high or low, as this can point to specific issues. For example, banging sounds might indicate loose pipe insulation or unsecured pipes that move when water flows vigorously. Whining or squealing could relate to high water pressure or faulty valves. If you hear rattling, check for vibrations caused by pipes rubbing against framing or other objects. Adjusting water pressure and adding pipe insulation can often reduce these noises. By focusing on when and how the sounds happen, you can quickly narrow down the problem and determine if the noise stems from pipe insulation gaps or pressure fluctuations. Monitoring AI-driven security systems can also help detect unusual activity during plumbing issues that might affect your home environment.
What Are Simple Fixes to Stop Noisy Pipes Immediately?
Noisy pipes can be annoying, but fixing them quickly is often straightforward. Here are simple fixes to stop the noise immediately:
- Apply pipe insulation around the problematic pipes to dampen sound and prevent vibrations. Insulation helps reduce noise caused by water hitting the pipe walls.
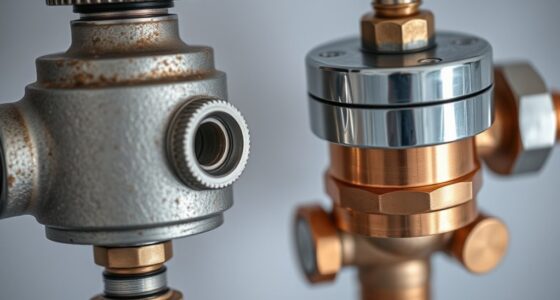
- Adjust water pressure. If water pressure is too high, it can cause pipes to rattle. Turn down the pressure using your valve or pressure regulator to minimize noise.
- Secure loose pipes with clamps or brackets. Loose pipes tend to vibrate and bang against framing or walls, creating noise. Tightening or stabilizing them can make an instant difference.
- Consider Kia Tuning options if pipes are affected by engine vibrations or exhaust noise, as certain modifications can help reduce overall noise levels in the vehicle.
These quick fixes address common noise sources and can restore peace fast.
Is Air in the Lines Causing the Noise, and How Do I Bleed It?
You might notice air bubbles causing rattling sounds in your pipes, which often signals trapped air. To fix this, you need to follow specific bleeding steps to release the air safely. Once you’ve done it, you can take simple steps to prevent future noise from air buildup. Using proper ventilation practices can also help maintain optimal air flow and reduce the risk of trapped air in your plumbing system.
Signs of Air Bubbles
Air bubbles in your pipes often cause knocking or banging sounds after recent changes. These vibrations indicate trapped air disrupting normal flow. To spot air bubbles, look for these signs:
- Sudden pipe vibrations that match the noise rhythm.
- Gurgling sounds or irregular water flow.
- Visible air pockets or bubbles rising in your faucets or drains.
If you notice these signs, air bubbles could be causing the noise. The trapped air creates pipe vibrations, leading to loud knocks. Recognizing these signals early helps prevent further issues. To confirm, listen for vibrations coinciding with banging sounds or check for visible bubbles. Addressing air bubbles early can save you from more extensive repairs and reduce noise. Considering the role of AI safety measures, ensuring your plumbing system is properly vented can help prevent such issues caused by trapped air.
Bleeding Procedure Steps
When trapped air causes pipe noise, bleeding the lines is often the most effective solution. First, turn off your water supply and open the highest faucet in your home to release pressure. Next, locate the bleeding points—usually near faucets or valves—and carefully open the valve slightly to let air escape. Keep a cloth nearby to catch any water. While bleeding, avoid rapid opening to prevent water hammer. Once water flows steadily with no air bubbles, close the valve securely. To prevent future noise, consider installing pipe insulation around noisy sections, which can dampen vibrations. Regular bleeding can help maintain quiet pipes and reduce pressure build-up caused by air pockets, ensuring your plumbing stays smooth and silent. Additionally, incorporating air-elimination devices can help prevent air from accumulating in your pipes over time.
Preventing Future Noise
To prevent future noisy pipes caused by trapped air, it’s important to identify if air in the lines is the culprit and to regularly bleed the system when needed. Proper pipe insulation helps reduce noise and maintains consistent water pressure, minimizing air pockets. Ensuring your water pressure isn’t too high prevents air from becoming trapped and causing noise. Additionally, selecting rustic lighting and vintage furniture can enhance the charm of your farmhouse bedroom, creating a cozy ambiance. Here are three steps to keep your pipes quiet:
- Check for leaks or loose fittings that may allow air entry.
- Bleed the system periodically to release trapped air.
- Insulate exposed pipes to stabilize water flow and reduce noise from temperature changes.
Regular maintenance and attention to water pressure, combined with pipe insulation, help prevent noisy pipes and keep your system running smoothly.
Could Loose Mounts or Supports Be the Issue?
Loose mounts or supports are often the culprits behind noisy pipes after recent changes. When mounts aren’t secure, pipes can shift or vibrate, creating banging or knocking sounds. Support issues typically occur if mounts loosen over time or weren’t installed tightly enough initially. To check, gently tap or wiggle the pipes near their mounts. If movement is noticeable, it’s a sign the mounts may be loose. Tightening or replacing these supports can often eliminate the noise quickly. Make sure the mounts are properly secured to the wall or ceiling, and consider using rubber or foam padding to dampen vibrations. Proper pipe support is essential to prevent future noise issues and ensure stable pipe positioning. Addressing loose mounts is a simple fix that can restore quiet and prevent further issues caused by pipe movement.
When Should I Call a Professional for Persistent Noises?
Persistent pipe noises that don’t resolve after simple fixes like tightening mounts or adjusting water pressure may indicate a more serious issue. If you’ve tried DIY repair tips but still hear banging, squealing, or knocking, it’s time to call a professional. You should seek help if:
Persistent pipe noises despite simple fixes may signal a serious plumbing issue requiring professional help.
- The noise is constant and worsening, suggesting plumbing emergencies like hidden leaks or pipe bursts.
- You notice water leaks, hissing sounds, or decreased water pressure, which could indicate a hidden problem.
- The noise persists despite your efforts, risking further damage or costly repairs.
Ignoring these signs can lead to bigger issues. Knowing when to call a plumber helps prevent damage and ensures your plumbing system stays in top shape.
Persistent pipe noises that don’t resolve after simple fixes like tightening mounts or adjusting water pressure may indicate a more serious issue. If you’ve tried DIY repair tips but still hear banging, squealing, or knocking, it’s time to call a professional. You should seek help if:
- The noise is constant and worsening, suggesting plumbing emergencies like hidden leaks or pipe bursts.
- You notice water leaks, hissing sounds, or decreased water pressure, which could indicate a hidden problem.
- The noise persists despite your efforts, risking further damage or costly repairs.
Ignoring these signs can lead to bigger issues. Knowing when to call a plumber helps prevent damage and ensures your plumbing system stays in top shape.
Frequently Asked Questions
Can Water Pressure Changes Cause Noisy Pipes?
Yes, water pressure changes can cause noisy pipes. When water flow experiences pressure fluctuations, it can create knocking or banging sounds as pipes move or water rapidly shifts. These noises often happen if pressure is too high or if sudden changes in water flow occur. To fix this, you might need to install or adjust pressure regulators, ensuring steady pressure and reducing noise from your pipes.
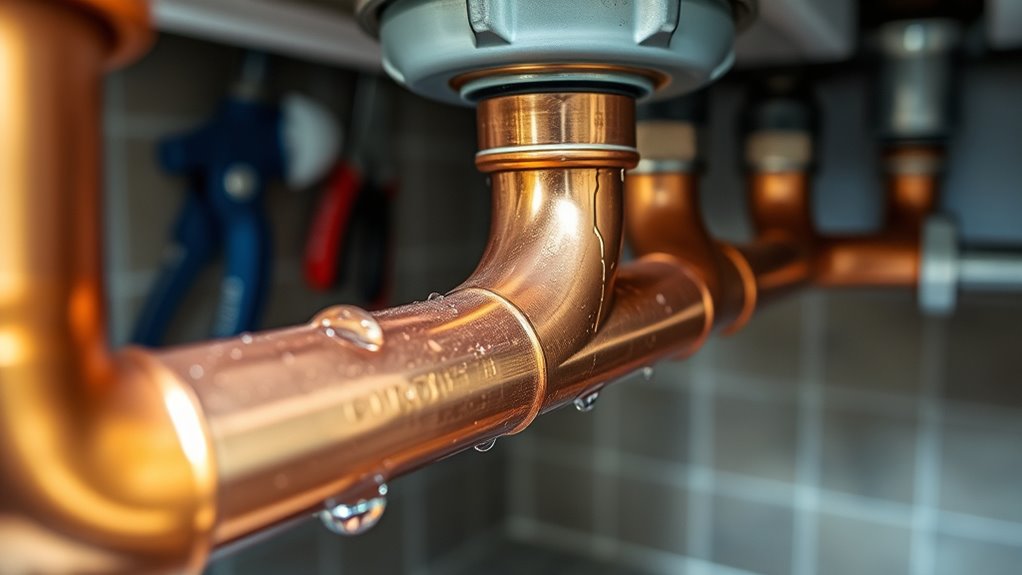
Are Certain Pipe Materials More Prone to Noise?
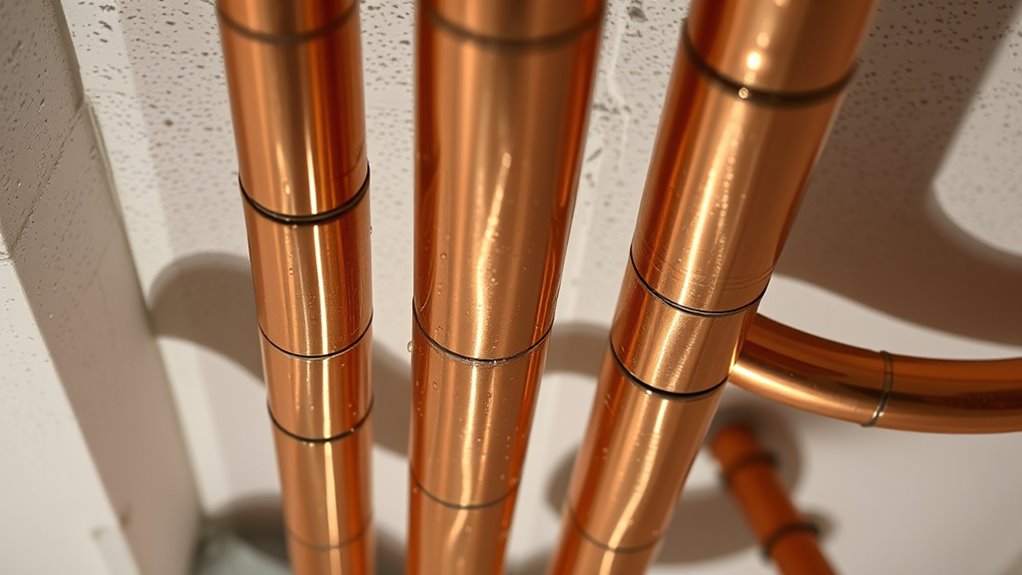
Yes, certain pipe materials are more prone to noise. For example, metal pipes like copper or steel have higher noise susceptibility because their composition allows better sound transmission, amplifying water flow sounds. Conversely, composite or PEX pipes tend to be quieter since their material dampens vibrations. If you’re experiencing noisy pipes, consider the pipe composition and material, as these factors notably influence how much sound is transmitted through your plumbing system.
How Long Does a Typical Quick Fix Take?
A quick fix typically takes about 15 minutes. You can reduce pipe noise by installing pipe insulation, which dampens sound vibrations, or by making simple valve adjustments to control water flow. These steps are straightforward and fast, so you won’t need to spend a lot of time. Just turn off the water, apply insulation or tweak the valves, and test the pipes for quieter operation.
Will Insulating Pipes Reduce Noise After Repairs?
Yes, insulating pipes can markedly reduce noise after repairs. By adding pipe insulation, you dampen the vibrations and sound waves caused by water flow, making your pipes quieter. Insulation also helps prevent condensation and minimizes expansion and contraction noise. You’ll notice a more peaceful environment as the insulation absorbs and muffles the noise, providing effective noise reduction and improving overall comfort in your space.
Are Noisy Pipes a Sign of Impending Pipe Failure?
Noisy pipes aren’t always a sign of impending failure, but they can indicate issues like pipe corrosion or valve malfunctions. If you notice persistent banging or rattling, it’s wise to inspect for corrosion buildup or faulty valves, as these problems can worsen over time. Addressing these early can prevent more serious damage, saving you from costly repairs later. Stay alert to unusual noises and act promptly to keep your plumbing in good shape.
Conclusion
If your pipes are making noise after recent work, quick fixes can often solve the problem. For example, tightening loose mounts or bleeding air from the lines might silence the noise. But if the sound persists, it’s wise to call a professional. Think of it like a car engine: small adjustments fix minor issues, but persistent knocking needs expert attention. Acting promptly can save you time, money, and prevent further damage.