To fix salt bridges and mush in batteries, start by inspecting for corrosion, deposits, and voltage drops. Use a multimeter, hydrometer, and soft tools to carefully disconnect and remove the salt bridge, then clean the area with appropriate solutions. Address mush buildup by dissolving it with chemical cleaners, not abrasives. Keep electrolyte levels checked, terminals clean, and store batteries properly. If you follow these proven steps, you’ll effectively troubleshoot and prevent future issues—more tips await your success.
Key Takeaways
- Regularly inspect and clean terminals to prevent salt buildup and corrosion, reducing salt bridge and mush formation.
- Use a multimeter and hydrometer to detect voltage drops, electrolyte imbalance, and signs of salt deposits early.
- Carefully remove salt bridges and clean affected areas with chemical solutions, avoiding abrasive methods to prevent damage.
- Maintain proper electrolyte levels with distilled water, and avoid overcharging to reduce salt and mush formation.
- Implement long-term maintenance routines, including corrosion prevention and timely desulfation, to ensure reliable battery performance.
Top picks for "field salt bridge"
Open Amazon search results for this keyword.
As an affiliate, we earn on qualifying purchases.
Identifying the Symptoms of Salt Bridge and Mushy Conditions

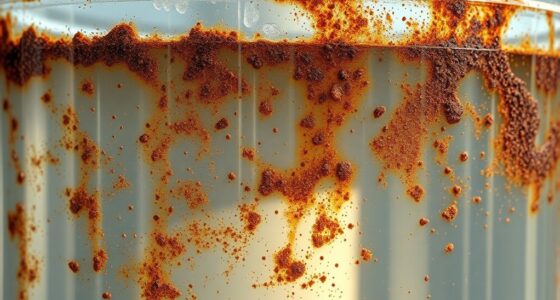
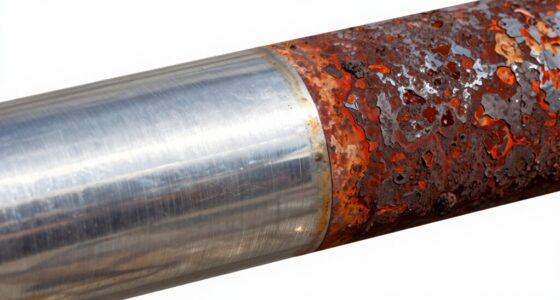
You’ll notice that salt bridges and mushy conditions often cause subtle but distinct issues in your system. One common sign is increased battery corrosion around terminals, which indicates a reaction imbalance. You might see white or bluish deposits, signaling electrolyte imbalance caused by salt buildup. Mushy conditions lead to a loss of structural integrity, making parts feel soft or spongy when touched. These issues can cause voltage drops or inconsistent performance, revealing underlying salt bridge formation. If your system shows signs of corrosion combined with irregular behavior, it’s likely due to salt bridge development or mushy material. Recognizing these symptoms early helps prevent more serious damage and ensures you can troubleshoot effectively before costly repairs become necessary. Additionally, understanding how automation technologies impact maintenance processes can improve diagnostic accuracy and efficiency.
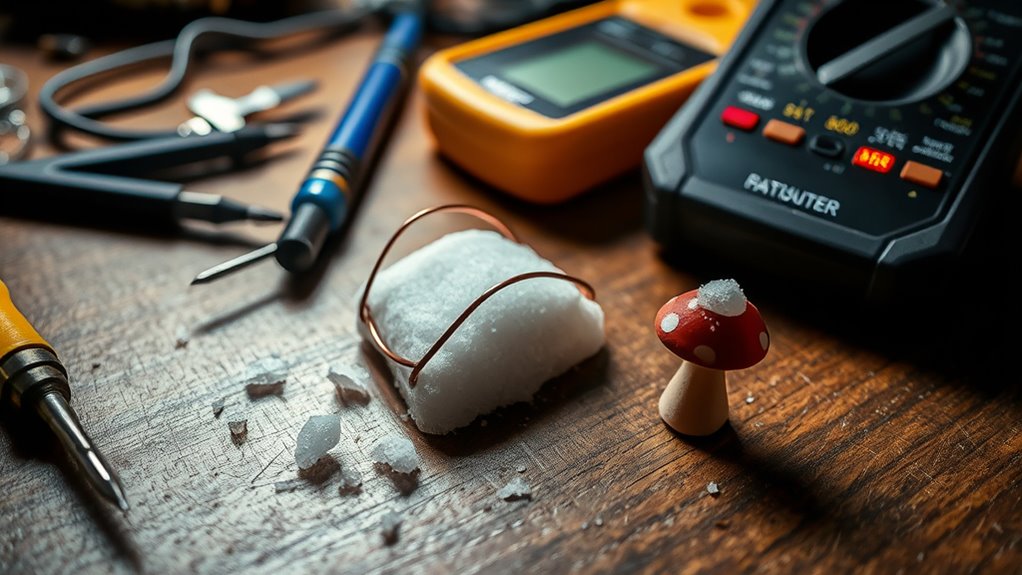
Tools and Materials Needed for Effective Troubleshooting
To troubleshoot salt bridge and mush issues effectively, you need the right tools for diagnosis and materials for repairs. Having a multimeter, cleaning supplies, and replacement parts on hand makes the process smoother. Being prepared guarantees you can quickly identify problems and fix them with confidence. For optimal results, understanding the importance of color accuracy and how to calibrate your equipment can significantly enhance troubleshooting accuracy.
Tools for Diagnosis
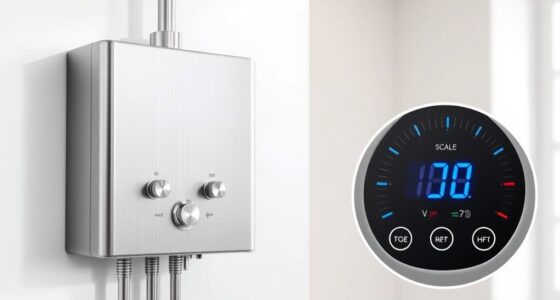
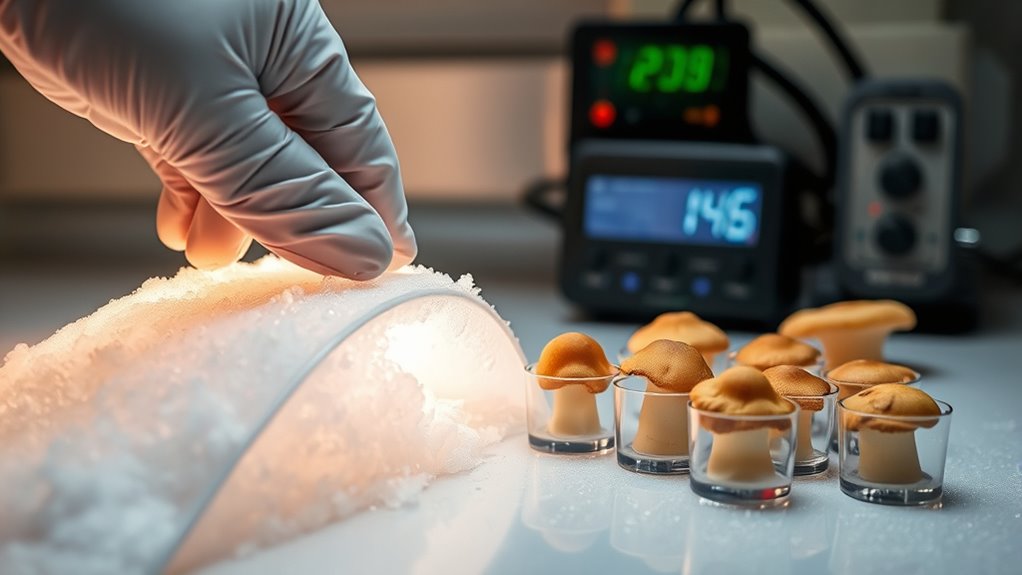
Effective troubleshooting starts with having the right tools and materials on hand. To diagnose issues accurately, you need a multimeter to check voltage and current, ensuring your battery chemistry is functioning properly. A hydrometer can help assess the specific gravity of electrolyte, revealing potential problems like sulfation or dehydration. Additionally, a charger with adjustable charging protocols allows you to test whether your battery responds correctly to different charging cycles, pinpointing issues related to improper charging. An infrared thermometer helps identify uneven heating, which can signal internal faults. Finally, keep detailed logs of measurements to spot patterns. These tools help you quickly identify whether the problem stems from faulty battery chemistry or incorrect charging protocols, streamlining your troubleshooting process. Proper maintenance is also crucial for preventing future issues and ensuring your system operates efficiently.
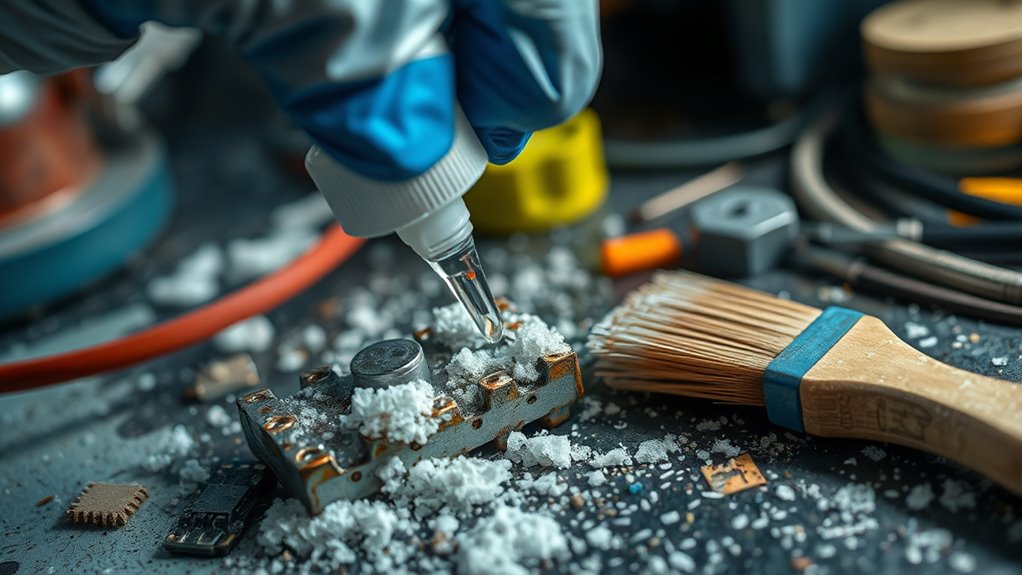
Materials for Repairs
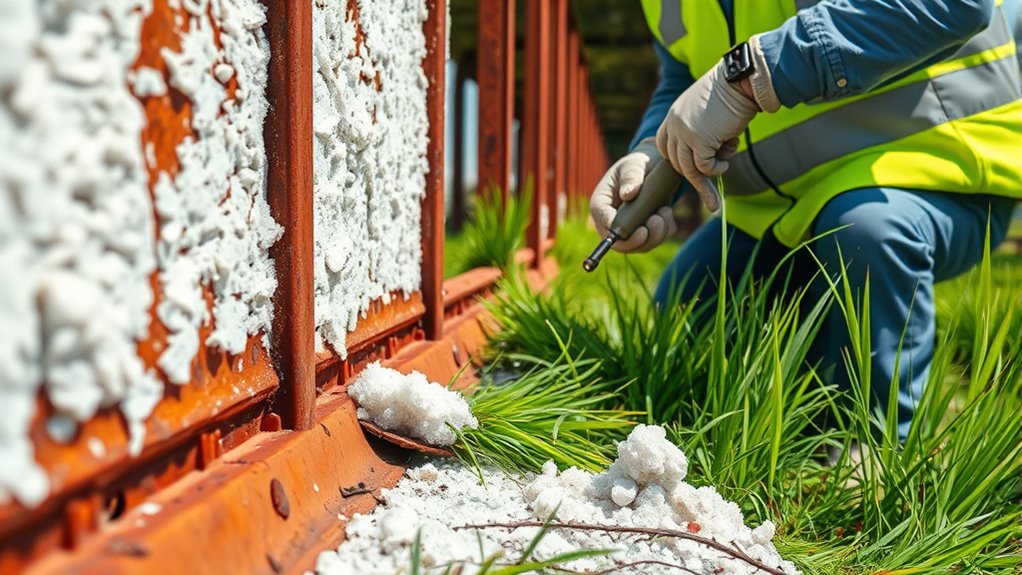
Having the right materials on hand is vital for successful troubleshooting and repairs. You’ll need basic tools like screwdrivers, wire brushes, and cleaning cloths. For addressing issues related to battery chemistry, gather corrosion prevention supplies such as terminal cleaners, anti-corrosion sprays, and protective gloves. Use a plastic scraper or brush to remove corrosion without damaging sensitive components. It’s essential to have distilled water and appropriate electrolyte solutions for reconditioning batteries. Proper materials ensure you can clean, inspect, and repair effectively, preventing future problems. By using the right supplies, you minimize damage and promote better battery performance. Always choose corrosion prevention products designed for your specific battery chemistry to extend its lifespan and maintain safe operation. Additionally, understanding industry trends can help you select the most effective troubleshooting techniques and materials.
Step-by-Step Process for Removing and Replacing Salt Bridges

Removing and replacing salt bridges requires careful attention to detail to guarantee the connection is restored properly. First, turn off the power and disconnect the battery to prevent further corrosion. Carefully loosen any clamps or fasteners securing the salt bridge. Gently lift it out, avoiding contact with electrolyte residue to prevent further battery corrosion. Clean the area with a soft brush and a mild electrolyte management solution. Before installing the new salt bridge, check for corrosion and ensure the terminals are dry. Place the new salt bridge firmly in position, then tighten clamps securely. Proper electrolyte management during this process ensures excellent conductivity and prevents future issues. Monitoring battery health is essential to maintain optimal performance and longevity of the system.
Techniques for Breaking Down and Cleaning Mushy Electrolyte Areas
To effectively clean mushy electrolyte areas, you first need to identify the affected zones clearly. Then, use appropriate cleaning methods to remove buildup without damaging surrounding components. Precise techniques guarantee your electrolyte areas are restored and ready for proper function. Using gentle, targeted cleaning solutions can help preserve delicate skin areas, ensuring that the process is both effective and safe.
Identifying Affected Zones
When dealing with mushy electrolyte areas, the first step is to pinpoint exactly where the problem lies. Start by evaluating corrosion patterns, as they reveal where damage is most severe. Examine the electrolyte distribution to identify zones with uneven or excessive buildup. Use these techniques:
- Map out corrosion patterns to see where deterioration is concentrated.
- Check electrolyte spread for irregularities indicating localized issues.
- Trace the boundaries of mushy areas to define affected zones precisely.
- Cross-reference visual clues with historical data to recognize recurring problem spots.
Effective Cleaning Methods
Effective cleaning of mushy electrolyte areas requires targeted techniques that break down the accumulated deposits without damaging surrounding components. You should use gentle chemical reactions, such as diluted acids or specialized electrolyte cleaners, to dissolve the mushy deposits safely. Applying these solutions carefully allows the breakdown of organic buildup and mineral deposits, preventing further electrode corrosion. Avoid harsh abrasives or excessive scrubbing, which can damage the electrode surface and worsen corrosion. Instead, let the chemical reactions do the work, loosening and removing the deposits with minimal risk. After cleaning, thoroughly rinse the area to eliminate residual chemicals, reducing the chance of reoccurring buildup or corrosion. Properly executed, this method restores electrolyte integrity and prolongs electrode lifespan. Incorporating proper maintenance techniques, such as regular inspections and timely replacements, can further prevent future issues and ensure optimal performance.
Preventative Measures to Avoid Future Salt Bridge and Mush Formation
Preventing salt bridge and mush formation starts with proactive maintenance and proper system management. Regular battery maintenance and electrolyte management are key. To reduce risks, consider these steps:
- Check electrolyte levels frequently and top off with distilled water as needed.
- Keep terminals clean and free of corrosion to guarantee good connections.
- Avoid overcharging, which accelerates salt buildup and mush formation.
- Store batteries in a stable, temperature-controlled environment to prevent moisture issues.
- Ensure proper ventilation around batteries to decrease humidity and moisture buildup that can contribute to salt deposits.
Implementing these measures helps maintain ideal electrolyte balance and prevents salt deposits from forming. Regular monitoring and maintenance reduce the chance of future problems, saving you time and repair costs. Staying vigilant ensures your system remains efficient and reliable over the long term.
Common Mistakes to Avoid During Repairs and Maintenance

While regular maintenance helps prevent salt bridge and mush formation, mistakes during repairs and upkeep can undo your efforts. First, neglecting battery safety can lead to accidental short circuits or acid leaks, risking injury or damage. Always wear protective gear and disconnect power before working on the battery. Avoid rushing repairs, which can cause improper cleaning or reassembly, leading to corrosion issues. Use the right tools and avoid using abrasive methods that damage terminals or plates. Overlooking proper corrosion prevention measures, like applying anti-corrosion treatments or ensuring tight connections, invites future problems. Never ignore signs of corrosion or salt buildup; addressing them promptly is key. Staying cautious and methodical during repairs ensures your battery remains safe, efficient, and less prone to salt bridge or mush formation. Additionally, understanding the importance of energetic alignment can enhance your overall approach to maintenance and troubleshooting, leading to more effective results.
Real-World Case Studies: Successful Fixes and Lessons Learned
Real-world case studies demonstrate how practical repairs can successfully resolve salt bridge and mush issues, providing valuable lessons for both amateurs and professionals. These examples highlight effective approaches to battery maintenance and electrolyte management. Consider these key lessons:
Real-world repairs offer valuable lessons for resolving salt bridge and mush problems effectively.
- Regularly inspect for salt bridge formation and clean terminals promptly.
- Use distilled water during electrolyte management to prevent contamination.
- Apply proper desulfation techniques to address mush buildup.
- Monitor electrolyte levels and maintain consistent acid concentration for peak performance.
- Employ ethical hacking techniques to identify vulnerabilities in battery management systems and ensure safety.
Frequently Asked Questions
How Long Do Salt Bridge Repairs Typically Last?
Salt bridge repairs usually last between 6 months to a year, depending on factors like electrolyte degradation and thermal cycling. If you notice increased electrolyte degradation, it indicates the salt bridge is losing effectiveness sooner. Thermal cycling causes expansion and contraction, which can weaken the repair over time. Regular inspections and timely reapplications help extend the lifespan of your salt bridge, ensuring consistent performance and preventing further issues.
Can I Repair Salt Bridges Without Professional Help?
Ever thought you could handle salt bridge repairs yourself? You definitely can with DIY fixes, but it’s essential to understand the process. Using chemical solutions, like baking soda or specific electrolyte additives, can help restore the salt bridge without professional help. Just remember, proper safety precautions are key, and if the issue persists or worsens, consulting an expert is the smart move. Are you ready to give it a try?
Are There Alternative Methods to Prevent Mush Formation?
Yes, you can prevent mush formation by using proper electrolyte solutions and maintaining temperature control. Choose electrolyte solutions with balanced salt concentrations to reduce residue buildup. Keep your setup in a stable, moderate temperature environment to slow down evaporation and microbial growth. Regularly check and clean your system, and avoid sudden temperature fluctuations. These steps help maintain ideal conditions, preventing mush without needing professional help.
What Safety Precautions Should I Take During Repairs?
You should always wear protective gear like gloves and safety goggles to prevent injury during repairs. Make certain you follow electrical safety protocols by disconnecting power sources before starting and using insulated tools. Work in a dry environment and avoid water contact with electrical components. Keep a fire extinguisher nearby, and never bypass safety measures. Taking these precautions helps protect you from electrical shocks and accidents, ensuring a safer repair process.
How Can I Tell if the Repair Was Successful?
They say a picture is worth a thousand words, so check for clear indicators of repair. To test success, observe if the salt bridge no longer causes issues, and the mush fixes hold steady. Run the system and monitor for stable operation, no leaks, or erratic behavior. Consistent performance and absence of warning signs mean your repair was successful. Keep an eye on these indicators to confirm your fix worked.
Conclusion
Now that you’ve tackled salt bridges and mush, think of your battery as a delicate soufflé—one poke and it’s all over. With the right tools and a steady hand, you’ve prevented a meltdown. Remember, ignoring these issues is like ignoring a leaky faucet—eventually, everything floods. So, stay vigilant, keep your electrolyte clean, and avoid turning your battery into a science experiment gone wrong. After all, nobody wants a “mushy” ending to their day.