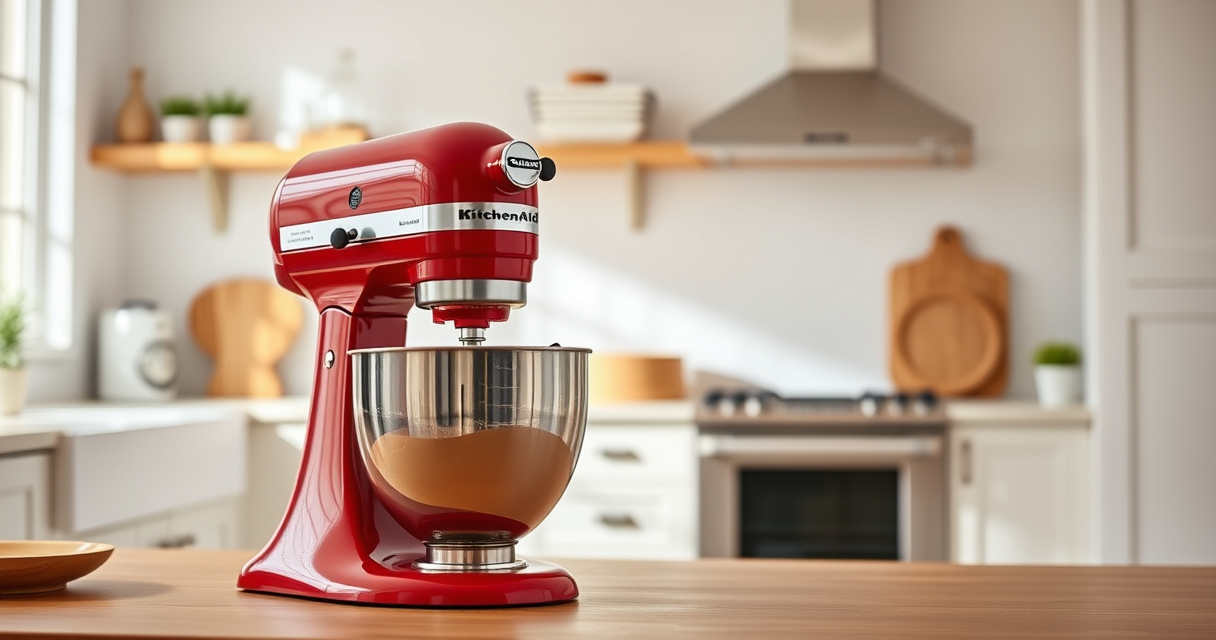

Maintaining your KitchenAid Classic mixer is essential for its longevity and optimal performance. Regular cleaning not only keeps it looking great but also prevents buildup that can affect its functionality. In this guide, you’ll find clear, practical steps to clean your mixer safely and effectively.

Get home appliances delivered free — and shop member deals
- Fast, free delivery on millions of items
- Access to Prime Big Deal Days deals on October 6–7
- Prime Video, Amazon Music and more included
Follow these instructions carefully to ensure your appliance stays in excellent condition for years to come.
Key Takeaways
| Regular cleaning extends lifespan | Clean after every few uses to prevent buildup. |
| Use gentle cleaning methods | Avoid abrasive cleaners that can damage the finish. |
| Focus on removable parts | Clean beaters and bowls thoroughly. |
| Avoid water ingress | Keep motor housing dry and clean with a damp cloth. |
| Deep clean periodically | Disassemble and scrub all accessible parts. |
Gather Necessary Supplies
- Soft cloths or microfiber towels
- Warm water and mild dish soap
- Non-abrasive sponge or soft brush
- Vinegar or gentle all-purpose cleaner (optional)
- Dry towels for thorough drying
Disconnect and Prepare the Mixer
- Unplug the mixer from the power outlet to ensure safety.
- Remove all detachable parts, including beaters, bowls, and attachments.
Clean Removable Parts
- Wash the beaters and bowls with warm, soapy water. Use a soft sponge to remove any residue.
- If needed, soak stubborn spots in vinegar or a mild cleaner for a few minutes.
- Rinse thoroughly and dry with a clean towel.
Wipe Down the Mixer Body
Dampen a soft cloth with warm water and a small amount of mild soap. Wipe the exterior, avoiding the motor housing and any electrical components. Use a dry cloth to remove moisture.
If there are stubborn stains or grease, a mixture of vinegar and water can help break down grime.
Perform a Deep Clean Periodically
- Use a soft brush or cloth to clean under and around the head of the mixer.
- Check and clean any crevices or vents carefully.
- Reassemble the mixer once all parts are dry and free of debris.
The Products in This Guide

Stainless Steel Flat Beater
- ✔ Material: Stainless Steel
- ✔ Compatibility: 4.5-5 Qt Mixers
- ✔ Cleaning: Dishwasher Safe

KitchenAid Stand Mixer Attachment
- ✔ Material: Metal
- ✔ Compatibility: KitchenAid Mixers
- ✔ Includes: Grinding Plates & Stuffer Tubes
Stainless Steel Flat Beater
This Stainless Steel Flat Beater is designed for KitchenAid 4.5-5 Qt tilt-head mixers, including Classic and Artisan series. It is dishwasher safe and built to withstand heavy-duty tasks without bending or breaking.
Pros:
- Durable stainless steel construction
- Dishwasher safe for easy cleaning
- Perfect fit for various KitchenAid models
- Resists chipping and flaking
Cons:
- Limited to specific models
- No coating means more careful cleaning needed
Best for: Heavy doughs, cake batters, mashed potatoes
Not ideal for: Light mixing tasks or non-compatible mixer models
Bottom line: A sturdy, dishwasher-safe beater perfect for demanding mixing tasks.
KitchenAid Stand Mixer Attachment
Connecting easily to your KitchenAid mixer, this metal food grinder opens up a world of fresh, homemade options. Its durable construction and included plates make it versatile and easy to use.
Pros:
- Allows fresh grinding of meat, vegetables, and more
- Includes multiple grinding plates and sausage tubes
- Sturdy metal build
- Large food tray for efficient processing
Cons:
- Requires separate purchase of the grinder attachment
- Cleaning needs to be thorough to prevent residue buildup
Best for: Making fresh ground meats, vegetable purees, and more
Not ideal for: Pre-ground ingredients or minimal prep tasks
Bottom line: A robust attachment to expand your culinary possibilities with fresh grinding.
Frequently Asked Questions
Can I put the Beater in the dishwasher?
Yes, the Stainless Steel Flat Beater (ASIN B0GWH5HGS6) is dishwasher safe, making cleanup convenient.
What should I do if my mixer is not turning on?
First, check that the mixer is properly plugged in and the power outlet is functional. If it still doesn’t turn on, inspect the cord and switch. Refer to the user manual for further troubleshooting.
How often should I clean my mixer?
It’s best to clean your mixer after every few uses, especially after making sticky or greasy recipes, to prevent buildup and ensure smooth operation.
Can I use harsh chemicals to clean my mixer?
No, avoid harsh chemicals or abrasive cleaners that could damage the finish. Mild soap and water are sufficient for routine cleaning.
Keeping Your KitchenAid Classic in Prime Condition
Regular cleaning and maintenance are key to ensuring your KitchenAid Classic mixer continues to perform beautifully for years. By following these simple steps, you can keep it looking great and functioning flawlessly. Remember to handle the parts with care and use appropriate cleaning methods for the best results.
Affiliate disclosure: As an Amazon Associate we earn from qualifying purchases. Prices and availability are accurate as of the time of publishing.
Fall yard work Picks
leaf blowers
As an affiliate, we earn on qualifying purchases.