
To make certain your plumbing or irrigation system works efficiently, you need to plan your valving layout carefully. Focus on placing valves where they’re easy to access, near critical equipment, and for future expansion. Use the right types of valves for different roles, and size them properly to prevent pressure issues. Well-labeled and documented valves make maintenance simpler. If you want to optimize your system and avoid common mistakes, keep exploring for essential tips.
Key Takeaways
- Place valves for easy access, strategic control, and future expansion to simplify maintenance and system upgrades.
- Select the appropriate valve type (ball, gate, check, globe) based on flow control needs.
- Properly size and space valves to ensure balanced flow, prevent pressure issues, and facilitate troubleshooting.
- Incorporate emergency shutoff valves near high-risk areas and regularly test safety protocols.
- Use clear labeling, standardized symbols, and detailed documentation to improve operation and maintenance efficiency.

Eastman 3/4 Inch IPS Heavy Duty Full Port Ball Valve, Brass Plumbing Fitting, 20047LF
FULL PORT DESIGN: Heavy-duty full port ball valve features a 3/4 in. IPS connection on each end to…
As an affiliate, we earn on qualifying purchases.
As an affiliate, we earn on qualifying purchases.
Understanding the Purpose of Valves in Plumbing and Irrigation Systems
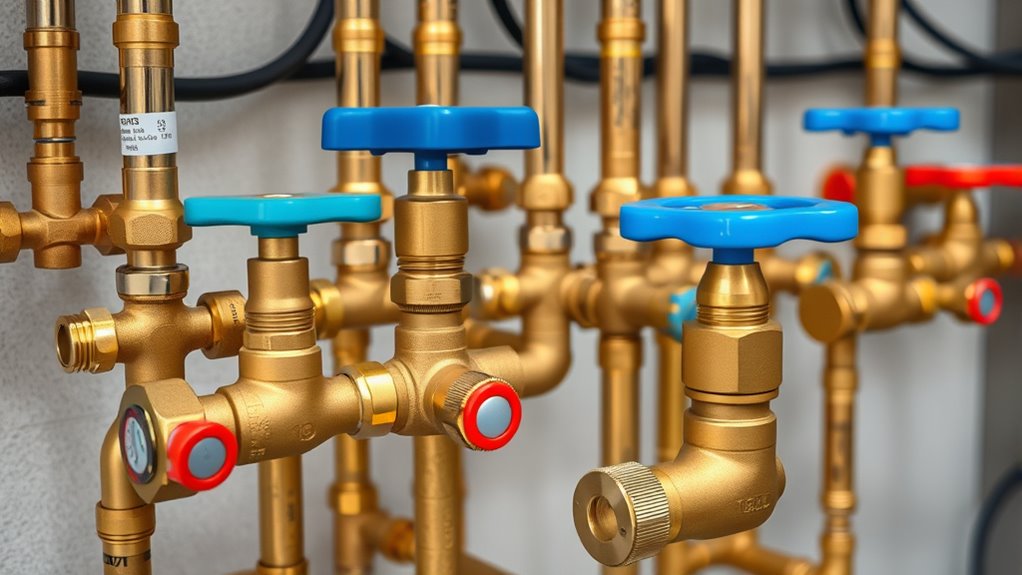
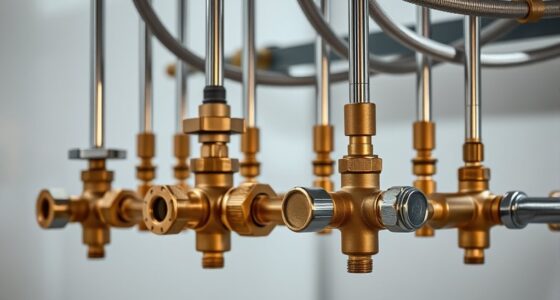
Valves play an essential role in controlling the flow of water in plumbing and irrigation systems. Proper valve installation ensures you can shut off water quickly for repairs or system adjustments. Knowing how to select the right valve material is vital, as it impacts durability and compatibility with various water conditions. For example, brass valves are common for their strength and corrosion resistance, while PVC valves are lightweight and suitable for certain irrigation setups. Choosing the right materials also helps prevent leaks and prolongs system lifespan. When planning your layout, consider where valves will be placed for easy access and maintenance. Additionally, understanding the contrast ratio of your projectors can significantly enhance your viewing experience by providing deeper blacks and more vivid images. This careful valve material selection and installation strategy ensure your system operates smoothly and efficiently, saving you time and money in the long run.

Hunter Sprinkler HC50F50M HCV 1/2-Inch Female Inlet by 1/2-Inch Male Outlet Check Valve
With the Hunter HCV, this will never be a problem again
As an affiliate, we earn on qualifying purchases.
As an affiliate, we earn on qualifying purchases.
Key Types of Valves and Their Functions

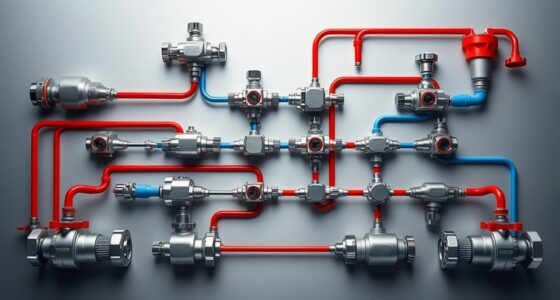
Understanding the different types of valves helps you choose the right one for your plumbing or irrigation system. Valve types include ball valves, gate valves, check valves, and globe valves, each serving specific functions. Ball valves provide quick shut-off and are ideal for main water lines. Gate valves control flow gradually and are best for long-term shutoff. Check valves prevent backflow, protecting your system from contamination. Globe valves allow precise flow regulation, making them suitable for control points. Knowing these valve functions helps you match the valve type to your system’s needs, ensuring efficiency and longevity. Proper valve selection also involves considering the flow control capabilities to optimize system performance. Choosing the correct valve type simplifies maintenance and improves system performance, so understanding their key functions is essential for any plumbing or irrigation project.

APEC Water Systems Auto Shut Off Valve Replacement Part (ASO)
Automatic Shut Off Valve for APEC Reverse Osmosis Systems Model RO-45, RO-90,RO-PH90,ROES-50,ROES-PH75,ROES-UV75.
As an affiliate, we earn on qualifying purchases.
As an affiliate, we earn on qualifying purchases.
Strategic Placement of Valves for Easy Maintenance

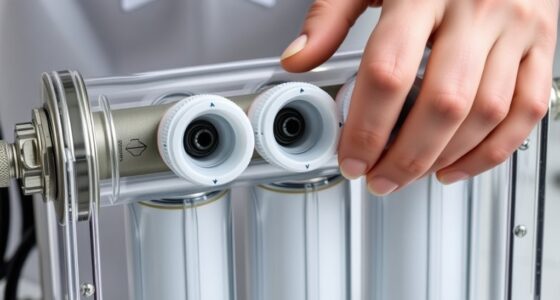
Have you considered how the placement of valves can make maintenance much simpler? Proper placement ensures quick access for valve actuation and easier replacement, saving you time and effort. To achieve this, keep these points in mind: 1. Position valves where you can easily reach them without disrupting other systems. 2. Select valve materials suited for your environment to prevent corrosion and reduce frequent replacements. 3. Place isolation valves close to critical equipment for swift shutdowns during maintenance or emergencies. Additionally, using Pimple Patches can serve as a metaphor for protecting and maintaining your system’s integrity by covering vulnerabilities before they become issues. Strategic placement minimizes downtime and enhances safety, while thoughtful material selection ensures longevity. Remember, well-placed valves make routine maintenance smoother and more efficient, keeping your system reliable and reducing costly repairs.

START International – LAP65-30 – Label Dispenser – Manual Label Applicator – Handheld Die Cut Small Labels Tool – 0.75-1.20 Inch – Narrow Width
Narrow Width Specialization: This handheld label applicator accommodates small labels ranging 0.75 to 1.20 inches wide and 0.78…
As an affiliate, we earn on qualifying purchases.
As an affiliate, we earn on qualifying purchases.
The Importance of Proper Valve Spacing and Sizing
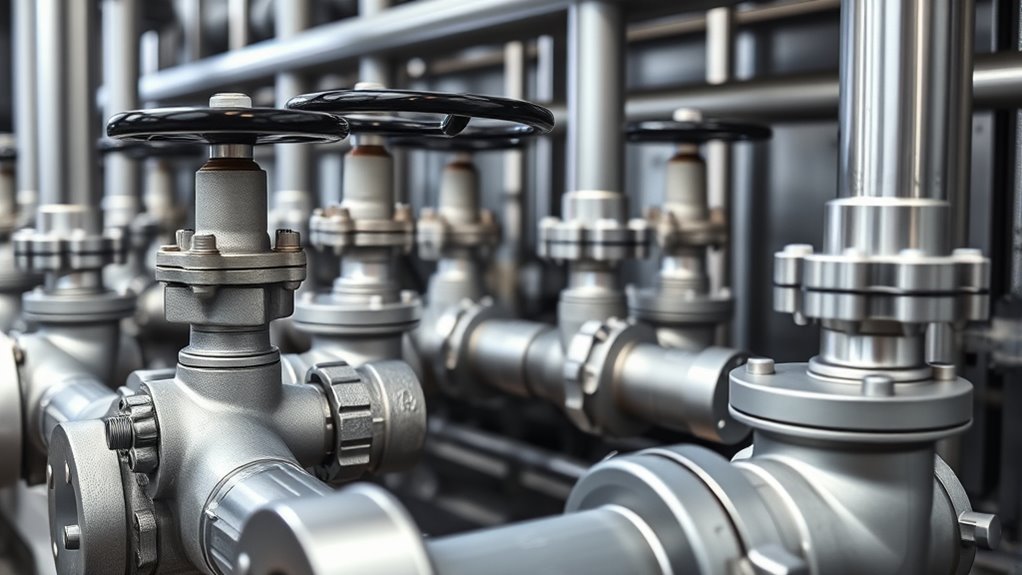
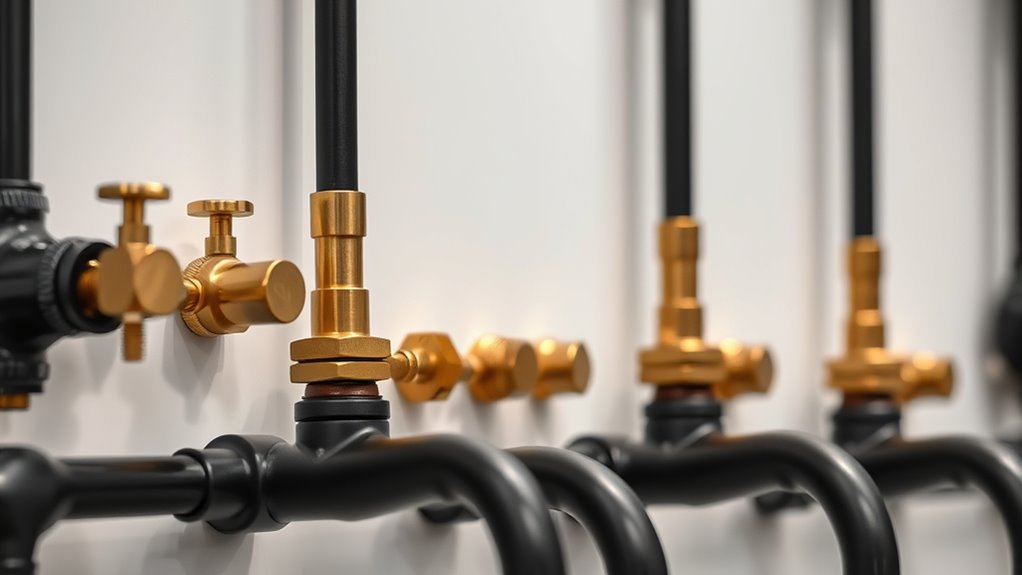
Proper spacing and sizing of valves are essential for maintaining efficient flow and ease of operation within your system. Correct valve sizing ensures that flow rates stay balanced, preventing pressure drops or surges that can cause issues downstream. Proper valve spacing allows for easier maintenance and minimizes turbulence that could reduce system efficiency. If valves are too close, it can make operation difficult and increase the risk of leaks; if spaced too far apart, it can lead to unnecessary pipe runs and increased costs. When selecting valve sizes, consider flow requirements and pressure conditions to avoid undersized or oversized valves. Thoughtful valve spacing helps distribute flow evenly and simplifies troubleshooting. Additionally, vertical storage solutions can be utilized to keep your system organized and accessible for maintenance. Ultimately, paying attention to both valve sizing and spacing keeps your system running smoothly and reliably.
Common Mistakes in Valving Layouts and How to Avoid Them

One of the biggest mistakes is placing valves in the wrong spots, which can cause inefficiency or maintenance issues. You also need to contemplate system compatibility to prevent mismatched components. Don’t forget to plan for future expansion to avoid costly redesigns down the line. Incorporating proper flavor selection and understanding how different components interact can further enhance system performance and longevity.
Improper Valve Placement
Incorrect valve placement can lead to inefficient system operation, increased maintenance costs, and safety hazards. When valves are poorly positioned, it’s harder to control flow effectively and troubleshoot issues. To avoid this, consider these points:
- Place valves where they’re easily accessible for routine maintenance and emergency shut-offs, keeping valve material durability in mind.
- Ensure valves don’t compromise valve aesthetics; hidden or awkward placements can cause confusion and neglect.
- Position valves to optimize flow control without creating pressure drops or turbulence, which can wear out components faster.
- Incorporate sound design principles by considering how ambient sounds and environmental factors may influence valve placement decisions to ensure optimal operation.
Proper placement enhances system reliability and safety. Remember, the right valve location also supports consistent operation and easier inspections, saving you time and money in the long run.
Overlooking System Compatibility
Ignoring system compatibility when designing your valving layout can cause significant issues down the line. If you choose valves that don’t match your system’s material, you risk leaks or corrosion. Similarly, neglecting valve automation compatibility can lead to costly retrofits or unreliable operation. Always verify your system’s pressure, temperature, and flow requirements before selecting components. Incorporating material compatibility considerations ensures durability and safety over the lifespan of your system.
Ignoring Future Expansion
Failing to plan for future expansion can lead to costly redesigns and operational delays. To effectively future proof your systems, focus on creating scalable designs that accommodate growth. Consider these points:
- Allocate extra space and connections now to avoid rework later.
- Use modular components that can be easily integrated or expanded.
- Design with flexibility in mind, allowing for upgrades without significant disassembly.
- Conduct cost behavior analysis to understand and anticipate how expenses may change with increased capacity.
Designing for Future Expansion and System Flexibility

Designing a valve layout with future expansion and system flexibility in mind guarantees your setup can adapt to evolving needs without costly reconfigurations. Choose durable valve materials like brass or stainless steel to guarantee longevity and easy upgrades. Incorporate modular installation techniques that allow for straightforward additions or changes later. Position valves strategically to isolate sections without disrupting entire systems, making future modifications smoother. Leave space around key valves for maintenance and expansion. Using flexible piping and quick-connect fittings can facilitate quick upgrades. Planning for extra valve connections now prevents bottlenecks later. Additionally, considering system adaptability during design ensures your setup remains functional as requirements change over time. By considering these factors, you build a system that accommodates growth, reduces downtime, and minimizes future expenses. Your foresight in layout design ensures a resilient, adaptable setup for years to come.
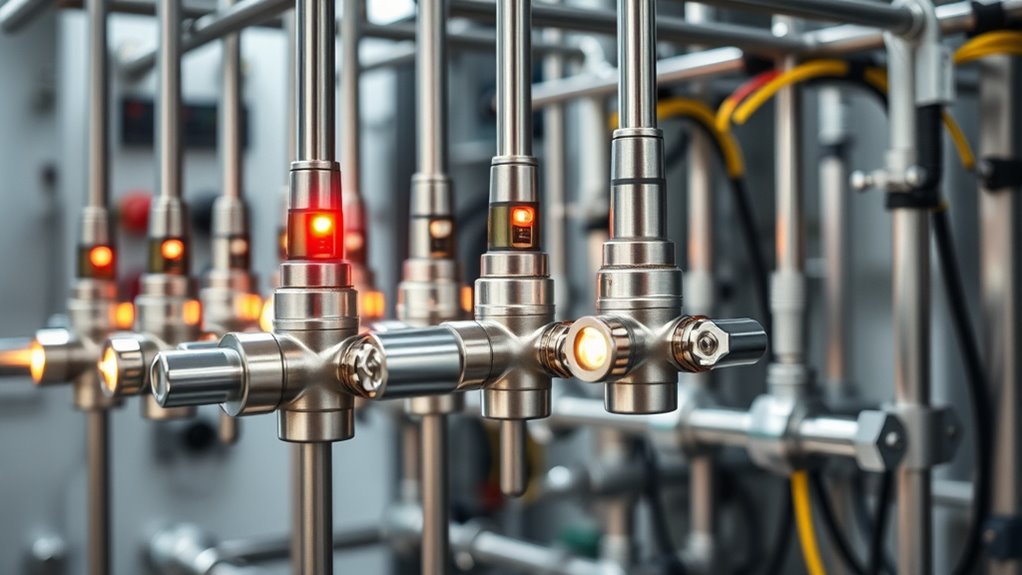
The Role of Shutoff Valves in Emergency Situations

In emergency situations, having shutoff valves strategically placed and readily accessible can make all the difference in minimizing damage and downtime. An emergency shutoff allows you to quickly isolate a problem, preventing leaks, flooding, or safety hazards. Proper placement guarantees you can act fast when every second counts. Remember these key points:
- Position shutoff valves near high-risk areas for quick access during emergencies.
- Regularly test safety protocols to ensure the valves work when needed.
- Educate team members on the location and operation of emergency shutoffs.
- Understanding the shelf life of grape juice can help manage storage and avoid spoilage during extended emergencies.
Using these valves effectively helps you control the situation, reduce potential hazards, and adhere to safety protocols. Their role is essential in safeguarding personnel, equipment, and property during critical moments.
Ensuring Proper Flow Control and Pressure Management

To guarantee proper flow control and pressure management, you need to select and install the right valve types for your system. Proper pressure regulation ensures your equipment runs efficiently and prevents damage caused by pressure surges. Use valves designed for pressure control, such as pressure regulators or control valves, to maintain consistent pressure levels. Flow balancing is equally important; it helps distribute fluid evenly across different parts of your system, avoiding pressure drops or surges. By carefully sizing and positioning flow control valves, you can optimize performance and reduce wear on components. Remember, precise valve selection and installation are key to achieving reliable pressure regulation and smooth flow, ultimately ensuring your system operates safely and efficiently.
Best Practices for Labeling and Documenting Valving Layouts

Clear labeling and thorough documentation are essential for maintaining an organized and efficient valving layout. Properly labeled systems prevent confusion during operation and maintenance. Use consistent labeling conventions, such as clear text and standardized symbols, to guarantee everyone understands the layout. Incorporate color coding to quickly identify valve functions or flow directions.
Here are key practices to follow:
- Assign distinct colors for different valve types or flow paths, simplifying identification.
- Use standardized labels that include valve purpose, location, and function for clarity.
- Keep documentation up-to-date with any modifications, ensuring accurate records for troubleshooting and future reference.
These practices help streamline operations, improve safety, and reduce errors across your valving system.
Tips for Troubleshooting and Maintaining Your Valving System
Regularly inspecting your valving system is essential to catch issues early and guarantee smooth operation. Start by checking for leaks, which can compromise system efficiency and safety. Leak detection methods, such as soap solution or electronic sensors, help identify hidden leaks quickly. Ensure valve calibration is accurate; improperly calibrated valves can cause flow inconsistencies and process errors. If you notice irregular flow or pressure drops, recalibrate the valves following manufacturer guidelines. Keep valves clean and free of debris to prevent sticking or malfunction. Regular maintenance also involves testing valve positions and ensuring actuators respond correctly. Document all inspections and repairs to track system health over time. Consistent troubleshooting and maintenance extend your valving system’s lifespan and keep it operating reliably.
Frequently Asked Questions
How Do I Choose the Right Valve Material for My System?
To choose the right valve material, focus on material selection based on your system’s operating conditions. Consider factors like temperature, pressure, and the fluids involved. For high durability, materials like stainless steel or brass are excellent choices, especially in demanding environments. You want a valve that withstands wear and corrosion, ensuring long-term valve durability. Matching the material to your system’s needs helps prevent failures and keeps everything running smoothly.
What Are Signs of Valve Malfunction or Failure?
Think of your valve as the heart of your system—when it starts to falter, trouble’s brewing. Signs of failure include leaks, sluggish response, or uneven flow, signaling valve troubleshooting is needed. Don’t ignore strange noises or increased pressure drops. Regular maintenance tips like inspecting seals and cleaning internal parts help prevent failures. Stay vigilant—catching issues early keeps your system running smoothly and prevents costly breakdowns down the line.
How Often Should Valves Be Inspected or Replaced?
You should inspect your valves regularly, ideally every 6 to 12 months, depending on usage and system conditions. During inspections, check valve seals for wear or leaks and perform system maintenance to guarantee proper operation. Replacing valves promptly when signs of failure appear helps prevent costly damage. Regular inspection and maintenance keep your system running smoothly, extending valve lifespan and maintaining peak performance.
Can I Install Valves Myself or Need Professional Help?
You can give DIY installation a try, but think of valve maintenance as delicate art—you might prefer a professional’s touch for peace of mind. While basic valve maintenance can be manageable with proper tools and instructions, complex setups or guaranteeing ideal performance often require expert knowledge. If you’re comfortable with plumbing projects, proceed carefully; otherwise, calling in a pro ensures your system runs smoothly without unintended leaks or issues.
What Safety Precautions Are Necessary During Valve Installation?
When installing valves, prioritize safety by wearing proper safety gear like gloves and eye protection. Follow installation tips carefully, guaranteeing the system is depressurized before starting. Turn off power sources and drain any residual fluids. Use the right tools to prevent slips or damage. Double-check connections, and work in a well-ventilated area. These precautions help prevent accidents and ensure a safe, effective installation.
Conclusion
Did you know that properly planned valving can save you up to 30% on maintenance time? By understanding the purpose, strategic placement, and correct sizing, you’ll keep your system running smoothly and avoid costly mistakes. Remember, a well-designed layout isn’t just about convenience — it’s about ensuring reliable flow control and quick emergency shutoffs. Take the time to plan and document your system; it’s an investment that pays off every time you need it.