
To test water hardness at home, you can use DIY test kits or the soap method. Test kits involve adding a reagent to a water sample and checking the color change, which indicates if water is soft, moderately hard, or very hard. With the soap test, shake a bottle with water and dish soap—fewer suds mean harder water. If you want to understand what these results mean for your plumbing and appliances, keep exploring the options available.
Key Takeaways
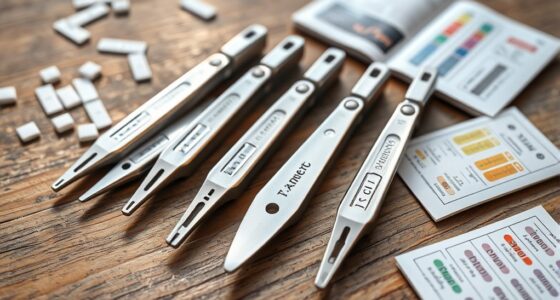
- Use DIY test kits that change color when reagents react with calcium and magnesium ions in water.
- Fill a test tube with your water sample, add reagent, and observe color change to determine hardness level.
- Conduct a soap test by shaking water with liquid soap; fewer suds indicate higher mineral content.
- Interpret results to assess potential mineral buildup, pipe clogging, and the need for water softening treatments.
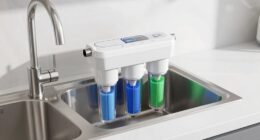
- Choose appropriate treatment options like ion exchange filters based on your hardness test results to protect appliances.
Have you ever wondered how manufacturers determine the hardness of a material? It’s a vital step in many industries, especially when it comes to water softening systems and plumbing. Understanding how hard a material is helps in selecting the right treatment methods and preventing issues like mineral deposits that can clog pipes or reduce appliance efficiency. While professional labs use specialized equipment, you can also perform simple DIY tests at home to get a good idea of water hardness and, indirectly, the presence of mineral deposits.
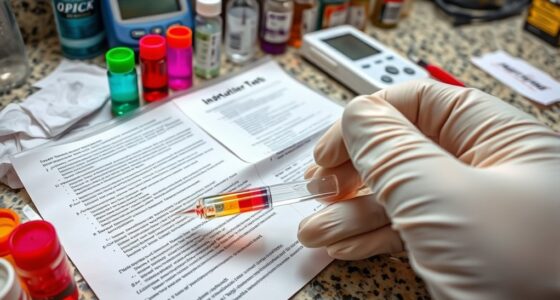
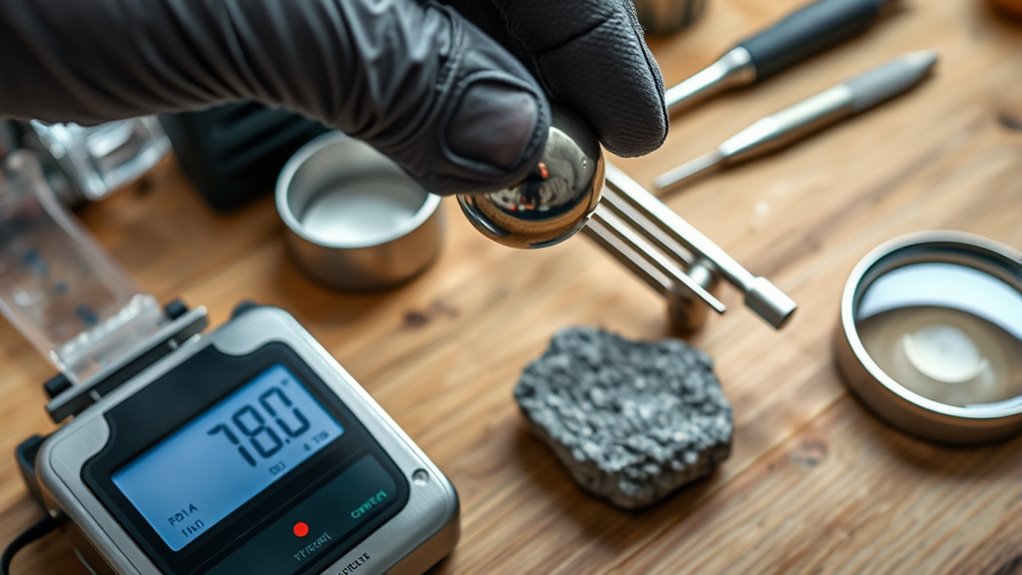
One common DIY method involves using a test kit designed specifically for water hardness. These kits usually contain a reagent that reacts with calcium and magnesium ions—the main contributors to water hardness. You simply fill a test tube with a water sample, add the reagent, and observe the color change. The resulting color indicates whether your water is soft, moderately hard, or very hard. These tests are quick, inexpensive, and effective for personal assessments.
Another straightforward approach is the soap test. It’s less precise but still informative. Fill a clear bottle with a fixed amount of water, add a few drops of liquid soap, then shake vigorously. If the water produces a lot of suds easily, it’s likely soft. If it produces only a few suds or the water feels slimy, it indicates hard water with high mineral content. This method helps you gauge whether mineral deposits might form over time, especially in appliances like washing machines or kettles, which are sensitive to hard water.
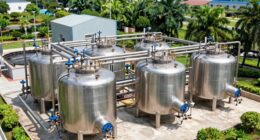
Interpreting these results is key. Water with high mineral content promotes mineral deposits, which can build up inside pipes, fixtures, and appliances, leading to inefficiency and potential damage. If your test indicates hard water, you might consider installing a water softening system, such as ion exchange filters, to reduce mineral levels. Conversely, soft water generally causes fewer mineral deposits, which can extend the lifespan of plumbing and improve cleaning results.

Varify Water Hardness Test Kit – Water Testing Kit for Home, Drinking, Well, Spa, Swimming Pool, Softener, Dishwasher & More – Hard Water Test Strips for Calcium, Magnesium etc (0-425 pmm, 150 Strips)
PROTECT YOUR HOME AND WELLNESS: Understand the impact of hard water on your home and health. Hard water…
As an affiliate, we earn on qualifying purchases.
As an affiliate, we earn on qualifying purchases.
Frequently Asked Questions
Can DIY Hardness Tests Replace Professional Laboratory Analysis?
DIY hardness tests can’t replace professional analysis because of home testing limitations. While you can get a general idea of your material’s hardness, these tests lack the precision and accuracy of professional analysis. Professionals use advanced equipment and standardized methods, providing reliable results. So, if you need exact measurements or legal documentation, it’s best to rely on a laboratory rather than DIY methods, which are mainly for quick, rough assessments.
How Often Should I Test the Hardness of My Materials?
Did you know that testing hardness once every six months can prevent 80% of material failures? You should test your materials’ hardness regularly, especially if they’re in critical applications. For maintenance considerations, testing frequency depends on usage and environment—more frequent checks are essential for high-stress or corrosive settings. Consistent testing helps catch issues early, ensuring safety and longevity without the need for costly repairs or replacements.
Are There Safety Precautions for DIY Hardness Testing Methods?
Yes, there are safety precautions for DIY hardness testing methods. Always wear safety equipment like goggles and gloves to protect against chemical hazards and debris. Work in a well-ventilated area to avoid inhaling fumes or dust. Follow instructions carefully, handle chemicals with care, and store them properly. Keeping safety in mind mitigates risks and ensures accurate results while protecting you during the testing process.
What Tools Are Recommended for Accurate Home Hardness Testing?
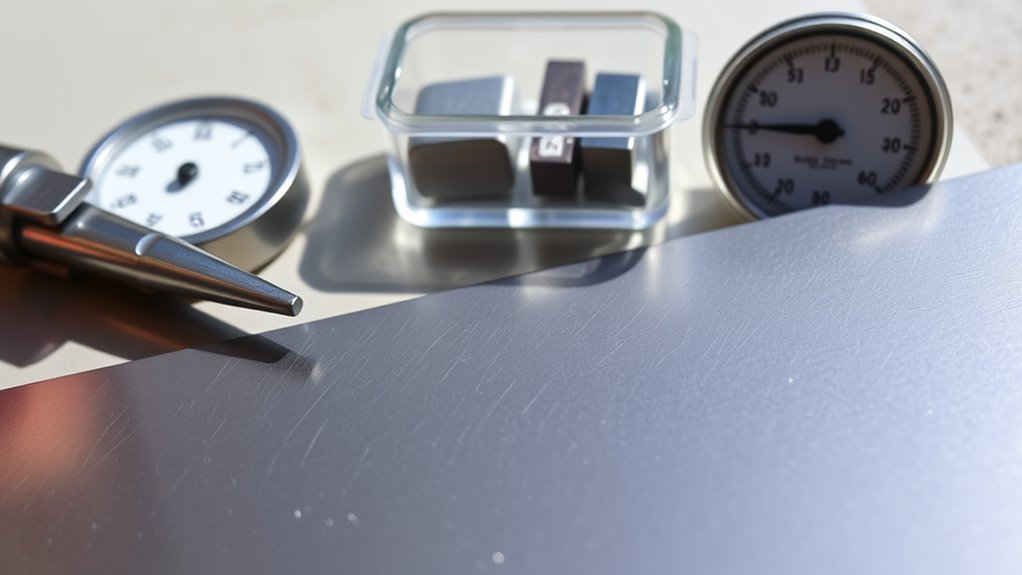
Imagine holding a delicate compass guiding you through hidden terrain. For accurate home hardness testing, you should choose a reliable test kit designed for your specific testing method, ensuring test kit accuracy. A portable hardness tester or a mineral test kit can work well. Opt for tools that are simple to use, provide clear results, and match your testing method, helping you navigate the hardness landscape with confidence.
How Do Environmental Factors Affect Hardness Test Results?
Environmental influences like temperature, humidity, and water quality can affect your hardness test results. For example, high humidity may cause inaccuracies in reagent reactions, while fluctuating temperatures can alter test chemistry. To guarantee testing accuracy, perform tests in a controlled environment, avoid direct sunlight, and wait for reagents to reach room temperature. By minimizing environmental influences, you get more reliable hardness readings at home.
Varify Water Hardness Test Kit – Water Testing Kit for Home, Drinking, Well, Spa, Swimming Pool, Softener, Dishwasher & More – Hard Water Test Strips for Calcium, Magnesium etc (0-425 pmm, 150 Strips)
PROTECT YOUR HOME AND WELLNESS: Understand the impact of hard water on your home and health. Hard water…
As an affiliate, we earn on qualifying purchases.
As an affiliate, we earn on qualifying purchases.
Conclusion
Now that you’ve tested your material’s hardness, imagine the surface as a silent guardian, revealing its secrets through simple tools and keen eyes. Each scratch, dent, or shine tells a story of strength or vulnerability. By understanding these clues, you become a detective of your own projects, ensuring durability and quality. With your newfound knowledge, you hold the power to uncover hidden truths beneath the surface—turning everyday tests into a journey of discovery.

AO Smith Whole House Salt Free Descaler System – Works with City & Well Water Filters – 6yr, 600,000 Gl – Water Softener Alternative for Home – AO-WH-DSCLR
Salt-Free Scale Prevention – The A. O. Smith Descaler reduces scale build up in pipes and plumbing using…
As an affiliate, we earn on qualifying purchases.
As an affiliate, we earn on qualifying purchases.
Premium 6-pack Water Filters For Replacement Breville BWF100 with Ion Exchange Resin inside
PACKAGE INCLUDES: 6 counts of Resin Media Water Filters fit Breville Coffee Machines.
As an affiliate, we earn on qualifying purchases.
As an affiliate, we earn on qualifying purchases.