
To stop guessing, start by performing a proper post-install flush soon after your plumbing system is installed. Turn off the main water supply, open fixtures at the highest point to drain pressure, and run water for several minutes to clear debris and residues. Regularly check for signs like low pressure or leaks, and use the right tools and cleaning agents. Following these steps guarantees your system stays clean and efficient—continue on to learn the complete process and expert tips.
Key Takeaways
- Schedule post-install flushing within the first few days to remove debris and prevent corrosion.
- Use proper tools and check fittings to ensure leak-free, effective flushing.
- Watch for signs like low water pressure or unusual noises indicating the need for flushing.
- Confirm that cleaning agents and methods match fixture specifications to avoid damage.
- Regular inspections and maintenance extend system life and prevent costly plumbing issues.

LASCO 04-1597 Toilet Flapper for Coast Brand, Made Of Plastic, Mounts on Posts of Flush Valve
The product is coast toil tank flapper
As an affiliate, we earn on qualifying purchases.
As an affiliate, we earn on qualifying purchases.
Understanding the Importance of Post-Installation Flushing

Understanding the importance of post-installation flushing is essential for ensuring your plumbing system functions properly and lasts longer. When you don’t flush after installation, debris and sediments can settle inside pipes, leading to pipe corrosion over time. This corrosion weakens the pipes, increasing the risk of leaks and costly repairs. Additionally, accumulated debris can obstruct water flow, causing fluctuations in water pressure that reduce efficiency and comfort. Proper flushing clears out any manufacturing residues or debris, preventing these issues from developing early. By maintaining ideal water pressure and avoiding corrosion, you protect your plumbing system’s integrity. A simple post-install flush is a vital step to keep your pipes clean, durable, and functioning smoothly for years to come. Incorporating techniques like flushing methods can further enhance the longevity and performance of your plumbing system.

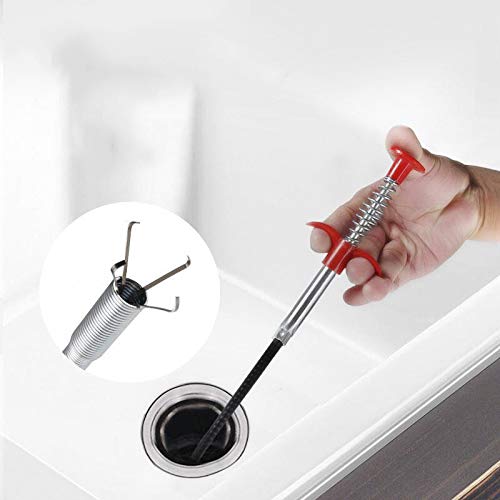
35.5inch Drain Clog Remover(1pcs), 25inch Drain Snake Hair Remover(6pcs) & Cleaning Brush(2pcs), Hair Catcher Drain Auger Cleaner Tool Set For Toilet, Kitchen Sink, Bathroom Tub, Sewer, 9 Pack
【EXCELLENT LENGTH】Metal clog remover is 35.5 inches long with a claw extending from the top, which could easily…
As an affiliate, we earn on qualifying purchases.
As an affiliate, we earn on qualifying purchases.
When to Perform a Post-Install Flush
You should perform a post-install flush soon after completing the installation to guarantee everything runs smoothly. Keep an eye out for signs of system clogging, like slow flow or unusual noises, which indicate it’s time for maintenance. Addressing these issues promptly helps maintain ideal system performance and prevents costly repairs. Regular Kia Tuning inspections can also help identify potential issues early and ensure your vehicle remains optimized.
After Installation Timing
Timing is essential when performing a post-install flush to guarantee your system functions properly and remains free of contaminants. You should schedule this flush soon after installation, aligning it with your plumbing schedule to prevent debris or residues from settling. Performing the flush too early might disrupt the system before it’s fully settled, while waiting too long could allow contaminants to build up. Ideally, you’ll perform the flush within the first few days after installation, ensuring maximum performance and longevity. Coordinating the timing with your installation team or plumbing contractor helps streamline the process. Consistent timing not only maintains system integrity but also prevents future issues, saving you time and money on repairs or replacements. Properly timed post-install flushing is a vital step for a reliable, long-lasting system. Understanding proper maintenance is crucial for sustained system health.
Signs of System Clog
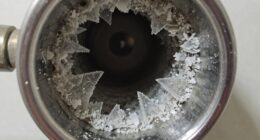
How can you tell if your system is clogged and needs a post-install flush? One clear sign is a noticeable drop in water pressure, which indicates buildup blocking flow. If you notice inconsistent flow or water sputtering from fixtures, it’s another warning sign. Additionally, pipe corrosion can signal that debris has accumulated inside the pipes, increasing the risk of clogs. Over time, corrosion can cause rough pipe surfaces where dirt and minerals settle, leading to blockages. If your system exhibits these symptoms, it’s time to contemplate a flush. Regular maintenance helps prevent these issues from worsening, ensuring your system runs smoothly and efficiently. A headphone connection can also be a sign of internal buildup affecting performance. Don’t ignore these signs—addressing them early saves you from costly repairs down the line.

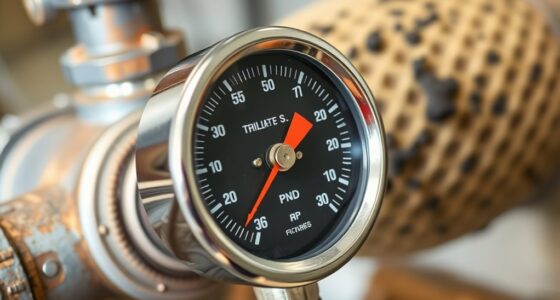
Breezliy Water Test Pressure Gauge Kit,2.5" Dial+12" EPDM Rubber+1/4" Lead-Free Valve+1/4 to 3/4 Adapter,0-200PSI/0-1.4MPA(Stainless Steel/Color) Red Kit
Water pressure test gauge kit with hose:The hose is made of high-quality EPDM Rubber, resistant to high pressure…
As an affiliate, we earn on qualifying purchases.
As an affiliate, we earn on qualifying purchases.
Gathering the Necessary Tools and Materials
Before starting, make sure you have all the tools listed in your checklist, like wrenches and safety gear. Gather the materials needed to complete the flush, such as cleaning solutions and replacement parts. Being prepared with everything on hand keeps the process smooth and efficient. Additionally, familiarize yourself with farmhouse bedroom design elements to create a comfortable and aesthetic space once the maintenance is complete.
Tools Checklist
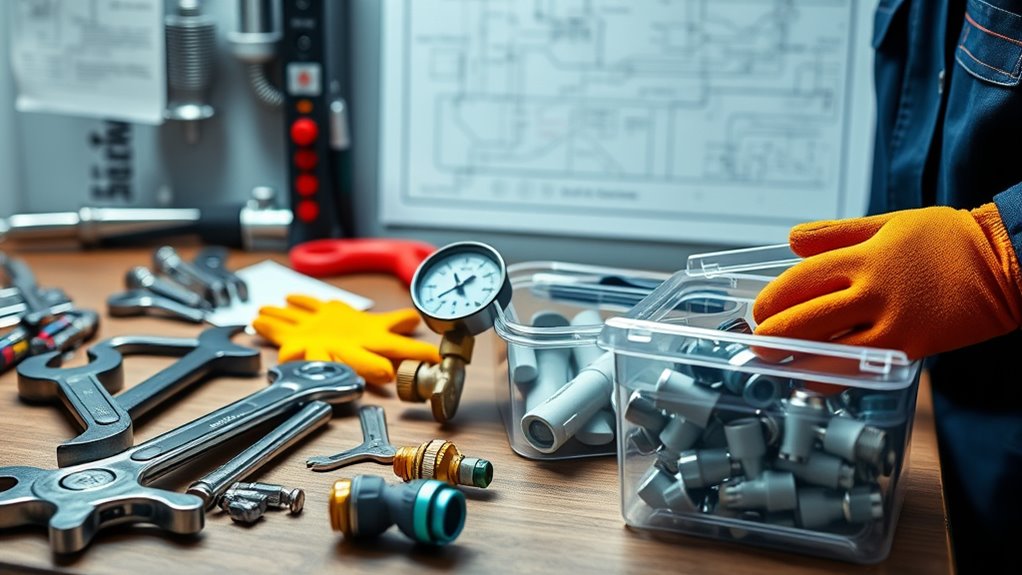
Gathering the right tools and materials is essential to guarantee a smooth post-install flushing process. Start by creating a detailed tools checklist to ensure nothing gets overlooked. Prioritize tool organization so you can quickly access what you need without wasting time searching. Double-check checklist accuracy to confirm all essential items are included, such as wrenches, cleaning brushes, and safety gear. Having everything in place prevents delays and helps you work efficiently. Keep your tools clean and well-maintained to avoid malfunctions during operations. Remember, a well-prepared toolkit minimizes surprises and keeps the process on track. Taking the time to organize your tools and verify your checklist ensures you’re fully equipped, making the post-install flushing seamless and effective. Incorporating sound vibrations in your routine can also promote a calm state of mind, helping you stay focused and attentive during the process.
Material Preparation
Having your tools organized and your checklist verified sets a solid foundation for the next step: gathering all the necessary materials. You’ll need supplies that can handle issues like pipe corrosion and fluctuating water pressure during flushing. Make sure to have:
- Replacement pipes and fittings to address corrosion problems
- A high-pressure hose capable of managing water flow
- Pipe cleaning solutions to prevent buildup and corrosion
These materials ensure you can perform maintenance effectively, reducing the risk of future clogs or leaks. Confirm you have everything before starting, so you’re not caught off guard mid-process. Proper preparation helps prevent damage caused by pipe corrosion and ensures consistent water pressure during flushing. Additionally, understanding preventive maintenance techniques can extend the lifespan of your plumbing system. This step saves time and guarantees a smoother, more effective maintenance process.
DR.PEN Flexible Grabber Claw Pick Up Reacher Tool (Drain Clog Remove Tool), With 4 Claws Bendable Hose Pickup Reaching Assist Tool for Litter Pick, Home and Kitchen Sink, Drains, Toilet (35.4 inch)
Extremely Slender. The diameter of tube ONLY 1.1cm. Our Grabber Tool is perfect for picking up small items…
As an affiliate, we earn on qualifying purchases.
As an affiliate, we earn on qualifying purchases.
Step-by-Step Guide to Flushing New Plumbing Fixtures
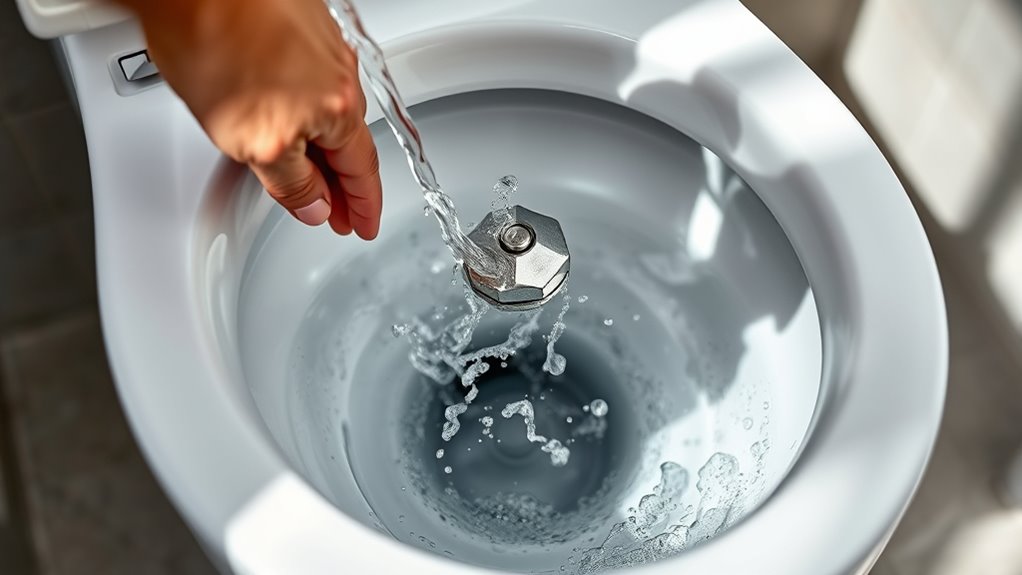
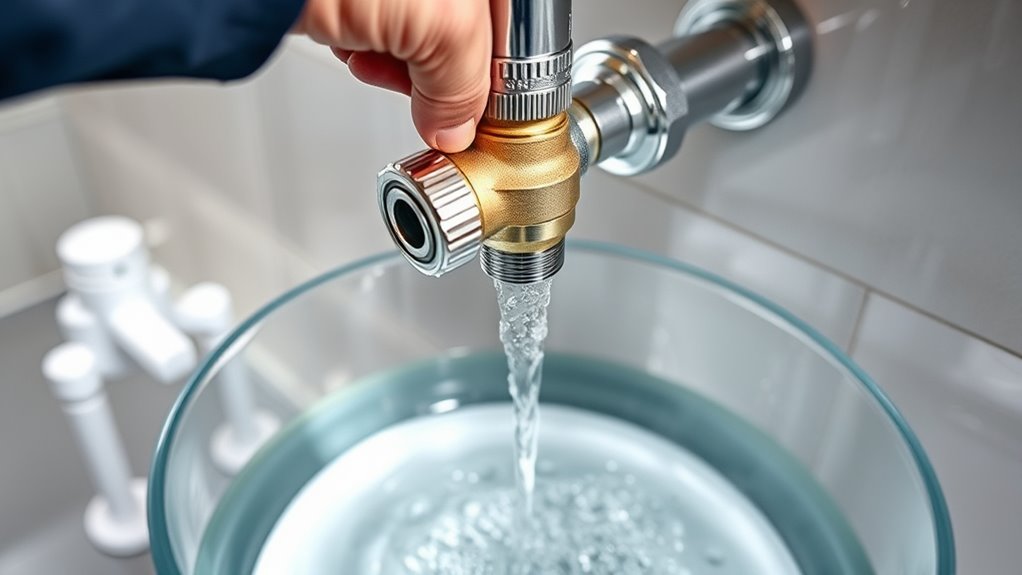
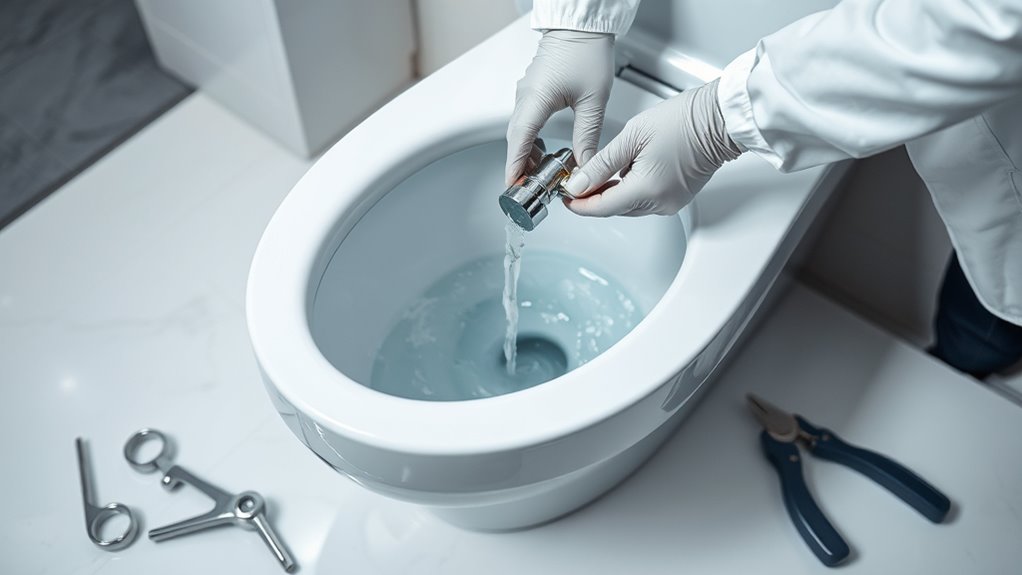
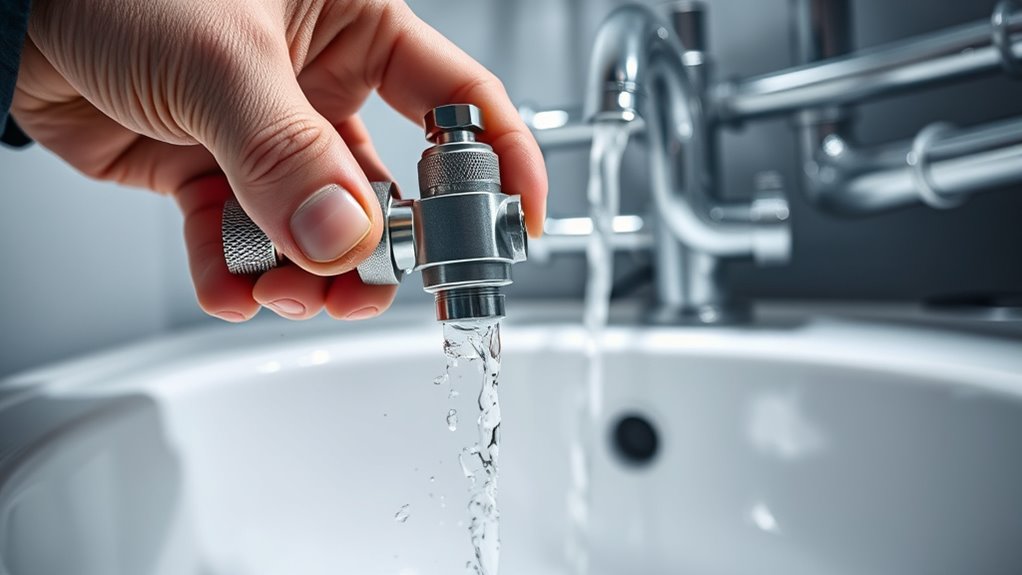
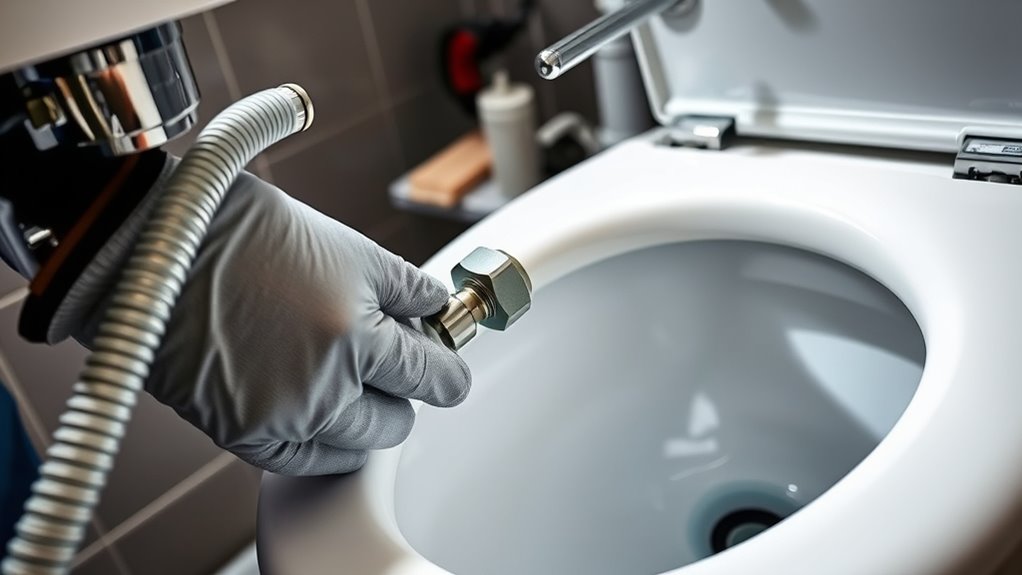
To guarantee your new plumbing fixtures function properly and stay free of debris, it’s important to flush them thoroughly before use. Start by turning off the main water supply, then open the highest fixture in your home to drain any remaining pressure. Next, reconnect the fixture, ensuring it’s compatible with your water pressure to prevent damage. Turn on the water slowly, checking for leaks and ensuring steady flow. Let the water run for a few minutes to clear out any installation debris or manufacturing residues. If the water flow is weak or inconsistent, adjust the pressure or verify fixture compatibility. Proper flushing ensures your fixtures operate smoothly, reduces the risk of clogs, and extends their lifespan. Additionally, being aware of potential effectiveness of eye patches can help you choose the best products for maintenance and appearance.
Common Mistakes to Avoid During Flushing
Even with the best intentions, it’s easy to make mistakes during the flushing process that can compromise your fixtures’ performance. One common error is neglecting leak prevention measures, which can lead to costly water damage later. Additionally, failing to check fixture compatibility before flushing can cause damage or ineffective cleaning. To avoid these pitfalls, keep these points in mind:
- Ensure all fittings are secure to prevent leaks.
- Verify that the flushing method matches your fixture’s specifications.
- Use appropriate cleaning agents to avoid corrosion or damage.
- Consider self watering plant pots as a reminder to maintain consistent moisture levels and prevent overwatering issues during maintenance.
Signs That Indicate Flushing Is Needed
Sometimes, your fixtures can give clear signs that they need flushing before problems escalate. One warning sign is persistent toilet leaks, which may indicate buildup or blockages that require a thorough flush. Water discoloration is another key indicator; if your toilet water turns cloudy, muddy, or stained, it suggests debris or mineral deposits are accumulating inside the tank or bowl. These issues can lead to inefficient flushing and potential damage if left unaddressed. You might also notice reduced water flow or frequent clogs, signaling the need for a proper flush to clear out residues. Paying attention to these signs helps prevent more serious plumbing problems down the line. Regularly checking your fixtures ensures you maintain ideal performance and avoid costly repairs, especially when considering toilet maintenance best practices.
Maintenance Tips to Keep Your Plumbing in Top Shape
Regular maintenance is essential to keep your plumbing system running smoothly and prevent costly issues. Monitoring water pressure helps avoid stress on pipes, reducing the risk of leaks and pipe corrosion. To keep your plumbing in top shape:
Regular plumbing checks prevent costly leaks and extend pipe lifespan.
- Check water pressure regularly to ensure it stays within the recommended range.
- Inspect visible pipes for signs of corrosion or leaks.
- Flush your system periodically to clear debris and mineral build-up.
Maintaining proper water pressure prevents unnecessary strain, while addressing pipe corrosion early extends the lifespan of your plumbing. Regular inspections allow you to catch small problems before they escalate. By staying proactive with these simple tips, you’ll keep your plumbing efficient and avoid unexpected repairs, guaranteeing your system functions at its best for years to come.
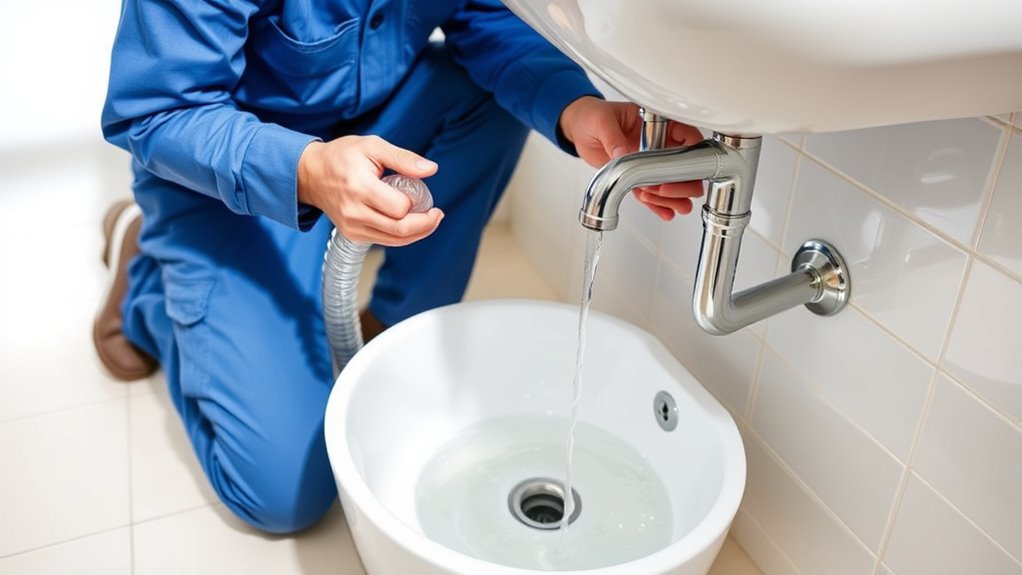
Professional Help vs. DIY Flushing: Making the Right Choice
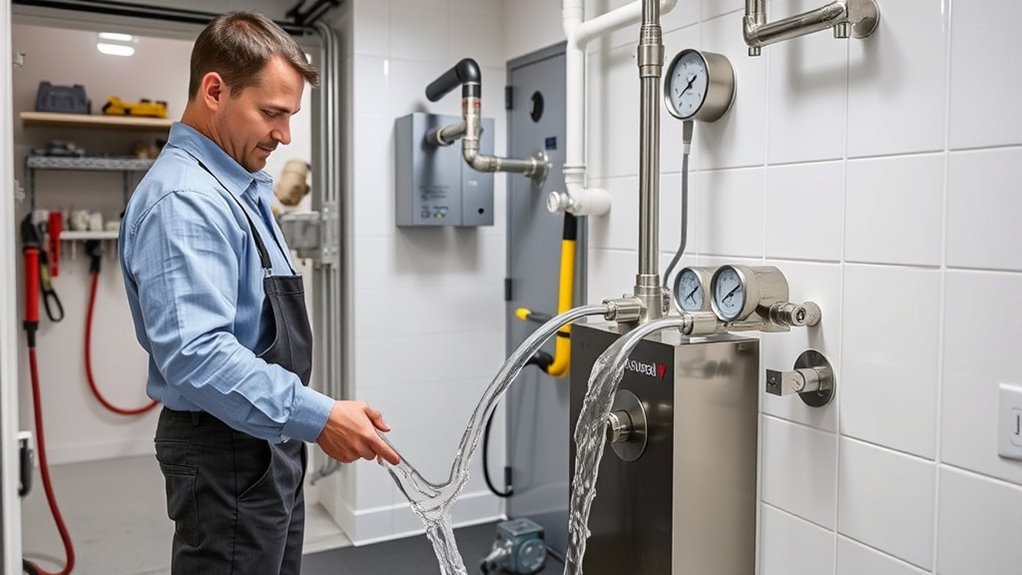
Deciding whether to handle flushing your plumbing system yourself or to hire a professional depends on your experience and comfort level with plumbing tasks. If you’re familiar with water pressure adjustments and can identify signs of pipe corrosion, DIY might be feasible. However, improper flushing can cause damage, such as increased pipe corrosion or reduced water pressure. Professionals have the tools and expertise to thoroughly clean your system without risking harm, ensuring ideal flow and longevity. If you’re unsure about diagnosing issues or handling complex parts, it’s better to seek expert help. Correctly flushing your system prevents buildup and corrosion, maintaining smooth water pressure. Making the right choice means weighing your skills against the potential risks to your pipes and plumbing performance.
Frequently Asked Questions
How Often Should I Schedule Post-Install Flushing for New Fixtures?
You should schedule post-install flushing every six months to maintain plumbing longevity and extend the fixture lifespan. Regular flushing clears out debris and prevents buildup that can cause damage over time. By sticking to this schedule, you guarantee your fixtures operate smoothly, reduce the risk of clogs, and prolong their useful life. Consistent maintenance is key to keeping your plumbing system efficient and avoiding costly repairs down the line.
Can Improper Flushing Damage My Plumbing System?
Think of improper flushing like ignoring warning signs of plumbing corrosion—small issues can escalate quickly. If you skip proper post-install flushing, chemical runoff and debris can cause corrosion, damaging pipes and reducing flow. I once saw a homeowner’s neglected system develop leaks after chemical buildup. Yes, improper flushing can harm your plumbing, leading to costly repairs. Regular maintenance guarantees your system stays clean, preventing damage from chemical runoff and corrosion.
What Are the Environmental Impacts of Flushing Chemicals?
Flushing chemicals can lead to environmental harm through chemical runoff, which contaminates water sources. When you flush these substances, they may seep into soil and streams, affecting aquatic life and water quality. You should always use eco-friendly alternatives and follow proper disposal guidelines to minimize water contamination. Being mindful of your flushing practices helps protect the environment and reduces the risk of harmful chemical buildup in ecosystems.
Is There a Specific Time of Day Best for Flushing Procedures?
You should perform flushing procedures during off-peak hours, typically early mornings or late evenings, to minimize disruption and maximize effectiveness. Timing considerations include aligning with your daily routines, so it’s convenient and avoids busy periods. This approach guarantees the flushing process is efficient, reduces environmental impact, and prevents interference with other daily activities, helping maintain your system’s health while respecting your community’s water usage patterns.
How Do I Ensure Safety During the Flushing Process?
Oh, the irony—thinking you can flush without safety precautions! To guarantee safety, you should always wear protective gear like gloves and goggles, and follow proper procedures. Keep the area well-ventilated and make sure to disconnect power sources if necessary. Double-check your equipment, and stay alert for leaks or spills. These simple safety precautions protect you from potential hazards and make the process smoother and safer.
Conclusion
By mastering the art of post-install flushing, you’re effectively the captain steering your plumbing ship through calm waters. Regular maintenance and attentive care prevent clogs and future headaches, keeping your system running smoothly like a well-oiled machine. Don’t leave your plumbing to chance—take control and perform proper flushing. Remember, a small effort today can save you from a storm of costly repairs tomorrow. Keep your plumbing pristine and let serenity flow through your home.