
To quickly silence noisy pipes after recent changes, start by turning off the main water supply and inspecting for loose or shifted pipes. Tighten supports and mounts to prevent vibration. Check for air pockets in the lines and bleed the system to remove trapped air. Insulate pipes and add padding to dampen vibrations. Test for water hammer, install arrestors if needed, and verify water pressure. Keep going to discover more effective tips to resolve your plumbing noise issues.
Key Takeaways
- Turn off the main water supply and inspect pipes for looseness or movement, tightening brackets or supports as needed.
- Install or adjust pipe supports and clamps to reduce vibrations and prevent future noise issues.
- Bleed air from the system by opening drain valves and running faucets until air bubbles clear, eliminating gurgling sounds.
- Wrap vibrating pipes with insulation or padding to dampen noise and vibrations quickly.
- Verify water pressure with a gauge, adjusting the main valve to keep it within 40-60 psi to prevent pressure-related noise.
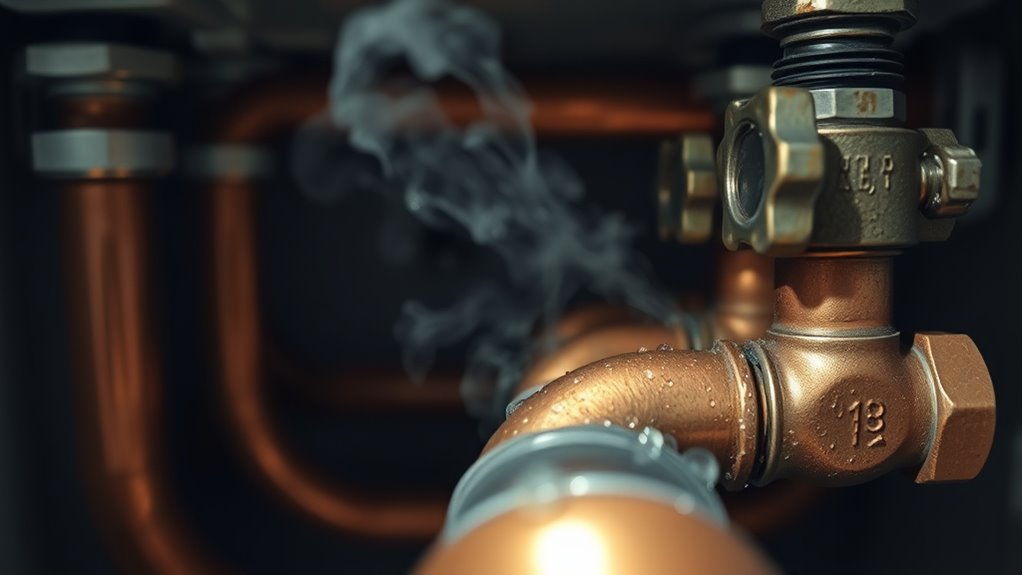
Turn Off Water Supply and Inspect for Loose Pipes
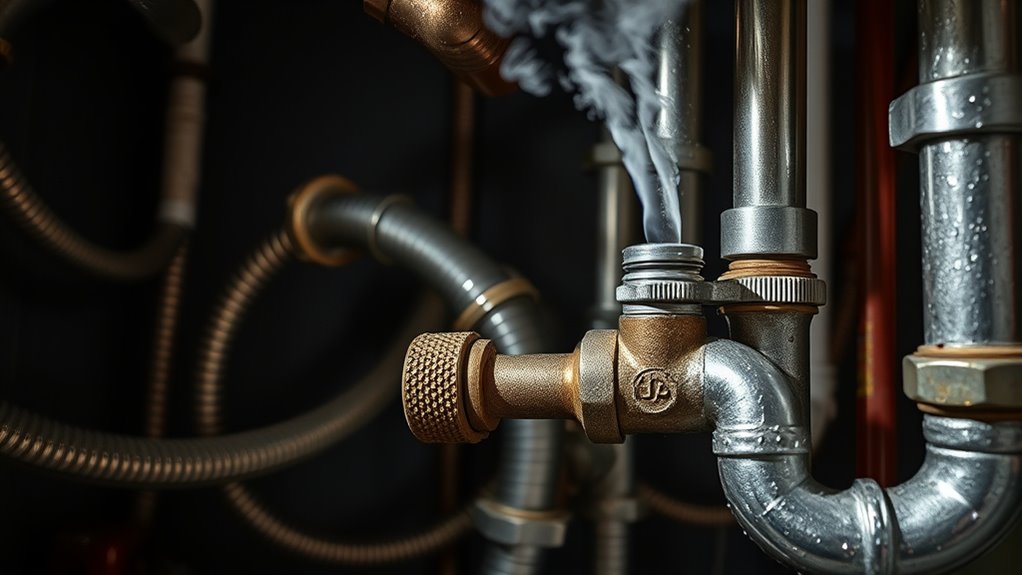
Before attempting any repairs, you should turn off the main water supply to prevent further noise and potential water damage. Once the water is off, inspect your pipes for looseness or movement. Loose pipes can cause noise, especially if they rub against framing or other surfaces. Check for areas where pipe insulation may have shifted or worn away, as this can affect water pressure and amplify noise. Tighten any loose mounting brackets or supports to reduce movement. Proper pipe insulation not only dampens noise but also helps maintain consistent water pressure, preventing pressure fluctuations that cause rattling sounds. Additionally, addressing vibration issues early can help prevent further damage and noise. Addressing these issues early can considerably reduce pipe noise and protect your plumbing from further damage.
Check for and Tighten Pipe Mounts and Supports
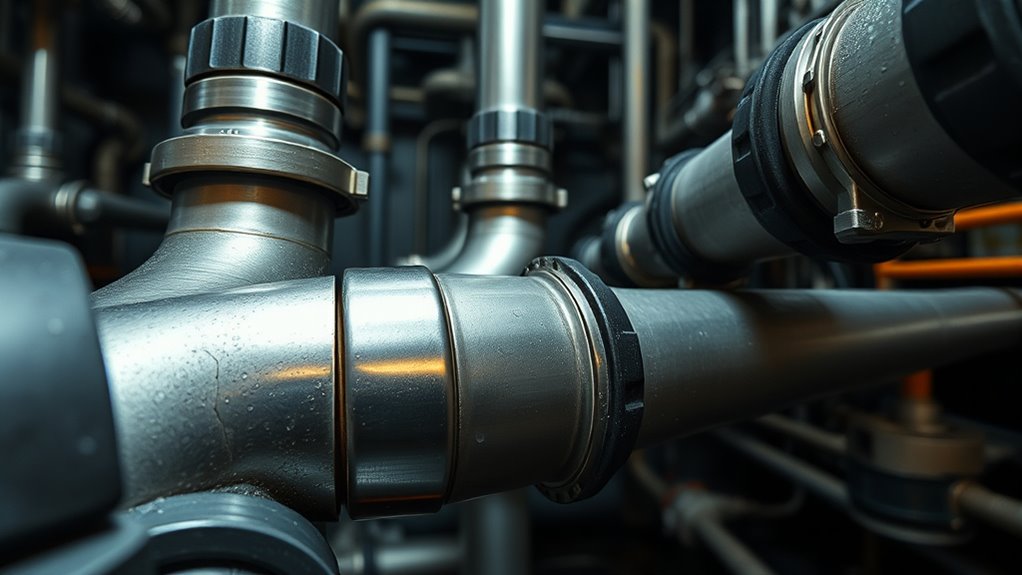
To reduce pipe noise, start by checking the mounts and supports holding your pipes in place. Perform a thorough pipe mount inspection to identify any loose or vibrating supports. Gently shake each pipe; if it moves or rattles, support tightening is needed. Use a wrench to secure loose brackets or clamps, ensuring they’re snug but not overly tight, which could damage the pipe. Focus on areas where pipes make contact with framing or walls, as these are common noise sources. Tightening pipe mounts properly stabilizes the pipes, preventing vibrations that cause noise. Regular support inspection and support tightening can considerably reduce rattling sounds. Keep in mind that loose mounts often lead to movement, so addressing them promptly restores quiet and prevents future damage. Additionally, understanding the importance of proper pipe support placement can help prevent noise issues before they start.
Identify and Fix Air Traps in the Plumbing System
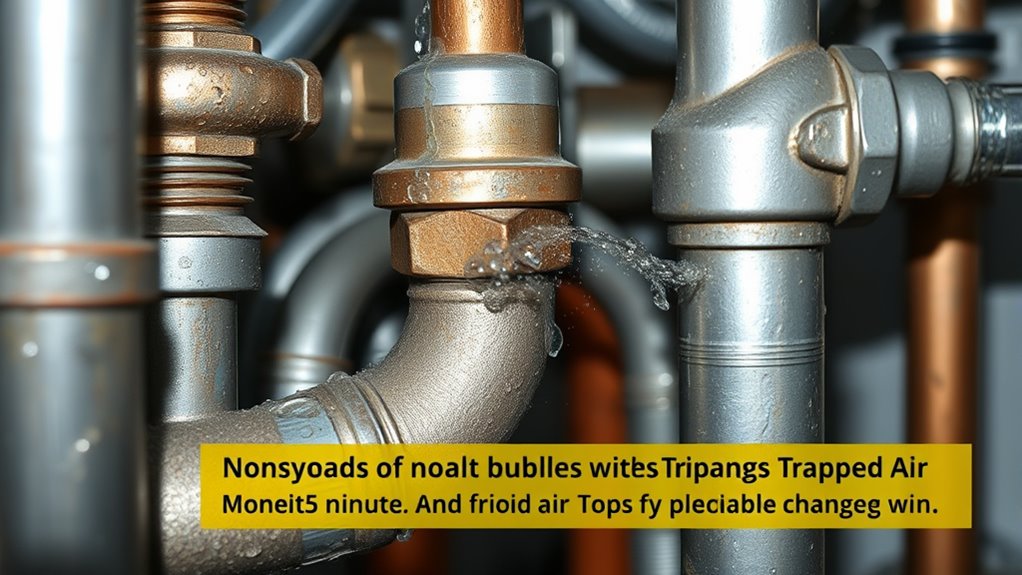
Loose or improperly secured pipe mounts can cause vibrations and rattling noises, but air pockets in your plumbing system often create a different kind of noise—gurgling sounds or water hammer. These air trap causes occur when air gets trapped in the pipes, disrupting normal water flow. You might notice irregular noises or slowed draining, indicating air bubbles blocking the line. Sometimes, pipe seepage around fittings can allow air to enter, worsening the problem. To identify trapped air, listen for sudden noises when turning on faucets or flushing toilets. Fixing this involves bleeding the system or installing air scoops to remove air pockets. Properly venting plumbing systems helps prevent air trap issues from occurring in the first place. Clearing air traps restores smooth water flow and eliminates those disruptive noises, saving you from ongoing plumbing issues.
Drain and Bleed Water Lines to Remove Air Bubbles
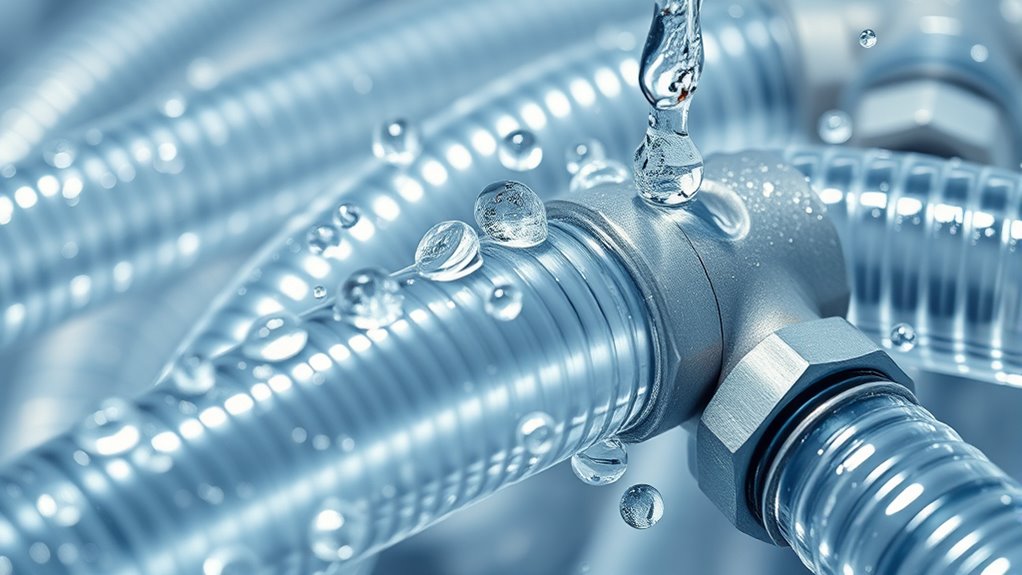
Start by locating your drain valve, usually near the water heater or main line. Open the valve slowly to prevent splashing, and then run the water until you see air bubbles clear from the flow. This simple step helps remove trapped air and quiets noisy pipes quickly. To maintain proper water flow and prevent future issues, regularly check for air bubbles and ensure your water lines are free of trapped air.
Locate Drain Valve Easily
Locating the drain valve is often straightforward if you know where to look. Usually, the drain valve is near the bottom of your water heater or piping system. To identify it quickly, look for a small spigot or valve with a handle or screw cap. Knowing the drain valve location helps you avoid unnecessary searching and speeds up the process. Additionally, understanding the typical placement of electric dirt bikes can help you recognize related components if your system involves electrical or mechanical parts.
Open Valve Slowly
To effectively remove air bubbles from your water lines, you need to open the drain valve slowly. This controlled approach allows you to manage valve adjustment and flow control, preventing sudden pressure spikes that cause noise. Carefully turn the valve handle a little at a time, watching for steady water flow. Be mindful to monitor for pressure build-up to prevent water hammer. Taking your time ensures you remove air bubbles effectively while protecting your plumbing system and reducing noise.
Run Water to Clear
Running water through your lines is essential for clearing out remaining air bubbles after opening the valves. Turn on your faucets gradually to allow air to escape, helping to reduce noise caused by trapped air. As water flows, listen for irregular sounds—these often signal air pockets that need to be flushed out. To enhance noise reduction, consider installing pipe insulation around vulnerable sections; this minimizes vibration and dampens sounds. Keep water running for a few minutes to ensure all air is expelled from the system. Once the lines are clear, you’ll notice less banging and rattling. Regularly bleeding the lines after changes prevents air buildup, keeps water flowing smoothly, and considerably reduces pipe noise, making your plumbing quieter and more efficient. Proper air removal techniques are crucial for maintaining optimal pipe performance and reducing unwanted noise.
Adjust or Replace Worn-Out Valve Handles and Fixtures
Worn-out valve handles and fixtures can cause leaks and noise, so it’s important to identify which parts need attention. When replacing components, choose fixtures that fit your existing setup and match your durability needs. Proper installation guarantees a secure, leak-free connection that keeps your pipes quiet and functional. Additionally, selecting durable materials can enhance the longevity and performance of your plumbing system.
Identifying Worn Components
When your pipes start making noise after recent changes, it’s essential to inspect the components connected to your plumbing system. Worn-out valve handles and fixtures often cause noisy pipes, especially if the components are old or made from less durable pipe material. Check for leaks, corrosion, or looseness, which indicate wear. Regular maintenance schedules help catch these issues early. To identify worn components:
- Look for corrosion or mineral buildup on fixtures
- Check for leaks around valve handles and fittings
- Feel for loose or wobbly fixtures
- Inspect for discoloration or damage in pipe material
- Understanding the material composition of your pipes can help determine the best course of action for repairs or replacements.
Addressing these signs promptly prevents further noise and damage, ensuring your plumbing stays efficient. Remember, understanding the age and condition of your fixtures helps decide whether to adjust or replace them.
Choosing Replacement Fixtures
If you notice persistent noise or leaks after inspecting your plumbing components, it’s time to contemplate replacing worn-out fixtures and valve handles. When choosing replacements, consider the pipe material to guarantee proper fixture compatibility. For example, certain fixtures work best with copper, PVC, or PEX pipes, preventing leaks or damage. Measure the existing fixtures carefully to match sizes and connection types. Opt for high-quality, durable materials that resist corrosion and wear. Check the compatibility of new handles or fixtures with your existing plumbing setup to avoid fitting issues. Selecting the right replacement fixtures not only reduces noise but also extends the lifespan of your plumbing system. Properly matched components ensure a secure, leak-free connection that keeps your pipes quiet and functioning smoothly. Additionally, understanding automation in business can help you identify more efficient solutions to maintain your plumbing system with less manual intervention.
Proper Installation Techniques
Proper installation of valve handles and fixtures is essential to eliminate noise and prevent leaks. Make certain you select the right pipe material for durability and compatibility with your system. When replacing worn-out components, choose fixtures that match your pipe material to avoid issues like corrosion or leaks. Properly tighten fittings to prevent vibrations and noise. Consider using aesthetic pipe covers to conceal fixtures, improving your space’s look while protecting connections.
- Verify that fittings are tight but not over-tightened
- Use appropriate tools for secure installation
- Check for proper pipe material compatibility
- Incorporate aesthetic pipe covers for a cleaner appearance
Insulate Pipes to Minimize Vibrations and Noise
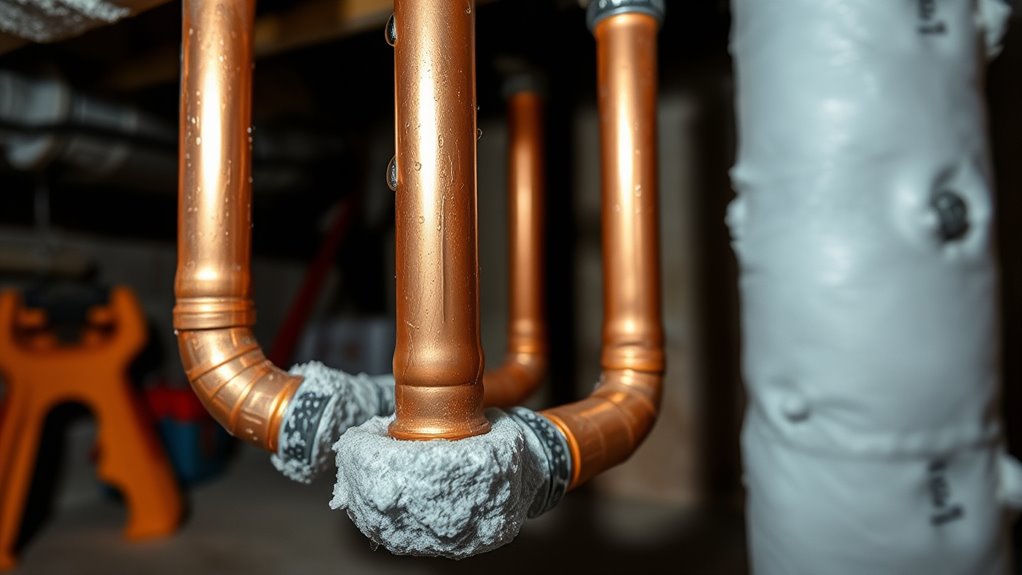
Insulating your pipes is a quick and effective way to reduce vibrations and noise caused by water flow or temperature changes. Pipe insulation helps dampen sound waves and prevents metal-on-metal contact, which often amplifies noise. By adding insulation, you create a barrier that absorbs vibrations, leading to quieter operation. Choose the right type of pipe insulation—foam or rubber sleeves work well for most residential pipes. Ensure the insulation fits snugly around each pipe and covers all exposed sections. Not only does this minimize vibration transfer, but it also improves energy efficiency by maintaining consistent water temperatures. With minimal effort, you’ll notice a significant reduction in noise, making your space more peaceful and comfortable. This simple step offers immediate results in vibration reduction.
Use Pipe Wraps or Padding to Dampening Vibrations
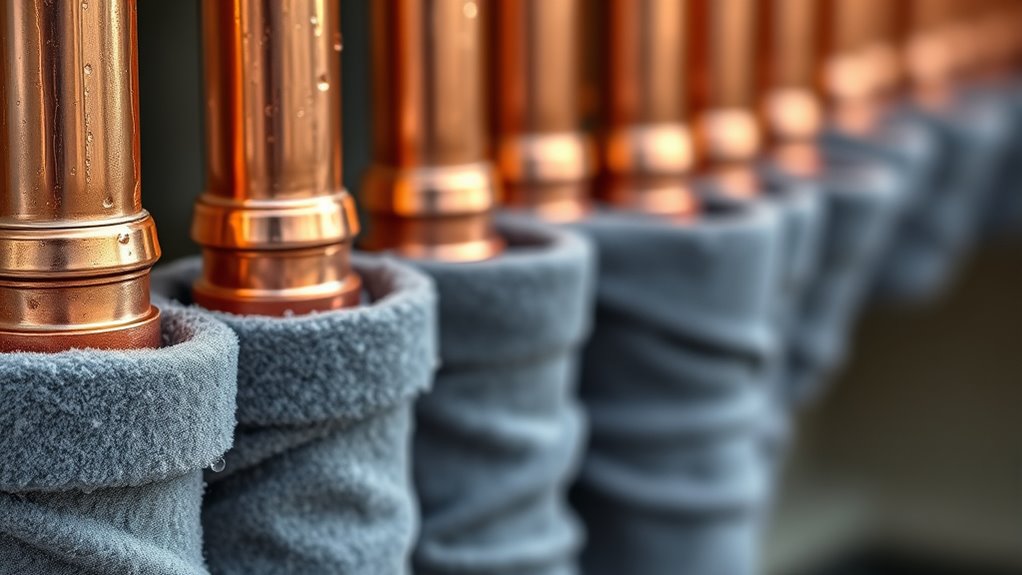
To effectively dampen vibrations and reduce noise from your pipes, applying pipe wraps or padding is a simple yet impactful solution. These materials help absorb vibration energy, preventing it from traveling through the pipe system and creating noise. Wraps and padding can be easily installed around sections prone to movement or noise, providing immediate vibration damping benefits. Using high-quality pipe wraps designed for vibration control maximizes noise reduction, especially in tight spaces or noisy environments. Proper application ensures secure fit and maximum vibration absorption.
- Select appropriate pipe wraps or padding materials for your pipe size
- Wrap tightly around vibrating sections for best vibration damping
- Secure wraps with tape or zip ties to prevent slipping
- Regularly inspect and replace worn or compressed padding
Test for Water Hammer and Install Proper Hammer Arrestors
After dampening vibrations with pipe wraps, it’s important to identify if water hammer is causing loud banging sounds when valves are closed or appliances turn off. To test for water hammer, listen carefully when shutting off faucets or appliances; sharp, banging noises indicate its presence. You can also quickly turn off the main water supply and observe if the pipes vibrate or thump. Proper pipe support helps reduce water hammer by preventing movement that amplifies pressure surges. If you confirm water hammer, installing hammer arrestors is your best solution. These devices absorb shock waves caused by sudden water flow changes, stopping the noise. Ensure your pipes are well supported with clamps or brackets, especially near appliances, to minimize movement and pressure fluctuations.
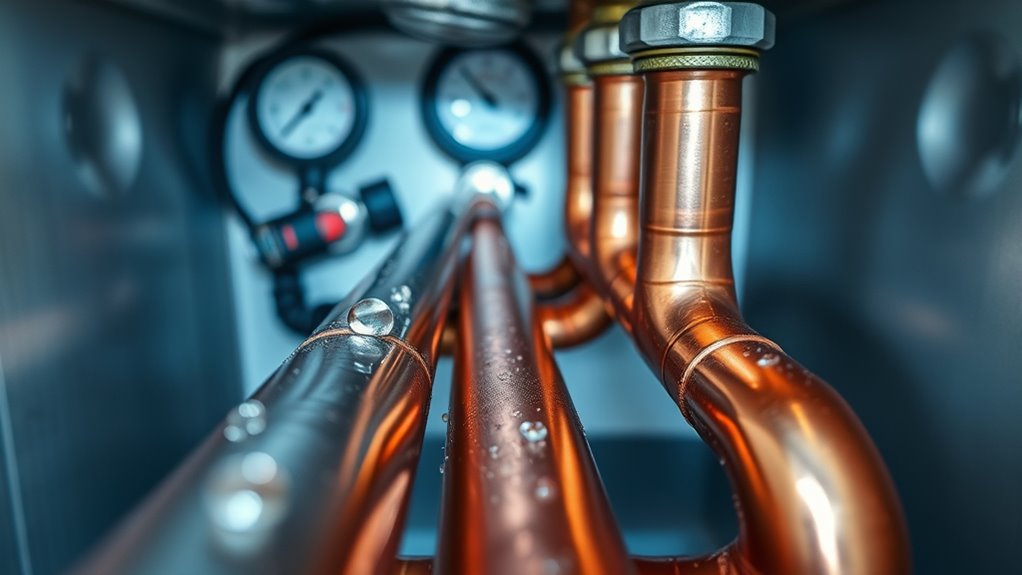
Verify Water Pressure and Adjust if Necessary
Before making any adjustments, it’s essential to verify your home’s water pressure to make sure it’s within a safe range. Perform a pressure testing using a pressure gauge on a hose bib or faucet. Normal household pressure is typically between 40-60 psi; anything higher may cause noisy pipes or damage. If your pressure exceeds this, you’ll need to adjust the main valve. To do this, locate the pressure reducing valve, usually near the main water line, and turn the valve clockwise to reduce pressure or counterclockwise to increase it.
- Use a pressure gauge for accurate readings
- Check pressure at different fixtures to ensure consistency
- Adjust the main valve gradually to avoid sudden changes
- Re-test pressure after each adjustment
Frequently Asked Questions
What Tools Are Best for Inspecting Noisy Pipes?
You should use specialized tools like acoustic leak detectors and endoscopes for pipe inspection and noise diagnosis. Acoustic sensors help pinpoint the source of noise by detecting sound vibrations, while borescopes allow you to visually inspect the pipe interior for blockages or damage. These tools enable quick, accurate assessments, making it easier to identify and fix noisy pipes efficiently, ensuring peak performance and avoiding costly repairs later.
How Often Should I Check Pipe Supports for Stability?
You should check pipe supports for stability at least monthly, especially if you notice noise or vibrations. Regular pipe support maintenance helps prevent issues before they worsen. Incorporate vibration monitoring during inspections to identify early signs of support looseness or failure. If your system experiences frequent changes or noisy pipes, consider more frequent checks. Consistent maintenance guarantees your piping stays secure and minimizes noise caused by support instability.
Can Insulation Completely Eliminate Pipe Noise?
Insulation can reduce pipe noise but won’t eliminate it completely; think of it as dampening a whisper rather than silencing a shout. Its effectiveness depends on the type and installation quality. For louder pipes, consider alternatives like pipe brackets, clamps, or vibration pads. Combining insulation with these solutions offers the best noise control, giving you a quieter space while addressing the root cause of vibrations and sound transmission.
Are There DIY Methods to Reduce Water Hammer?
Yes, you can try DIY methods to reduce water hammer. Start by installing pipe shock absorbers or air chambers, which absorb sudden pressure changes. You can also add sound dampening materials like foam or rubber around pipes to minimize noise. Securing loose pipes with brackets prevents movement that causes shock. These simple steps help lessen pipe shock and reduce the noise, making your plumbing quieter and more stable.
When Should I Call a Professional Plumber for Noise Issues?
Did you know that plumbing emergencies can cause costly damage if ignored? You should call a professional plumber if noise persists despite DIY efforts, especially if it’s loud or sudden. They can assess if you need pipe replacement options or other fixes. Don’t wait—persistent noise may signal serious issues that require expert attention, avoiding future costly repairs and ensuring your plumbing system stays safe and functional.
Conclusion
By taking these quick steps, you can gently restore harmony to your plumbing symphony. With a little patience and attention, those noisy pipes will settle into a quiet, soothing rhythm once more. Remember, a little care goes a long way in keeping your home’s water system running smoothly. Soon enough, you’ll be back to enjoying peaceful, whisper-quiet pipes—your home’s subtle melody of comfort and tranquility.