
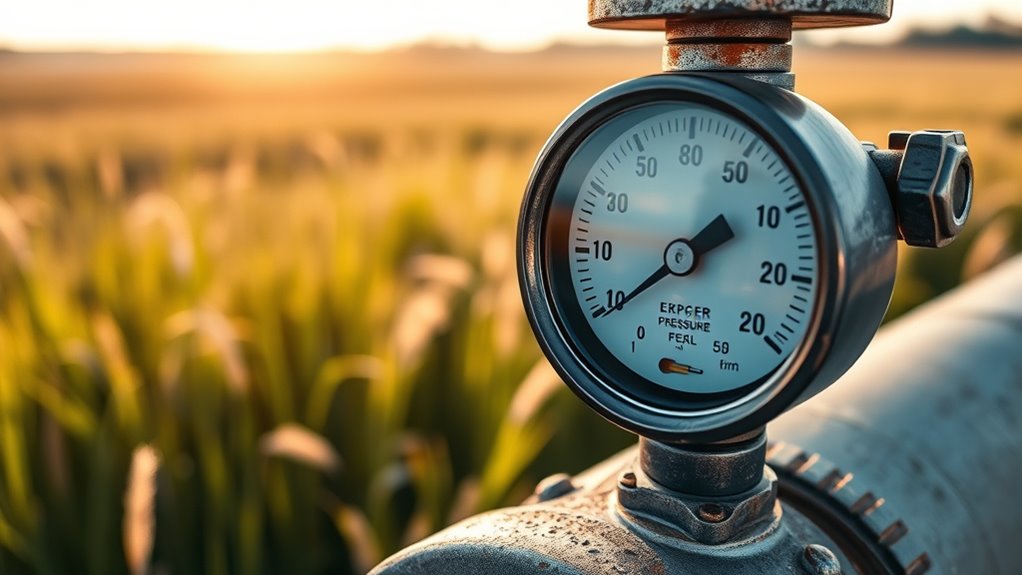
After installing a system, it’s common to see low pressure at first, but this often resolves naturally as the system stabilizes. Monitoring fluctuations over time helps you distinguish normal settling from actual problems. Patience and careful observation are key; pressure usually increases or stabilizes without immediate repairs. If you’re interested in how to tell if your system’s pressure is truly stable or if more adjustments are needed, there’s valuable insight ahead.
Key Takeaways
- Allow system time to stabilize; pressure fluctuations often decrease naturally as components settle.
- Verify all seals, fittings, and connections to prevent leaks causing initial low pressure.
- Use pressure gauges to monitor trends, distinguishing normal fluctuations from persistent issues.
- Conduct thorough leak testing and recheck connections before considering repairs.
- Practice patience; many pressure issues resolve over time without immediate intervention.
Recognizing Normal Post-Install Pressure Fluctuations

After installing a new system, it’s common to see some pressure fluctuations. These variations are part of the normal process as the system stabilizes. During this period, pressure might rise and fall slightly as components settle into their proper positions. You’ll notice that these fluctuations typically decrease over time, signaling that the system is moving toward stabilization. It’s important to monitor these changes without panicking, as they usually don’t indicate a problem. Instead, they’re signs that your system is adjusting and finding its equilibrium. Understanding that some pressure fluctuations are normal helps you avoid unnecessary troubleshooting. Recognizing the refrigeration cycle and how it functions during startup can provide additional reassurance. Once the system stabilizes, pressure levels should settle into a consistent range, confirming that your setup is functioning properly.
Common Causes of Low Pressure Right After Setup
If you notice low pressure right after setup, it could be due to improper system sealing or an insufficient water supply. These issues often cause immediate pressure drops and can be relatively easy to identify. Addressing them quickly helps make certain your system functions correctly from the start. Implementing data-driven strategies can also help monitor and optimize system performance over time.
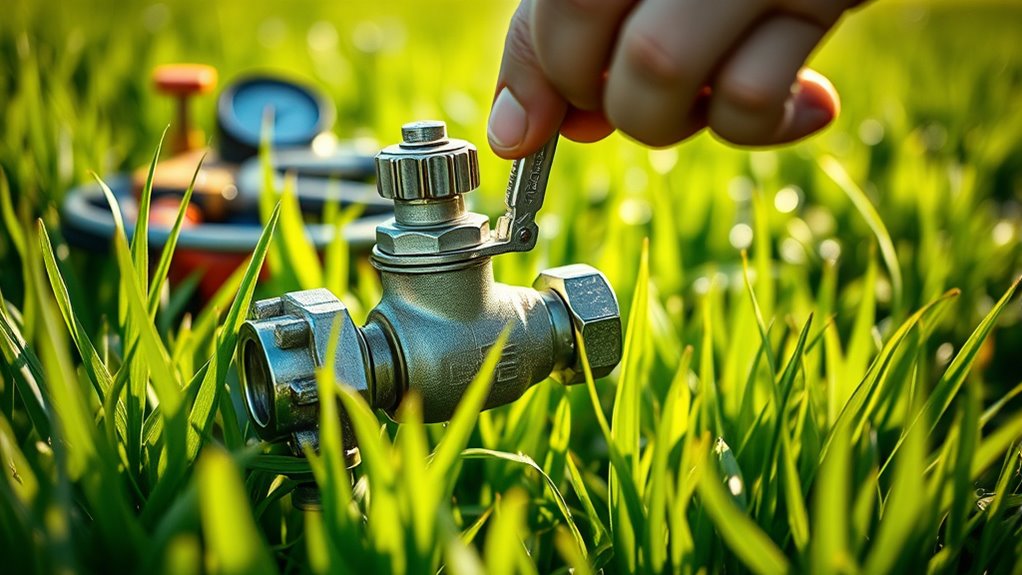
Improper System Sealing
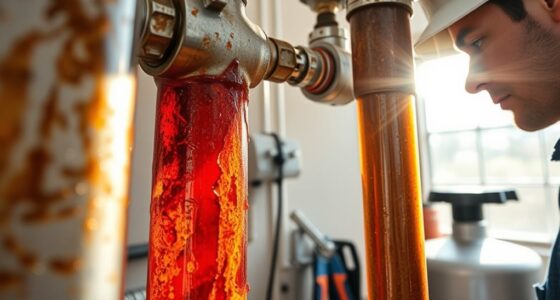
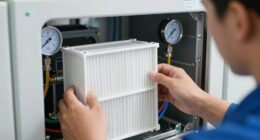
Improper system sealing is a common culprit when you encounter low pressure right after installation. If the seal integrity isn’t tight, it allows air to escape or external contaminants to enter, disrupting airflow. This leakage can substantially reduce system pressure, making it seem like the system isn’t working properly. To fix this, check all seals, joints, and connections carefully. Use appropriate sealing materials to ensure airtightness. Poor sealing not only causes low pressure but can also lead to airflow issues that affect overall system performance. Always verify that all seals are secure before testing the system’s pressure. Proper sealing guarantees consistent airflow, improves efficiency, and prevents future pressure problems caused by leaks. Addressing seal integrity is a simple step with a big impact. Additionally, ensuring system components are properly fitted can help maintain optimal pressure levels and prevent leaks.
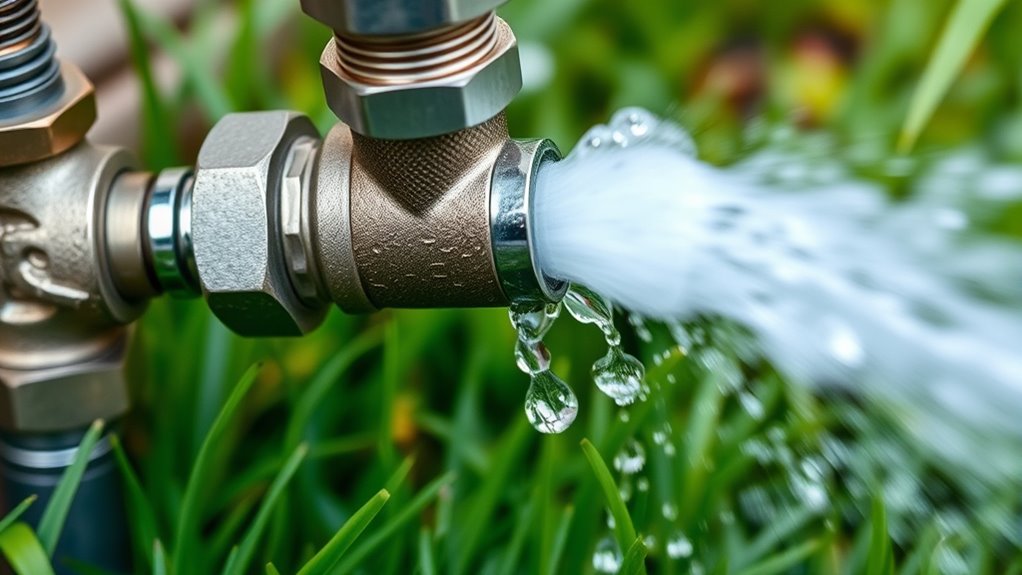
Insufficient Water Supply
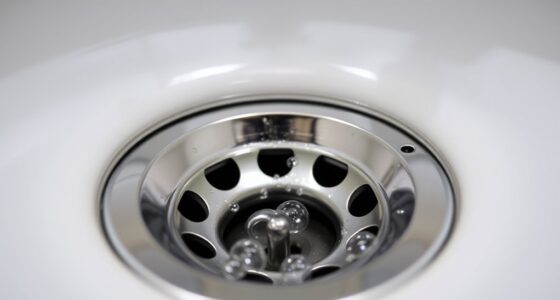
Insufficient water supply is a frequent cause of low pressure immediately following system setup. When you check the pressure gauge, it may read lower than expected, signaling limited water flow. This can happen if the source isn’t producing enough water or if your intake is blocked or clogged. Confirm your water source is fully operational and that supply valves are fully open. Also, verify that filters or screens aren’t obstructed, restricting flow. If the pressure gauge shows low readings despite adequate water, test the water flow directly at the source. Restoring proper water supply or clearing blockages usually resolves low pressure issues caused by insufficient water. Remember, a steady, strong water flow is key to achieving ideal system performance right after setup. Proper water flow is especially important for Honda Tuning systems to perform optimally.
The Importance of Allowing the System to Stabilize
Allowing the system to stabilize after installation is essential for ensuring it operates correctly and efficiently. During this period, the system undergoes calibration, which helps verify that all components function as intended. Patience here is key; rushing the process can lead to inaccurate readings and compromised performance. A stable system allows the pressure gauge to settle, ensuring pressure gauge accuracy, so you get reliable data. This stabilization period helps identify any issues early, preventing future problems. Give the system enough time to reach equilibrium before making adjustments or troubleshooting. By allowing proper stabilization, you set the foundation for long-term reliability and ideal low-pressure operation. Utilizing vertical storage solutions can also help in maintaining an organized system area, reducing clutter that might interfere with performance. Skipping this step can cause misdiagnoses and unnecessary repairs down the line.
Troubleshooting Steps for Low Pressure Issues
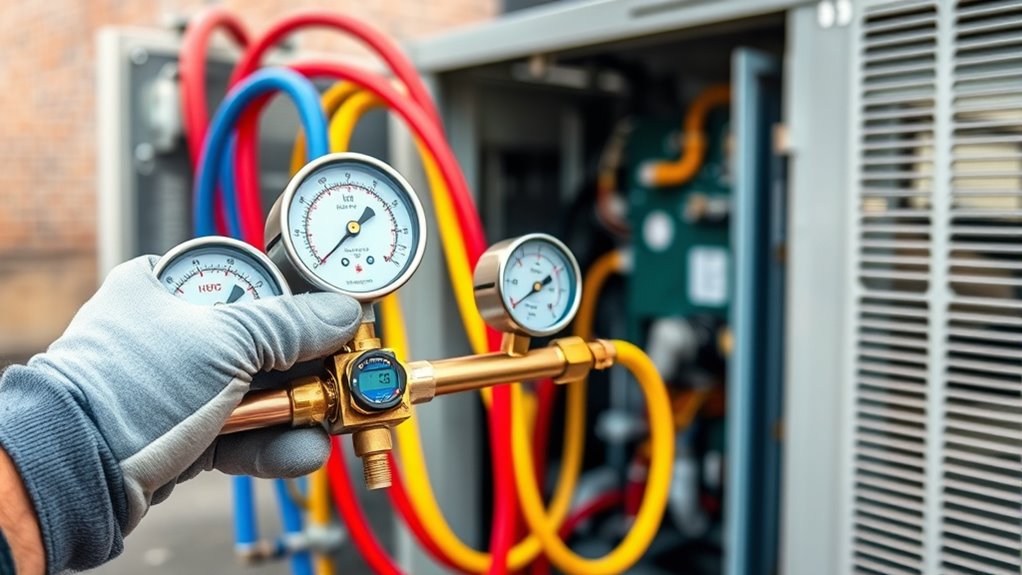
Once your system has had time to stabilize, you can begin troubleshooting low-pressure issues more effectively. Start with pressure testing to identify leaks or blockages. Conduct a thorough component inspection, checking for damaged valves, fittings, or gauges. Use the table below to guide your troubleshooting steps:
| Step | Action | Key Focus |
|---|---|---|
| 1 | Pressure testing system | Detect leaks or pressure drops |
| 2 | Inspect valves and fittings | Look for damage or leaks |
| 3 | Check pressure gauge accuracy | Confirm readings |
| 4 | Examine filters and screens | Clear obstructions |
| 5 | Re-test system after adjustments | Ensure pressure stabilizes |
Following these steps guarantees you identify issues systematically, leading to a more reliable low-pressure solution. Additionally, verifying pressure gauge accuracy is essential to ensure your readings are correct and not misleading.
When to Reassess Your Installation and Connections
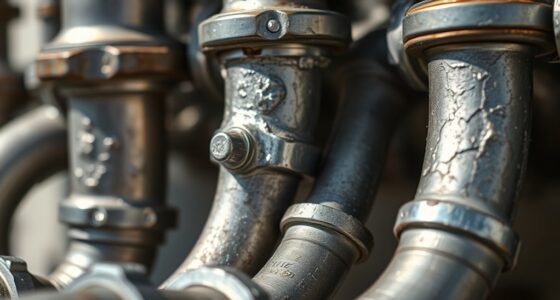
Reevaluating your installation and connections is crucial whenever low pressure persists despite initial troubleshooting. If you’ve already checked for leaks and confirmed proper setup, it’s time to conduct pressure testing to pinpoint the issue. Pressure testing helps identify hidden leaks or weak points in your system. Additionally, perform a thorough component inspection, examining fittings, valves, and hoses for damage or improper connections. Look for cracks, corrosion, or loose fittings that could be causing pressure drops. If everything appears intact but pressure remains low, re-evaluate the installation layout to ensure compliance with manufacturer specifications. Proper air filtration and maintenance practices can also influence system pressure, so reviewing these aspects may reveal underlying issues. Reassessing with these steps ensures you don’t miss subtle issues that could compromise system performance, allowing you to address problems before they escalate.
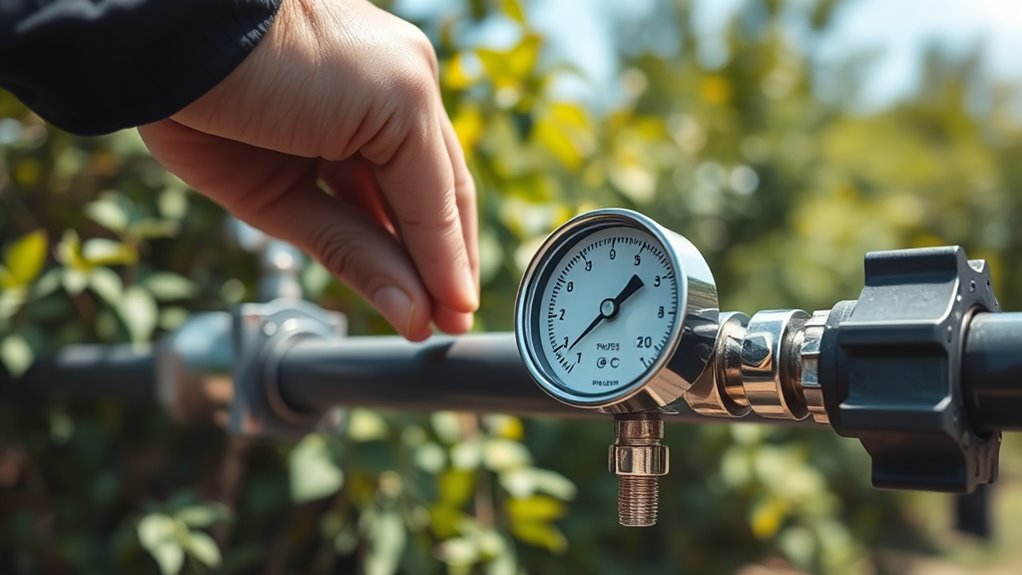
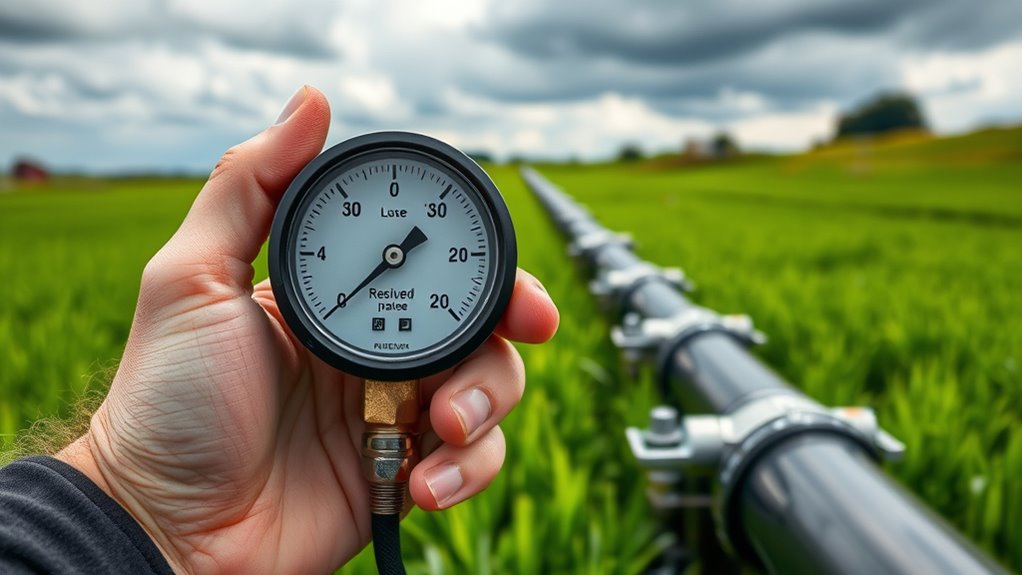
Monitoring Pressure Over Time Before Taking Action
Monitoring pressure over time is essential to accurately diagnose low-pressure issues before making any repairs. By performing regular pressure testing, you can observe how pressure fluctuates and identify patterns that indicate underlying problems. Consistent monitoring helps determine whether the low pressure is a temporary anomaly or a persistent issue requiring intervention. During this process, verify your system calibration is correct; inaccurate measurements can lead to misdiagnosis. Use reliable gauges and record pressure readings at set intervals to track changes accurately. This approach gives you a clear picture of system performance, allowing you to decide whether adjustments are needed or if the problem might resolve itself. Patience and thorough monitoring prevent unnecessary repairs and ensure that any actions taken are based on solid data. Incorporating proper tuning techniques can also help optimize system pressure and performance over time.
Case Studies: When Low Pressure Resolved on Its Own
Sometimes, low pressure issues resolve themselves without any intervention, highlighting the importance of patience and careful observation. During pressure testing, you might notice that the system stabilizes after a period, indicating natural adjustments or minor leaks sealing themselves. System calibration can also play a role, as components settle into their ideal positions over time. Regularly monitoring pressure trends can help determine whether the system is truly stabilized or if further inspection is necessary.
Tips for Preventing Low Pressure Problems During Future Installations

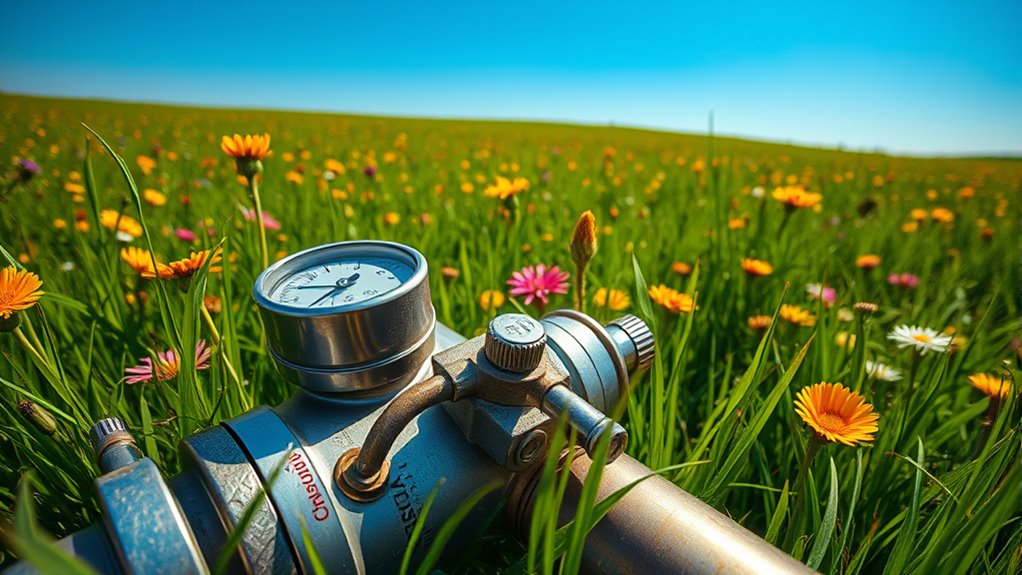
To prevent low pressure problems during future installations, you should prioritize proper system sizing and component selection from the start. Assess water quality before installing to identify potential issues like sediment or minerals that can clog pipes or valves. Using pressure gauges during installation helps you monitor system performance and catch low-pressure signs early. Choose components rated for your water conditions, making sure they can handle fluctuations in pressure caused by water quality issues. Properly sized pipes and fittings reduce resistance, maintaining steady pressure throughout the system. Regularly testing pressure with gauges during setup confirms your system is functioning correctly. Additionally, understanding water quality parameters can help you select the most effective filtration media and prevent pressure drops caused by contaminants. Taking these steps upfront minimizes the risk of future low-pressure problems and ensures your system operates efficiently.
Frequently Asked Questions
How Long Should I Wait Before Concluding Pressure Is Permanently Low?
You should wait at least 24 hours to see if your pressure stabilizes before concluding it’s permanently low. During this time, monitor for pressure fluctuations and perform leak detection to identify any leaks that might cause pressure loss. If pressure remains consistently low after this period, it’s likely a permanent issue. Always double-check connections and consider consulting a professional for thorough leak detection and accurate assessment.
Can Ambient Temperature Affect Post-Installation Pressure Readings?
Did you know that ambient temperature can cause pressure fluctuation of up to 1 psi per 10°F? Yes, ambient temperature markedly affects pressure readings, so it’s normal for pressure to vary with temperature changes. If you notice pressure drops or rises shortly after installation, consider the temperature at the time of measurement. Always check pressure under consistent ambient conditions to get accurate readings and avoid false alarms.
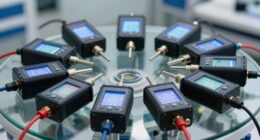
Are There Specific Tools Recommended for Accurate Pressure Monitoring?
You should use reliable pressure gauges or digital sensors to get accurate pressure readings. Digital sensors offer precise, real-time data and are easy to read, making them ideal for post-installation monitoring. Pressure gauges are also useful, especially analog types, but guarantee they are calibrated correctly. Using these tools helps you identify issues early, ensuring your system operates at ideal pressure levels and avoiding future problems.
Does Altitude Influence Low-Pressure Issues After Installation?
Altitude effects are like a weight pressing down on your system, often causing low-pressure issues after installation. If you’re installing equipment at higher altitudes, you might notice reduced pressure because the air is thinner. Installation altitude directly impacts system performance, so it’s crucial to account for elevation changes. Adjustments or specialized equipment may be necessary to guarantee ideal pressure, preventing problems caused by altitude effects.
What Signs Indicate That Pressure Problems Are Due to System Leaks?
You’ll notice pressure loss that occurs gradually or suddenly, along with inconsistent system performance, indicating possible leaks. To confirm, perform leak detection by listening for hissing sounds, using soapy water on joints to spot bubbles, or employing electronic leak detectors. If pressure drops without explanation, suspect leaks and focus your leak detection efforts there, as these signs are key indicators of system leaks affecting pressure.
Conclusion
Remember, patience is key when dealing with low pressure after installation. Sometimes, systems just need a bit of time to settle in, and rushing to fix it might cause more harm than good. Keep an eye on the pressure, follow troubleshooting steps, and don’t hesitate to reassess if needed. In the end, a little patience can save you from unnecessary headaches—like they say, good things come to those who wait.