If your Keurig K-Mini isn’t brewing a full cup, it can be frustrating. Often, the issue stems from mineral buildup, a clogged needle, or incorrect water level. This guide provides practical, step-by-step instructions to resolve the problem safely and effectively.
Following these troubleshooting steps can restore your Keurig’s performance and ensure you enjoy a full, delicious brew each time.
Key Takeaways
| Check for mineral buildup | Descale the machine regularly to prevent clogs. |
| Inspect the needle | Clogged needles can restrict water flow. |
| Ensure proper water level | Use fresh, adequate water for full brews. |
| Clean the machine | Regular cleaning removes residue and oils. |
| Use compatible filters | Filters like My K-Cup can improve brewing efficiency. |

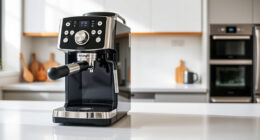
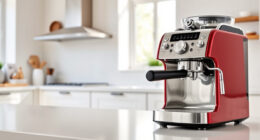
Keurig K-Mini Single Serve K-Cup Pod Coffee Maker, 6 to 12oz Brew size, with Cord Storage, Perfect for Small Spaces, Black
FITS ANYWHERE: Less than 5 inches wide, perfect for small spaces.
As an affiliate, we earn on qualifying purchases.
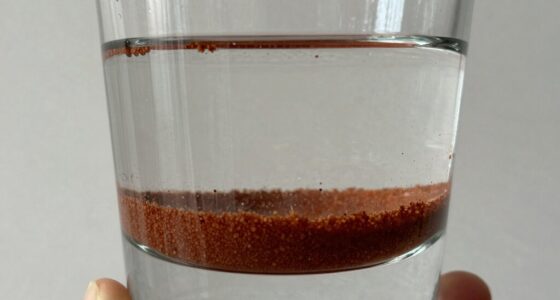
Step 1: Descale Your Keurig
- Fill the water reservoir with equal parts water and descaling solution from a compatible kit.
- Run a brewing cycle without a K-Cup, allowing the solution to pass through.
- Repeat until the reservoir is empty, then rinse with fresh water by running multiple brew cycles.

My K-Cup® Reusable Coffee Filter
BREW WITH GROUND COFFEE: Brew a single cup using your own favorite ground coffee
As an affiliate, we earn on qualifying purchases.
Step 2: Clean the Needle
Use a paperclip or a Keurig needle cleaning tool to gently clear any clogs in the entrance needle. Be cautious not to damage the needle or surrounding components.
Step 3: Check Water Level and Reservoir
Ensure the water reservoir is filled with enough fresh water for a full brew. Remove and clean the reservoir if it appears dirty or has mineral deposits.
Step 4: Clean the Brew Group
Remove and wash the brew group and surrounding parts with warm, soapy water. Rinse thoroughly and reassemble.
Additional Tips and Warnings
- Use only clean, fresh water for each brew.
- Avoid using hard water regularly; consider installing a water filter.
- Regularly descale your machine every 3-6 months, especially if you notice mineral buildup or inconsistent brewing.
- Never insert sharp objects into the needle hole to prevent damage.
The Products in This Guide
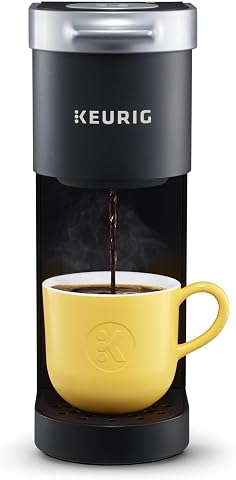
Keurig K-Mini Single Serve K-Cup Pod Coffee Maker
- ✔ Brew Size: 6-12 oz
- ✔ Reservoir: Less than 5 inches wide
- ✔ Material: Matte finish
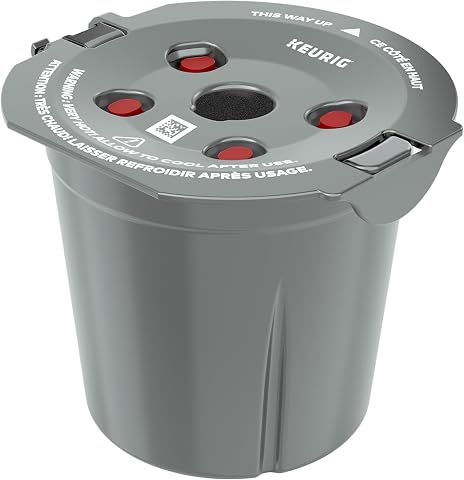
My K-Cup® Reusable Coffee Filter
- ✔ Material: Plastic
- ✔ Capacity: Single cup
- ✔ Compatibility: Keurig models
Keurig K-Mini Single Serve K-Cup Pod Coffee Maker
The Keurig K-Mini is a sleek, space-saving single-serve coffee maker ideal for small kitchens, offices, or dorms. Its simple design makes troubleshooting easier and cleaning straightforward.
Pros:
- Compact size fits anywhere
- Fast brewing process
- Removable drip tray for travel mugs
- Easy to clean
Cons:
- Limited to 6-12 oz brew sizes
- No water filter built-in
- Requires frequent descaling in hard water areas
Best for: Small space living, quick coffee needs
Not ideal for: Large family use or multiple cups per day
Bottom line: A compact, reliable coffee maker perfect for small spaces and quick brews.
My K-Cup® Reusable Coffee Filter
The My K-Cup® Reusable Coffee Filter allows you to brew your own ground coffee with your Keurig, offering fresh flavor and customizable options. It’s easy to use and compatible with the K-Mini.
Pros:
- Reusable and eco-friendly
- Brew your preferred ground coffee
- Simple to clean
- Compatible with Keurig models
Cons:
- Requires ground coffee
- Needs regular cleaning
- May require trial to find the right grind size
Best for: Coffee enthusiasts wanting fresh, customizable brews
Not ideal for: Those preferring instant cups or K-Cup pods
Bottom line: A versatile reusable filter that boosts flavor and reduces waste.
Frequently Asked Questions
Why is my Keurig not brewing a full cup?
Common causes include mineral buildup, a clogged needle, or insufficient water. Follow the troubleshooting steps to resolve these issues.
How often should I descale my Keurig?
It’s recommended to descale every 3-6 months, especially if you notice reduced water flow or inconsistent brewing.
Can I use ground coffee instead of K-Cups?
Yes, with a compatible reusable filter like the My K-Cup, you can brew your own ground coffee for fresh flavor.
What should I do if my Keurig still doesn’t brew full cups after cleaning?
Check for internal damage, replace the water reservoir, or contact customer service if the issue persists after troubleshooting.
Ensure Your Keurig Brews Perfectly Every Time
Regular maintenance, descaling, and cleaning are key to keeping your Keurig K-Mini functioning optimally. By following these troubleshooting steps, you can resolve common issues like incomplete brews and enjoy your favorite coffee at its best.
Affiliate disclosure: As an Amazon Associate we earn from qualifying purchases. Prices and availability are accurate as of the time of publishing.