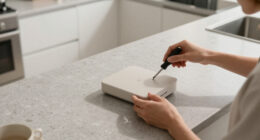
When installing a UV system, guarantee proper orientation by following the arrow markings to match water flow direction, which guarantees effective sterilization. Confirm your power source matches the unit’s voltage and current needs, and use a dedicated circuit if required for safety. Keep the UV lamp easily accessible for regular maintenance and handle it with gloves to avoid contamination. Proper setup promotes efficiency and system longevity—keep going, and you’ll discover key tips to make installation even smoother.
Key Takeaways
- Follow manufacturer instructions to ensure correct orientation (vertical or horizontal) for optimal UV exposure.
- Connect the inlet to the water source and outlet to the clean water line, following flow arrows for proper direction.
- Match the UV system’s power supply to specified voltage and current, using dedicated circuits if needed.
- Maintain proper flow rate and pipe size to prevent sterilization issues and ensure efficient UV disinfection.
- Keep the UV lamp accessible and handle with gloves during installation to facilitate maintenance and prevent contamination.
Installing a UV system can considerably improve your water quality by effectively eliminating bacteria and other contaminants. When you set up a UV sterilizer, understanding the basics of orientation, power, and flow direction will ensure you get the best results. Proper installation is key to maintaining the system’s effectiveness and longevity. First, consider system compatibility; not all UV units fit every plumbing setup, so double-check the manufacturer’s specifications to ensure your unit matches your water flow rate and pipe size. Choosing a compatible system prevents issues like reduced sterilization efficiency or damage to the unit.
Proper UV system installation ensures water safety, efficiency, and long-term performance.
Next, pay attention to UV lamp maintenance. The lamp is the core component that produces the UV-C light needed to disinfect water. Over time, the lamp’s effectiveness decreases, so regular maintenance is essential. Most systems have a lifespan indicator or a recommended replacement schedule—usually about 12 months. When installing, ensure the lamp is easily accessible for routine checks and replacements. Proper handling during installation prevents damage and ensures the lamp functions correctly. Use gloves when handling the lamp to avoid oils from your skin, which can reduce the lamp’s lifespan.
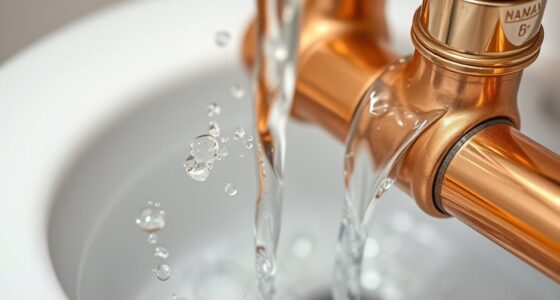
Flow direction is another critical factor. You want the water to flow through the UV chamber in the direction indicated by arrows on the unit. Incorrect flow can lead to reduced exposure to UV light, compromising water safety. Make sure the inlet is connected to the water source and the outlet to the clean water line, respecting the flow direction. Installing the system vertically or horizontally depends on your space and the manufacturer’s instructions, but always follow the recommended orientation to optimize UV exposure and prevent issues like sediment buildup. Proper flow management also ensures the system operates efficiently and prolongs its lifespan.
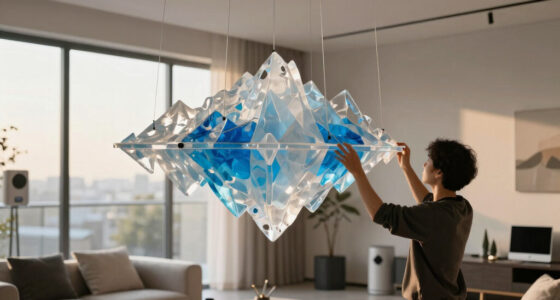
Power considerations are equally important. Ensure your electrical supply matches the system’s requirements to avoid overloads or safety hazards. Many UV systems operate on standard household current, but some may need dedicated circuits. Proper electrical wiring and grounding are essential for safety and consistent operation. A well-powered system will provide stable UV output, which is crucial for maintaining water purity over time. Additionally, incorporating local automation features can help monitor and control UV system performance remotely, enhancing safety and efficiency.
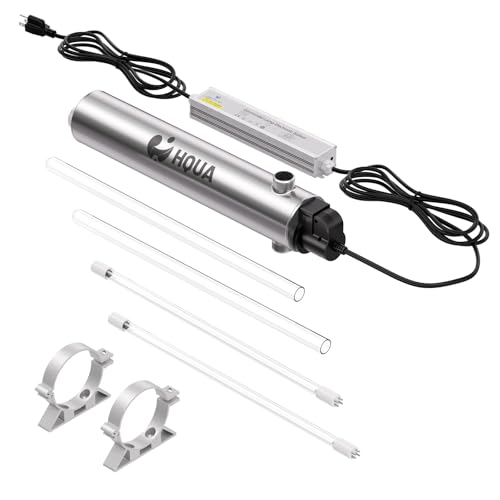
HQUA-TWS-121 120V 55W 12GPM 1“ MNPT Inlet/Outlet, Whole House Ultraviolet Water Purifier Filter, + 1 Extra UV Bulb, + 1 Extra Quartz Sleeve
12GPM 55W 21 inch long and 3.5 inch diameter. MNPT Inlet/Outlet: 1" Inch
As an affiliate, we earn on qualifying purchases.
As an affiliate, we earn on qualifying purchases.
Frequently Asked Questions
How Often Should UV Bulbs Be Replaced?
You should replace UV bulbs approximately every 12 months to maintain ideal UV bulb lifespan and guarantee effective water disinfection. Even if the bulb still produces light, its UV output diminishes over time, reducing its effectiveness. Adhering to a regular replacement schedule helps prevent reduced performance, so mark your calendar annually. Regularly check the manufacturer’s recommendations, as some systems may require earlier or later replacements depending on usage.
What Are Common Signs of UV System Failure?
You notice cloudy water or a persistent odor, which signals UV system failure. For example, a pool owner ignored early warning signs, leading to algae growth. Common signs include reduced water clarity, increased microbial presence, or a flickering UV lamp. Regular system maintenance and monitoring UV lamp lifespan are essential. If these signs appear, promptly check the UV system to prevent further issues and guarantee ideal disinfection.
Can UV Systems Be Used in All Water Types?
You can use UV systems with most water types, but water chemistry and system compatibility are key. If your water has high levels of organic matter, iron, or manganese, UV effectiveness decreases, and pretreatment might be necessary. Always check your system’s specifications to make certain it’s compatible with your water conditions. Properly maintaining the system also guarantees ideal performance, regardless of water type.
How Does Flow Rate Affect UV System Efficiency?
Did you know that increasing the flow rate by just 10% can reduce UV system efficiency by up to 15%? When your flow rate is too high, the UV light doesn’t stay in contact with the water long enough to effectively kill microorganisms. To keep your system efficient, you need to balance flow rate with UV exposure time, ensuring ideal disinfection without sacrificing performance.
Are There Specific Safety Precautions During Installation?
During installation, prioritize safety by wearing protective gear like gloves and goggles to prevent UV exposure. Follow proper installation safety procedures by turning off power before handling electrical components and ensuring the system is securely mounted to avoid accidents. Keep the work area dry and clear of obstructions, and always follow manufacturer’s instructions and precautionary measures to make certain of a safe, effective setup.

Viqua S810RL Replacement UV Lamp for S8Q-PA and SSM-37 Ultraviolet Water Treatment Systems
Genuine VIQUA replacement lamp
As an affiliate, we earn on qualifying purchases.
As an affiliate, we earn on qualifying purchases.
Conclusion
Now that you’ve mapped out your UV system’s orientation, power, and flow, you’re like a captain steering a ship through clear waters. With these basics in hand, your system will shine brightly, illuminating the path to cleaner water. Think of it as planting a seed that grows into a radiant, life-giving force. Trust your instincts, fine-tune your setup, and enjoy watching your water sparkle with health and purity—your journey to effective UV installation is well underway.
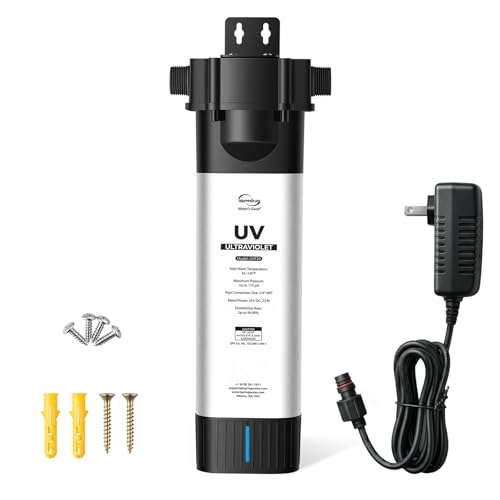
iSpring UVF20 Whole House LED UV Water Filter System, Up to 11 Years Long-Life LED UV Water Purifier with Built-in Automatic Flow Control, Mercury-Free, 3/4" MNTP Inlet Outlet, Up to 12 GPM
Long Service Life with No Bulb Replacement Needed: Engineered for whole house water treatment, the UVF20 water filter…
As an affiliate, we earn on qualifying purchases.
As an affiliate, we earn on qualifying purchases.

APEC Intense Stainless Steel Ultra-Violet Sterilizer Water Filtration Kit UG-UVSET-1-4-SS
High quality complete add-on kit with extremely durable construction purifies your drinking water with ultraviolet technology
As an affiliate, we earn on qualifying purchases.
As an affiliate, we earn on qualifying purchases.