If your UV system shows alarms or the lamp isn’t working, start by turning off the power and inspecting the lamp and electrical connections. Check if the lamp has reached its lifespan (usually 9,000–12,000 hours) and replace it if needed. Clean the quartz sleeve to guarantee UV light passes efficiently. Troubleshoot power and sensor issues as well. For detailed steps to troubleshoot common problems, continue exploring how to keep your system running smoothly.
Key Takeaways
- Check alarm signals to identify specific issues like lamp failure, dirty quartz sleeve, or electrical problems.
- Turn off power before replacing or inspecting the UV lamp to ensure safety and prevent damage.
- Regularly inspect and clean the quartz sleeve to maintain UV transmission and system efficiency.
- Verify electrical connections and ballast functionality if the lamp does not turn on after replacement.
- Monitor UV lamp lifespan and replace it as per manufacturer guidelines to prevent reduced disinfection performance.
Ultraviolet (UV) systems are indispensable for disinfecting water and air, but when they stop working effectively, troubleshooting becomes necessary. One of the first issues you might encounter involves the UV lamp lifespan. Over time, UV lamps naturally degrade, reducing their ability to emit the required UV intensity to disinfect effectively. Typically, a UV lamp’s lifespan ranges from 9,000 to 12,000 hours of operation, but this varies depending on the model and usage conditions. As the lamp ages, you may notice a decrease in water quality or increased microbial presence, indicating it’s time to replace the lamp. Regularly checking the lamp’s age and adhering to the manufacturer’s recommended replacement schedule helps guarantee your system remains effective.
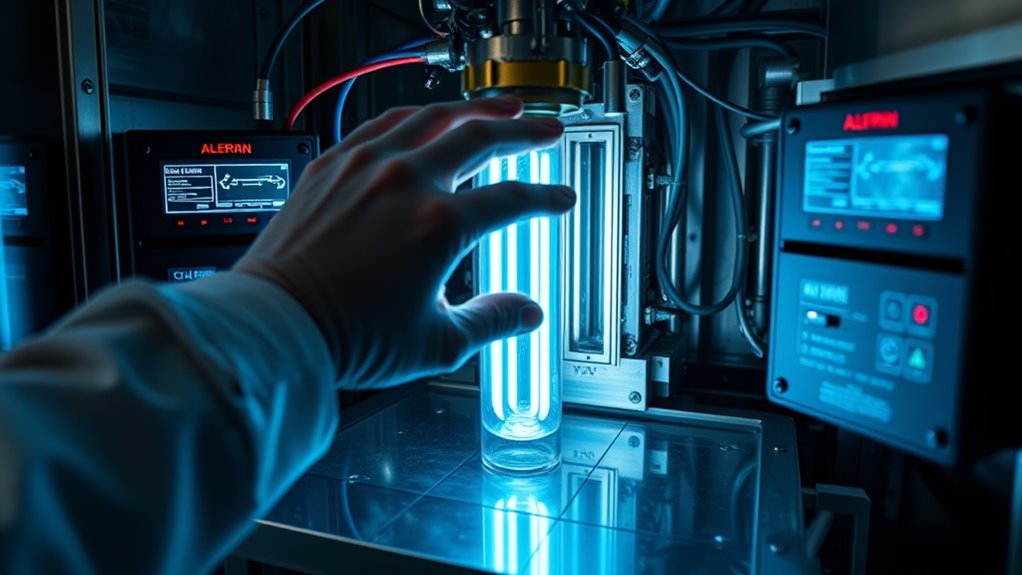
Alarm signals are another critical aspect of troubleshooting UV systems. Most units are equipped with alarm systems that alert you when something’s wrong, such as lamp failure or other malfunctions. Interpreting these signals correctly is crucial to addressing issues promptly. For example, an alarm light or sound may indicate the lamp has failed, the quartz sleeve is dirty or coated, or there’s an electrical problem. When you see an alarm signal, consult your system’s manual to interpret the specific indicator. Often, the alarm will specify whether it’s a lamp issue, power supply problem, or sensor malfunction. Ignoring alarm signals could lead to compromised disinfection or further damage to the system, so it’s important to act quickly.
Troubleshooting starts with inspecting the UV lamp itself. If the alarm indicates a lamp failure or the lamp has been in use close to or beyond its rated lifespan, replace it with a new one. Before replacing, ensure the power is off, then carefully remove the old lamp, clean the quartz sleeve if necessary, and install the new lamp according to the manufacturer’s instructions. Remember, a dirty or coated quartz sleeve can also cause alarm signals or reduce UV effectiveness, so cleaning it regularly is crucial. If replacing the lamp doesn’t resolve the issue, check the electrical connections and the ballast, which powers the lamp. Faulty ballasts can also trigger alarms or prevent the lamp from illuminating properly. Additionally, being aware of factors affecting UV performance, such as temperature and water quality, can help in maintaining the system’s efficiency.

GIOTOHUN Cat Water Fountain Filter: 12 Cat Fountain Filter Replacement - 12 Pet Fountains Filters Replacement - 6 Filters & 6 Sponges - Suitable for ATMZIQXR GIOTOHUN KOOGMOON UMOCUOY IHOUONE HOOISE
【Correct match】This filter is matched with GIOTOHUN ATMZIQXR KOOGMOON UMOCUOY IHOUONE HOOISE stainless steel cat water fountain.
As an affiliate, we earn on qualifying purchases.
Frequently Asked Questions
How Often Should UV Lamps Be Replaced?
You should replace UV lamps based on their lifespan, which typically ranges from 9 to 12 months, depending on usage and manufacturer recommendations. The replacement frequency varies, but most systems perform best when you change the lamps annually to maintain peak disinfection. Regularly monitor your UV system’s output and follow the manufacturer’s guidelines to guarantee the UV lamp’s effectiveness and avoid system failures.
Can UV Alarms Be Reset Manually?
Yes, you can perform a manual reset on UV alarms after troubleshooting. When an alarm triggers, follow your system’s manual reset procedure, which typically involves pressing a reset button or turning a switch off and on. Confirm the root cause, like a lamp failure or fouling, is addressed first. Always consult your UV system’s manual for specific reset instructions, and avoid resetting alarms prematurely to ensure system safety and proper operation.
What Are Common Causes of False UV System Alarms?
Did you know that approximately 30% of false UV system alarms are caused by water quality monitoring issues? These false alarms often happen due to improper UV system calibration or debris buildup on the sensors. Poor water clarity or fluctuations in water flow can also trigger alarms unexpectedly. Regularly checking sensor calibration and maintaining water quality helps prevent false alarms, ensuring your UV system runs smoothly and effectively.
How to Identify if a UV Lamp Is Failing?
You can identify if a UV lamp is failing by monitoring its UV lamp lifespan and observing alarm troubleshooting cues. If you notice a decrease in UV intensity or the lamp’s age surpasses the recommended lifespan, it’s time to inspect it. Often, alarms trigger when the system detects low UV output. Regularly check for flickering, discoloration, or alarms related to UV intensity, and replace the lamp if needed to guarantee proper functioning.
Are There Maintenance Tips for Extending UV System Lifespan?
Did you know regular maintenance can boost UV system reliability and extend lamp longevity by up to 30%? To achieve this, clean the quartz sleeves weekly, guarantee electrical connections are secure, and replace lamps based on manufacturer recommendations. Keep an eye on alarms and monitor UV intensity. Proper upkeep prevents premature failures, saving you money and ensuring consistent water treatment. Stay proactive, and your UV system will perform at its best longer.

Bluevua Official RO100ROPOT 4-Pack Replacement Filter Set, Pack of 1 PP Filter and 1 CTO Filter and 1 RO Filter and 1 PCF Filter
COMPREHENSIVE FILTRATION KIT: The 4-Pack Replacement Filter Set for the RO100ROPOT consists of a Polypropylene (PP) filter, Coconut...
As an affiliate, we earn on qualifying purchases.
Conclusion
Remember, your UV system is like a lighthouse guiding safety through murky waters. When lamps fail or alarms sound, it’s a signal to check the beacon’s glow. With careful troubleshooting, you restore its shining light, symbolizing clarity and protection. Keep your system well-maintained, and it’ll continue to cut through darkness, illuminating a safer path ahead. Trust in your hands—your vigilance keeps the light burning bright and hazards at bay.

Bluevua Official Reverse Osmosis System Countertop RO100ROPOT-Lite Replacement Filter
Replacement Filter
As an affiliate, we earn on qualifying purchases.

Frizzlife Leak Protection Valve For Reverse Osmosis And Under Sink Water Filter System MP99 & SP99 - Automatic Shut Off Protection When Water Leaks
NO MORE LEAK CONCERN: Automatically shut off incoming water flow to a water system in the event a...
As an affiliate, we earn on qualifying purchases.