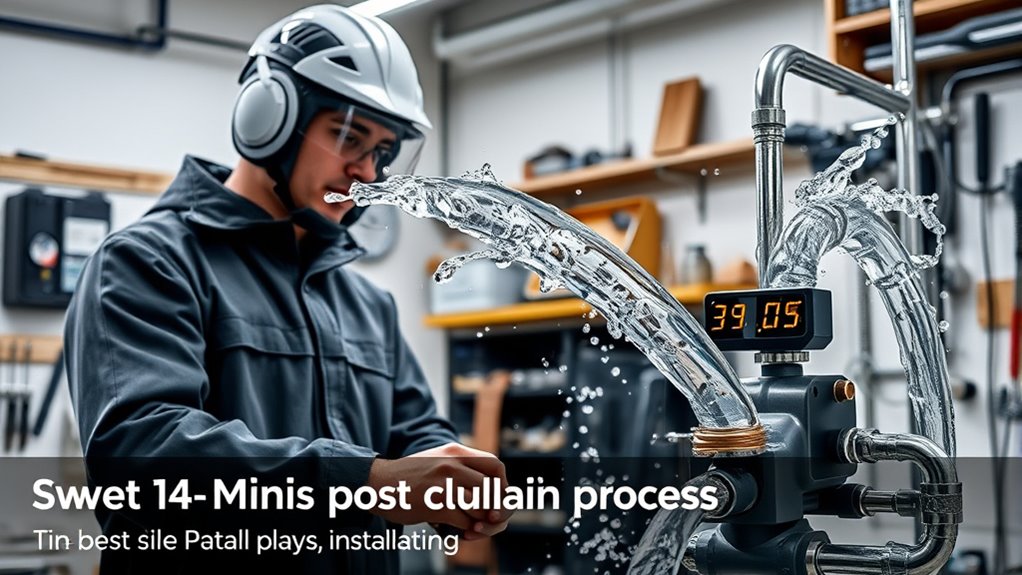
To quickly flush your plumbing system in just 15 minutes, start by gathering essential tools like pipe insulation, a drain snake, and safety gear. Then, turn off the main water supply, open all drain valves, and slowly turn the water back on to guarantee steady flow. Monitor pressure and leaks closely, and after about 15 minutes, verify everything is running smoothly. Keep going to uncover more tips for keeping your system clean and efficient.
Key Takeaways
- Close all faucets and turn off the main water supply before starting the flush.
- Open the main water valve gradually to prevent pressure surges and ensure steady flow.
- Keep drain valves open and maintain a consistent water flow for about 10-15 minutes.
- Monitor system pressure with gauges to confirm it stays within recommended levels.
- Inspect for leaks and proper pipe insulation after flushing to ensure system integrity.
Gathering Necessary Tools and Materials

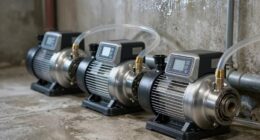
Before you begin any quick-win project, it’s essential to gather all the tools and materials you’ll need. Start by collecting pipe insulation to protect pipes and improve efficiency. You’ll also need basic drain cleaning supplies, such as a drain snake or chemical cleaner, to clear any blockages. Having these items on hand guarantees you can work smoothly without interruptions. Check that your gloves, safety goggles, and a bucket are ready for safety and cleanup. Having the right tools prepared saves time and prevents last-minute runs to the store. Make sure your work area is clean and organized so you can focus solely on the task. Additionally, understanding the divorce process can help you approach home repairs with confidence and clarity. With everything in place, you’re ready to proceed confidently and efficiently through your quick win.
Preparing the Plumbing System for Flushing
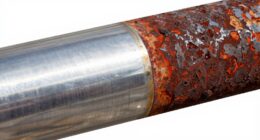
Once you’ve gathered all your tools and materials, it’s time to prepare the plumbing system for flushing. Start by inspecting pipes for signs of corrosion, as corroded pipes can hinder water flow and cause leaks. If you notice significant corrosion, consider replacing affected sections before flushing. Next, check the water pressure; too high pressure can damage pipes, while too low may reduce flushing effectiveness. Adjust the pressure to a safe, steady level using the pressure regulator or shut-off valves. Ensure all faucets are closed to prevent airlocks and leaks during the process. Turn off the main water supply to control the flow, and open a faucet at the lowest point to drain residual water, setting the stage for an efficient flushing. Additionally, verifying the condition of water filters can help ensure optimal water flow and prevent debris from affecting your system during flushing.
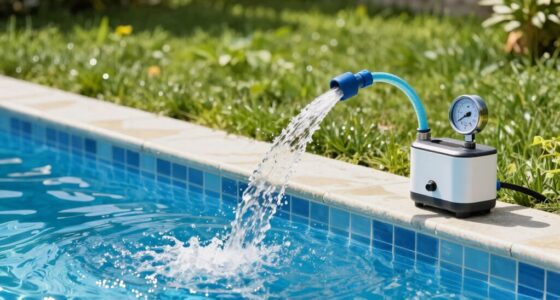
Initiating the Flushing Process
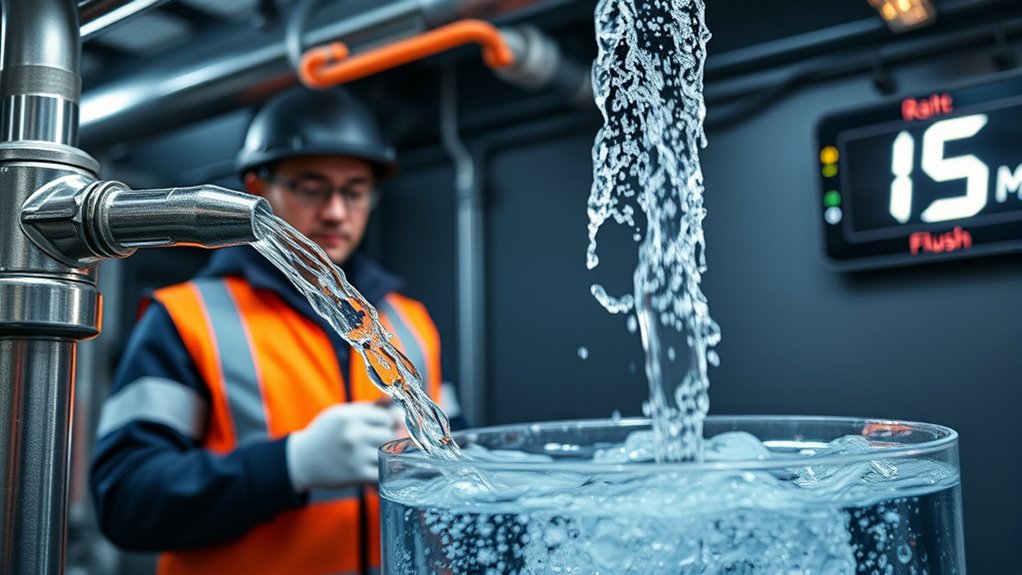
How do you start the flushing process effectively? Begin by opening the main water supply valve slowly to prevent sudden pressure spikes. This step is vital for tank maintenance, ensuring debris is flushed out without damaging the system. As water begins to flow, check that all drain valves are open, allowing old water and sediment to escape. Focus on improving water quality by maintaining a steady, controlled flow, which helps clear residual build-up. Avoid rushing—this guarantees thorough flushing and prevents disturbances that could compromise system integrity. Once the flow stabilizes and the water runs clear, you can confidently proceed to the next step. Properly initiating the process guarantees efficient cleaning and sets a solid foundation for peak system performance. Additionally, monitoring water flow throughout the process ensures consistent cleaning and prevents pressure imbalances.
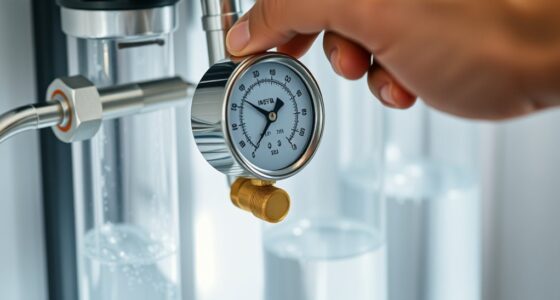
Monitoring and Ensuring Proper Flow

Monitoring and guaranteeing proper flow during the flushing process is crucial for effective cleaning and system safety. You should regularly check the system pressure to confirm it stays within recommended levels, preventing damage or ineffective flushing. Keep an eye on the flow rate, making sure it’s consistent and sufficient to clear debris. Sudden drops in pressure or flow indicate a blockage or leak that needs immediate attention. Use gauges and flow meters to monitor these parameters closely. Adjust the valves if necessary to maintain ideal flow. Staying vigilant ensures the flushing process remains efficient and safe, reducing the risk of future system issues. Properly monitoring system pressure and flow rate guarantees a thorough clean without compromising system integrity. Additionally, understanding noise levels of modern heat pumps can help you choose quieter models that won’t disrupt your space during maintenance.
Final Checks and System Inspection

After completing the flushing process, it’s important to perform final checks to guarantee everything is in proper order before restarting the system. First, verify the water pressure is within recommended levels; too high or low can cause damage or inefficiency. Inspect the pipe insulation to ensure it’s intact and properly secured, preventing heat loss or freezing risks. Check for leaks around fittings and joints, as these can compromise system performance. Use the table below to guide your inspection:
| Check | Action | Result |
|---|---|---|
| Water pressure | Use a pressure gauge | Within recommended range |
| Pipe insulation | Inspect for damage or gaps | Properly secured |
| Fittings and joints | Look for leaks | None detected |
| System pressure gauge | Confirm pressure stability | Consistent reading |
| Visual leak inspection | Check all connections | No leaks |
Perform these final checks to ensure a safe, efficient restart. Additionally, referencing SmartCR insights on AI-driven innovations in maintenance can provide further strategies for system monitoring.
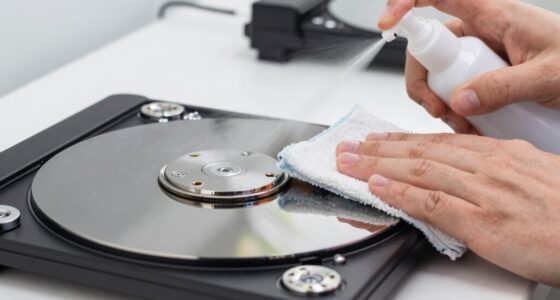
Tips for Maintaining a Clear and Efficient System

To keep your system running smoothly and efficiently, regular maintenance is essential. Consistently flushing and inspecting your system reduces stress, preventing buildup that can hinder performance. Keep an eye out for signs of system stress, such as sluggish flow or unusual noises, which indicate the need for immediate attention. Practicing water conservation during maintenance not only saves resources but also minimizes strain on your system. Use clean, filtered water when flushing to prevent mineral deposits and clogs. Schedule routine checks to clear out debris and ensure all components function at their best. Staying proactive with these tips helps maintain a clear, efficient system, reducing the risk of breakdowns and prolonging its lifespan. Regular maintenance promotes better performance and supports responsible water use, especially when implementing system tuning techniques to optimize operation.
Frequently Asked Questions
Can Post-Install Flushing Eliminate All Types of Plumbing Blockages?
Post-install flushing can clear many common plumbing blockages, but it doesn’t eliminate all types. Chemical drain cleaners help break down organic buildup, while pipe inspection reveals hidden issues. If a blockage is caused by a solid object or severe damage, flushing alone might not work. You may need additional solutions like snaking or repairs. Regular maintenance, including chemical drain use and pipe inspections, can prevent future problems.
What Safety Precautions Should I Take During the Flushing Process?
Did you know that proper safety precautions can reduce accidents by up to 85%? During the flushing process, always wear protective gear like gloves and goggles to guard against splashes. Familiarize yourself with emergency procedures beforehand, such as shutting off water supply quickly if needed. Staying alert and prepared guarantees your safety, minimizes risks, and helps you handle any unexpected situations confidently.
How Often Should I Perform Post-Install Flushing for Optimal System Performance?
You should perform post-install flushing based on your system’s maintenance schedule, typically every 6 to 12 months. This flushing frequency helps prevent buildup and guarantees peak performance. Regularly monitor your system’s condition, and if you notice any decline in efficiency or increased sediment, increase the flushing frequency accordingly. Staying consistent with your maintenance schedule is key to keeping your system running smoothly and avoiding potential issues.
Is Special Training Required to Conduct the Flushing Procedure Effectively?
You don’t need special training or certification to perform post-install flushing effectively. However, understanding the procedure thoroughly helps ensure safety and efficiency. Basic training on system components, flushing techniques, and safety protocols is recommended, especially if you’re new. Many organizations offer brief instructional sessions or online tutorials to boost your confidence. With proper knowledge, you can confidently carry out flushing to maintain ideal system performance without formal certification.
What Are Common Signs Indicating the Need for a Flushing in Existing Systems?
You’ll notice signs like system clogging and water discoloration, indicating a need for flushing. If your system’s flow slows down or you see murky or discolored water, it’s time to act. These are clear signs that buildup or debris is blocking your system, and flushing will help restore proper function. Regularly monitoring these indicators guarantees you catch issues early before they cause bigger problems.
Conclusion
Now, as you finish the quick flush, picture the water flowing smoothly like a gentle stream, clearing away debris and buildup. Your plumbing system is now refreshed, sparkling with clarity beneath the surface. With just 15 minutes, you’ve revitalized your pipes, ensuring they run clean and efficient. Take a moment to admire your work—your home’s heart beats stronger, ready to support you with every faucet turn, silent and seamless just like a well-oiled machine.