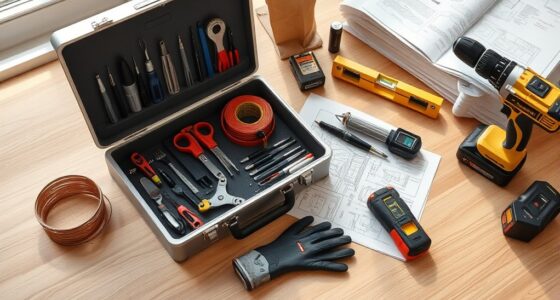
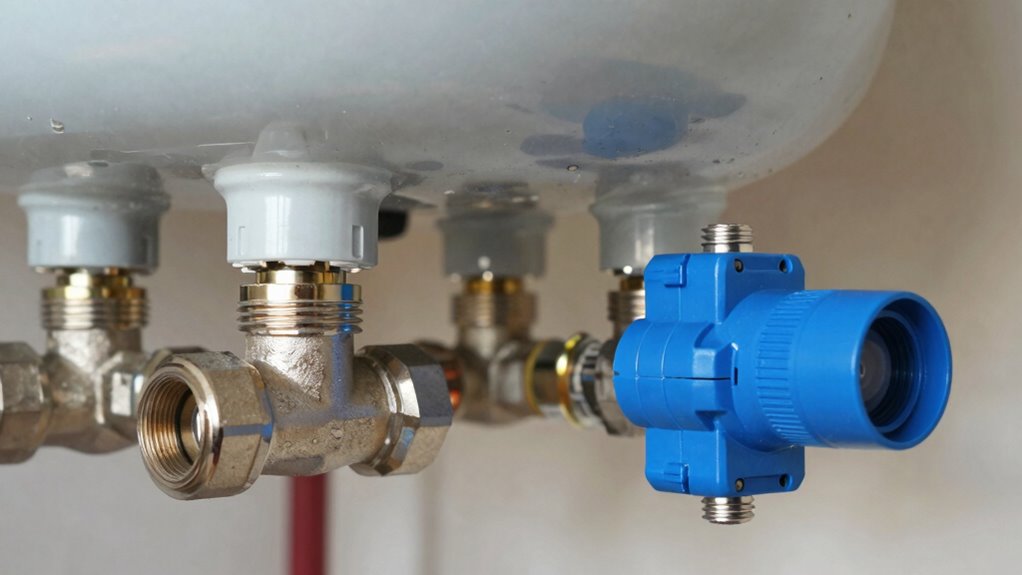
When installing a pressure tank, make sure to connect it with the correct tees to prevent leaks and guarantee proper flow. Mount the pressure switch properly and double-check wiring to avoid noise or short cycling. Avoid common mistakes like unevenly tightening fittings or placing the tank far from the pump, which can cause noise or pressure issues. Proper setup minimizes problems and boosts efficiency—continue exploring these essential steps to master a smooth, quiet installation.
Key Takeaways
- Ensure proper tee placement for easy access to the pressure switch and drain valve during installation and maintenance.
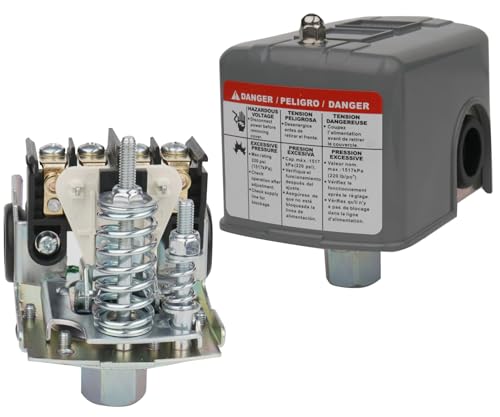
- Correctly install the pressure switch at the tank to prevent short cycling and reduce noise.
- Level the tank to avoid pressure imbalances that can cause noise and inefficient operation.
- Use tight, leak-proof connections to prevent air and water leaks that contribute to noisy or inconsistent system performance.
- Regularly check and adjust the air charge and switch settings to minimize noise and prolong tank lifespan.
Are you planning to install a pressure tank? If so, you’re taking a smart step toward guaranteeing consistent water pressure and protecting your system. One key aspect of a successful installation involves understanding bladder maintenance and air volume adjustment. The bladder inside your pressure tank plays a vital role in maintaining steady pressure; over time, it can lose its flexibility or develop leaks, leading to inconsistent water flow. Regular bladder maintenance is essential to keep your tank functioning properly. This means periodically checking the tank’s pressure to guarantee the bladder isn’t collapsed or over-pressurized. If you notice water pounding through your pipes or pressure fluctuations, it might be time to adjust the air volume. Proper air volume adjustment involves releasing or adding air to the tank to match the system’s needs. When done correctly, this keeps the bladder properly inflated, preventing unnecessary pump cycling and reducing noise.
As you set up your pressure tank, pay close attention to the air charge before installation. Most tanks come with a pre-charge of air, but that pressure can drop over time. Use a reliable pressure gauge to measure the air pressure at the tank’s valve stem when it’s empty of water. The recommended air pressure typically equals the system’s cut-in pressure, usually around 2 psi below the pump’s start pressure. Adjusting this air volume is straightforward: if the pressure is too low, add air with a bike pump or air compressor until it reaches the desired level. If it’s too high, release some air by pressing the valve stem. Proper bladder maintenance and air volume adjustment help extend your tank’s lifespan and improve overall system performance.
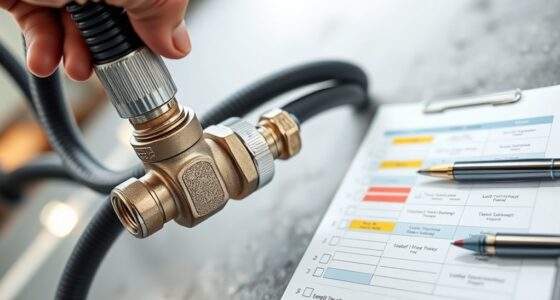
When installing your tank, guarantee the connections are tight and that the tank is level to avoid pressure imbalances. It’s also wise to install a pressure switch correctly, as this component signals your pump when to turn on and off. An improperly wired or adjusted switch can cause noisy operation or short cycling, which stresses your system. Keep in mind that a noisy tank might indicate air issues or a need for bladder maintenance. Regularly inspecting and maintaining the bladder, along with adjusting the air volume as needed, will keep your pressure tank running smoothly and quietly. By paying attention to these details, you’ll avoid common pitfalls and guarantee your water system operates efficiently for years to come.

Miumoon 1"x 11"Well Pressure Tank Tee Kit with Union, 30-50Psi Pressure Switch, Pressure Gauge, Relief Valve, Drain Valve, Well Tank Tee Kit for Pressure Tank with Diameters Up to 16"
Pressure Tank Installation Kit: This pressure tank tee to fit most pressure tanks with diameters up to 16"….
As an affiliate, we earn on qualifying purchases.
As an affiliate, we earn on qualifying purchases.
Frequently Asked Questions
How Often Should I Inspect My Pressure Tank for Damage?
You should inspect your pressure tank at least once a year for damage. Look for signs of tank corrosion, which can weaken its structure, and check for valve leaks that could cause pressure issues. Regular inspections help catch problems early, preventing costly repairs or replacements. If you notice rust, leaks, or unusual noises, address them promptly to maintain safe and efficient operation of your system.
Can I Install a Pressure Tank Without Professional Help?
You could try a DIY installation, but don’t underestimate the risks. Installing a pressure tank involves precise connections, correct switch setup, and safety checks that can be tricky if you lack experience. Mistakes can lead to leaks or system failure. For peace of mind and safety, it’s best to seek professional assistance. They ensure everything’s installed properly, avoiding costly errors and ensuring your system works flawlessly from the start.
What Are Signs of a Failing Pressure Switch?
You’ll know your pressure switch is failing when you notice warning signs like inconsistent water pressure, the pump turning on or off unexpectedly, or no response when you use water. Other signs include frequent cycling, strange noises, or the switch not shutting off. Pressure switch failure can lead to damage, so keep an eye out for these symptoms and replace it promptly to avoid costly repairs.
How Do I Reduce Noise From My Pressure Tank?
To reduce noise from your pressure tank, start by adding tank insulation to dampen sound vibrations. Installing noise-reducing valves can also help minimize the noise during operation. Confirm the tank is mounted securely and away from living spaces. Regular maintenance prevents noise caused by sediment buildup or pressure imbalances. Combining insulation and noise-reducing valves offers an effective, simple solution to keep your system quieter and more comfortable.
What Is the Ideal Pressure Setting for Residential Tanks?
Think of your pressure tank as a heartbeat for your home; setting the ideal pressure is like tuning a delicate instrument. You should set the pressure regulation to about 2 psi below the cut-in pressure, typically around 38-40 psi for residential tanks. This balance helps prevent unnecessary strain, safeguards tank longevity, and ensures consistent water flow. Properly tuned, your system will hum smoothly like a well-conducted orchestra.
WHK Water Pressure Switch for Well Pump 40-60psi Water Pump Pressure Switch Auto Electrical Control Adjustable Differential(1/4 Female NPT,Certicated UL,1PC-Grey)
Control Range of Pressure Switch for Well Pump: Cut-In Pressure 40 PSI -Cut-Off Pressure 60 PSI, auto electrical…
As an affiliate, we earn on qualifying purchases.
As an affiliate, we earn on qualifying purchases.
Conclusion
So, now you’re all set to conquer the world of pressure tanks—just remember, tees are your friends, switches keep things humming, and noise? Just part of the charm. Who knew that installing a tank could be so thrilling? Just don’t forget, a little mistake can turn your quiet setup into a symphony of squeaks and bangs. But hey, if all else fails, you can always pretend you’re auditioning for a plumbing orchestra. Good luck!
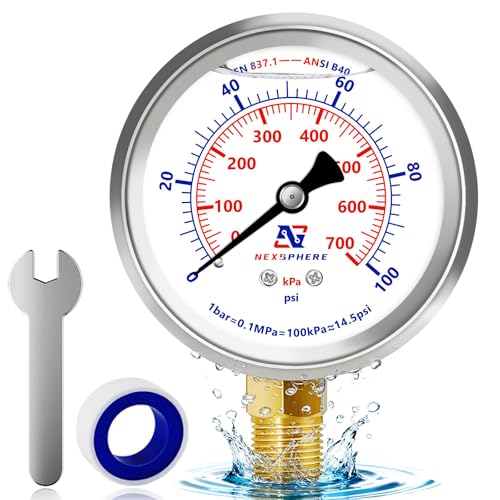
NexSphere 0-100 PSI Liquid Filled Pressure Gauge, 1/4" NPT Lower Mount, 2.5" Dial, 304 Stainless Steel Case, Glycerin Filled Plumbing Pressure Gauge, for Home Air/Oil/Water Pressure Test
【HIGH-ACCURACY INDUSTRIAL GAUGE】 – This liquid-filled pressure gauge is calibrated to ±2-1.5-2% accuracy, engineered with a 304 stainless…
As an affiliate, we earn on qualifying purchases.
As an affiliate, we earn on qualifying purchases.

Tiangrid Aquarium Fish Tank Cleaning Tool Kit Include 4 Pcs Long Aquascape Tools Kit 1 Pcs Magnetic Glass Cleaner Brush 5 in 1 Fish Tank Gravel Cleaner and Siphon Vacuum for Terrarium Fish Tank Set
Aquarium Cleaning Package: this kit includes a quality magnetic glass cleaner brush, versatile 5 in 1 gravel cleaner…
As an affiliate, we earn on qualifying purchases.
As an affiliate, we earn on qualifying purchases.