To install bypass and shut-off valves, start by turning off the main water or power supply and draining the system. Locate ideal spots near main lines, guaranteeing enough space for operation. Use compatible fittings and tighten connections securely, but avoid over-tightening. After installation, gradually reopen valves and check for leaks. Regular inspections and proper maintenance will keep your system safe and efficient. Continue to follow detailed steps to guarantee a smooth, successful setup.
Key Takeaways
- Turn off the main water or HVAC power before beginning installation to ensure safety.
- Identify optimal locations near main supply lines and ensure adequate space for operation.
- Use compatible fittings and tighten connections securely without over-tightening to prevent damage.
- Install valves at accessible points, verifying proper orientation and compatibility with existing piping.
- Conduct leak tests after installation, then perform regular maintenance for optimal performance.

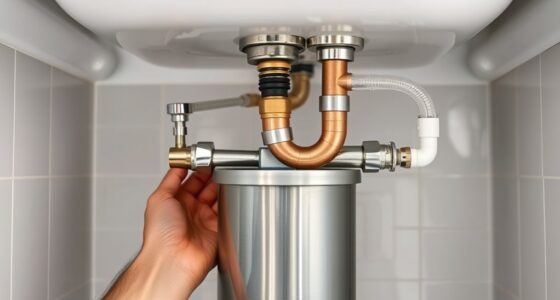
Installing bypass valves and shut-off valves is a essential step to guarantee easy maintenance and reliable operation of your plumbing or HVAC system. When you add these valves, you create a safer and more manageable setup, allowing you to isolate sections of the system quickly in case of repairs or emergencies. Proper installation ensures that your system remains functional, reduces downtime, and minimizes risks associated with leaks or failures. To get started, you need to understand the significance of valve maintenance, which involves regular inspection, cleaning, and testing to keep everything working smoothly. Maintaining your valves prevents corrosion, blockages, and failures, which could compromise plumbing safety and cause costly damages. Regular valve maintenance should include checking for corrosion and debris, ensuring the longevity and proper function of your system components. Before beginning, turn off the main water supply or power to your HVAC system. This step is essential to avoid accidents or water damage during installation. Carefully drain the system or release pressure from the pipes to prevent sudden leaks when disconnecting existing components. Next, identify the ideal location for the bypass and shut-off valves. Typically, these should be installed near the main supply lines or at points where maintenance is frequently needed. Ensure there’s enough space around the installation site for future valve operation and maintenance. When installing the valves, use the appropriate tools and fittings for your system. Make sure the connections are tight but avoid over-tightening, which can damage threads or create leaks. It’s essential to check that the valves are compatible with your existing piping and meet local plumbing safety standards. Once installed, open the valves slowly to test for leaks and proper operation. If you notice any dripping or irregular flow, shut off the system and re-tighten or adjust the fittings as needed. Regular valve maintenance should be part of your routine to guarantee continued system safety and efficiency. This includes inspecting for corrosion, debris, or signs of wear, and lubricating moving parts if applicable. Properly maintained valves help prevent sudden failures that could cause water damage or system breakdowns. When shutting off the valves, do so gradually to avoid water hammer or pressure surges. Remember, a well-maintained system not only enhances plumbing safety but also extends the lifespan of your equipment.
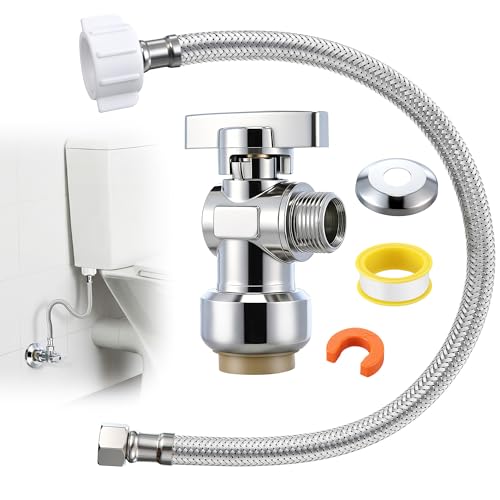
Dreyoo Complete Toilet Shut Off Valve Set with 1/2 x 3/8'' Compression Straight Stop Valve, 12" Length 3/8" COMP x 7/8" BC Toilet Connector Hose, Escutcheon Plate, Disconnect Clip & Sealing Tape
[Complete All-in-One Installation Kit]: This toilet supply line set includes everything needed for a secure connection: 1 braided…
As an affiliate, we earn on qualifying purchases.
As an affiliate, we earn on qualifying purchases.
Frequently Asked Questions
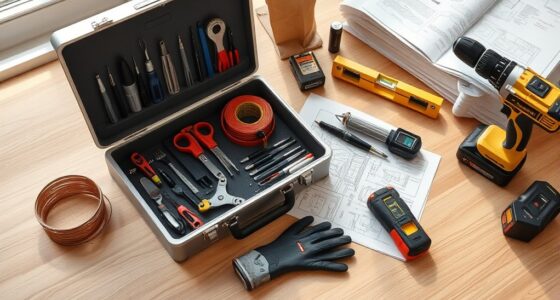
What Tools Are Essential for Installing Bypass and Shut-Off Valves?
You’ll need essential tools like pipe wrenches and adjustable pliers to handle pipe fittings securely. A pipe cutter helps make clean cuts, while thread sealant or Teflon tape guarantees leak-proof connections. Don’t forget pressure gauges to monitor system pressure during installation. These tools make installing bypass and shut-off valves easier, ensuring a proper fit and safe operation. Having the right tools prevents leaks and improves overall system reliability.
How Do I Choose the Right Type of Valve for My System?
You should choose the right valve type based on your system’s needs and the selection criteria like flow rate, pressure, and media compatibility. Consider valve types such as ball, gate, or globe valves, and match them to your application. Confirm the valve material suits the fluid and environment, and check for ease of maintenance. By evaluating these factors, you’ll select a valve that provides reliable control and longevity.
Are There Safety Precautions to Consider During Installation?
Yes, you should follow safety precautions during installation. Always wear personal protective equipment like gloves and goggles to prevent injuries. Familiarize yourself with emergency procedures in case of leaks or accidents. Verify the system is depressurized before starting, and double-check connections. Properly shutting off power or water supply minimizes risks. Staying alert and following safety guidelines helps prevent accidents and ensures a safe, successful installation process.
How Do I Troubleshoot Common Installation Issues?
If you hit a snag during installation, don’t worry—think of it as fine-tuning your setup. First, check for leak detection issues that might signal loose connections. Make certain connection compatibility; mismatched fittings often cause problems. Tighten fittings carefully, avoiding over-tightening, and double-check all connections. Testing your system thoroughly helps identify hidden leaks early, saving you time and effort down the road. Patience and careful inspection are your best tools here.
What Maintenance Is Required After Installing These Valves?
After installation, you should regularly perform system testing to guarantee the valves work properly. Check for leaks around the valve connections and utilize leak detection methods to identify any issues early. It’s also important to verify that the bypass and shut-off functions operate smoothly. Routine maintenance like tightening fittings, inspecting for corrosion, and testing valve operation helps prolong their lifespan and maintain system safety and efficiency.

595926 Solid Brass Sensor Valve, Fits Watts premier 500800/500805 & Grundfos UP Comfort Instant Hot Water Recirculating Pump System 367010 Thermal Bypass Bridge Valve
Hot Water Recirculating Valve: Automatically opens to recirculate cooled water when hot side temperature drops, and closes at…
As an affiliate, we earn on qualifying purchases.
As an affiliate, we earn on qualifying purchases.
Conclusion
Now that you’ve mastered installing bypass and shut-off valves, you’re practically a plumbing wizard. Imagine your pipes as a bustling highway—these valves are your traffic cops, directing flow with flair. With a flick of a valve, you can turn chaos into calm, or chaos back into chaos, your choice. So go ahead, flaunt those valves like a plumbing superhero—because in the world of pipes, you’re now the boss of the flow!

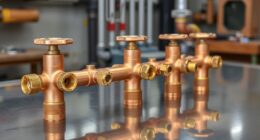
SURIEEN Air Conditioning Refrigerant Ball Valve 1/4’’ SAE, R410A R134A R12 R22 HVAC Shut Off Valve, Low Loss Fittings HVAC for R410A R134A R12 R22 R502 Charging Hoses Air Conditioning Tools
HVAC SHUT OFF VALVE — The Air Conditioning Refrigerant Ball Valves are 45 degree angle manual shut-off valve…
As an affiliate, we earn on qualifying purchases.
As an affiliate, we earn on qualifying purchases.
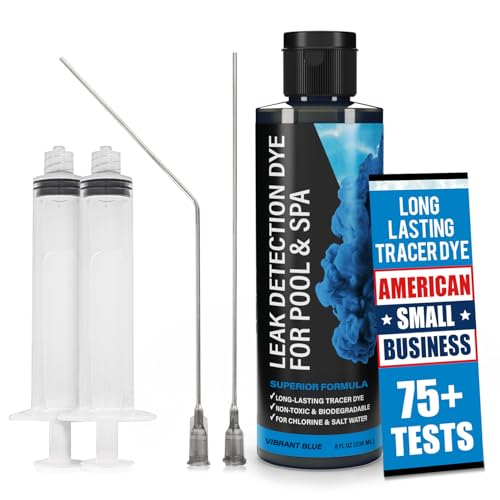
Pool Leak Detection Dye Kit – 75+ Tests – 2 Stainless Steel Precision Applicators – Superior Long Lasting Pool Dye Easily Locates Leaks – for All Pool, Spa, & Hot Tub Types – 8 OZ (Vibrant Blue)
Easily Identify & Locate Leaks – 75+ tests per kit! This pool leak detection kit delivers a High-Contrast…
As an affiliate, we earn on qualifying purchases.
As an affiliate, we earn on qualifying purchases.